Mastering the Art of Hydrangea Painting 🌸
If you’ve ever wanted to capture the beauty of hydrangeas on canvas, you’re in the right place! In this tutorial, I’ll walk you through the process of painting hydrangeas in a loose, impressionistic style. Whether you’re a beginner or a more experienced artist, you’ll find helpful tips and techniques to create stunning floral artwork. Let’s get started on this journey of learning how to paint hydrangeas!
- Mastering the Art of Hydrangea Painting 🌸
- Step 1: Setting Up Your Workspace and Materials 🖌️
- Step 2: Projecting Your Image for Composition 🎨
- Step 3: Blocking In the Background 🌿
- Step 4: Creating the Color Palette 🌈
- Step 5: Blocking In the Flowers 🌸
- Step 6: Adding Texture and Detail 🌼
- Step 7: Painting the Leaves 🍃
- Step 8: Final Touches and Dappled Light ✨
- Step 9: Reflect and Adjust 🎉
- Conclusion
- Frequently Asked Questions (FAQ) ❓
- How to Paint Hydrangeas
Step 1: Setting Up Your Workspace and Materials 🖌️
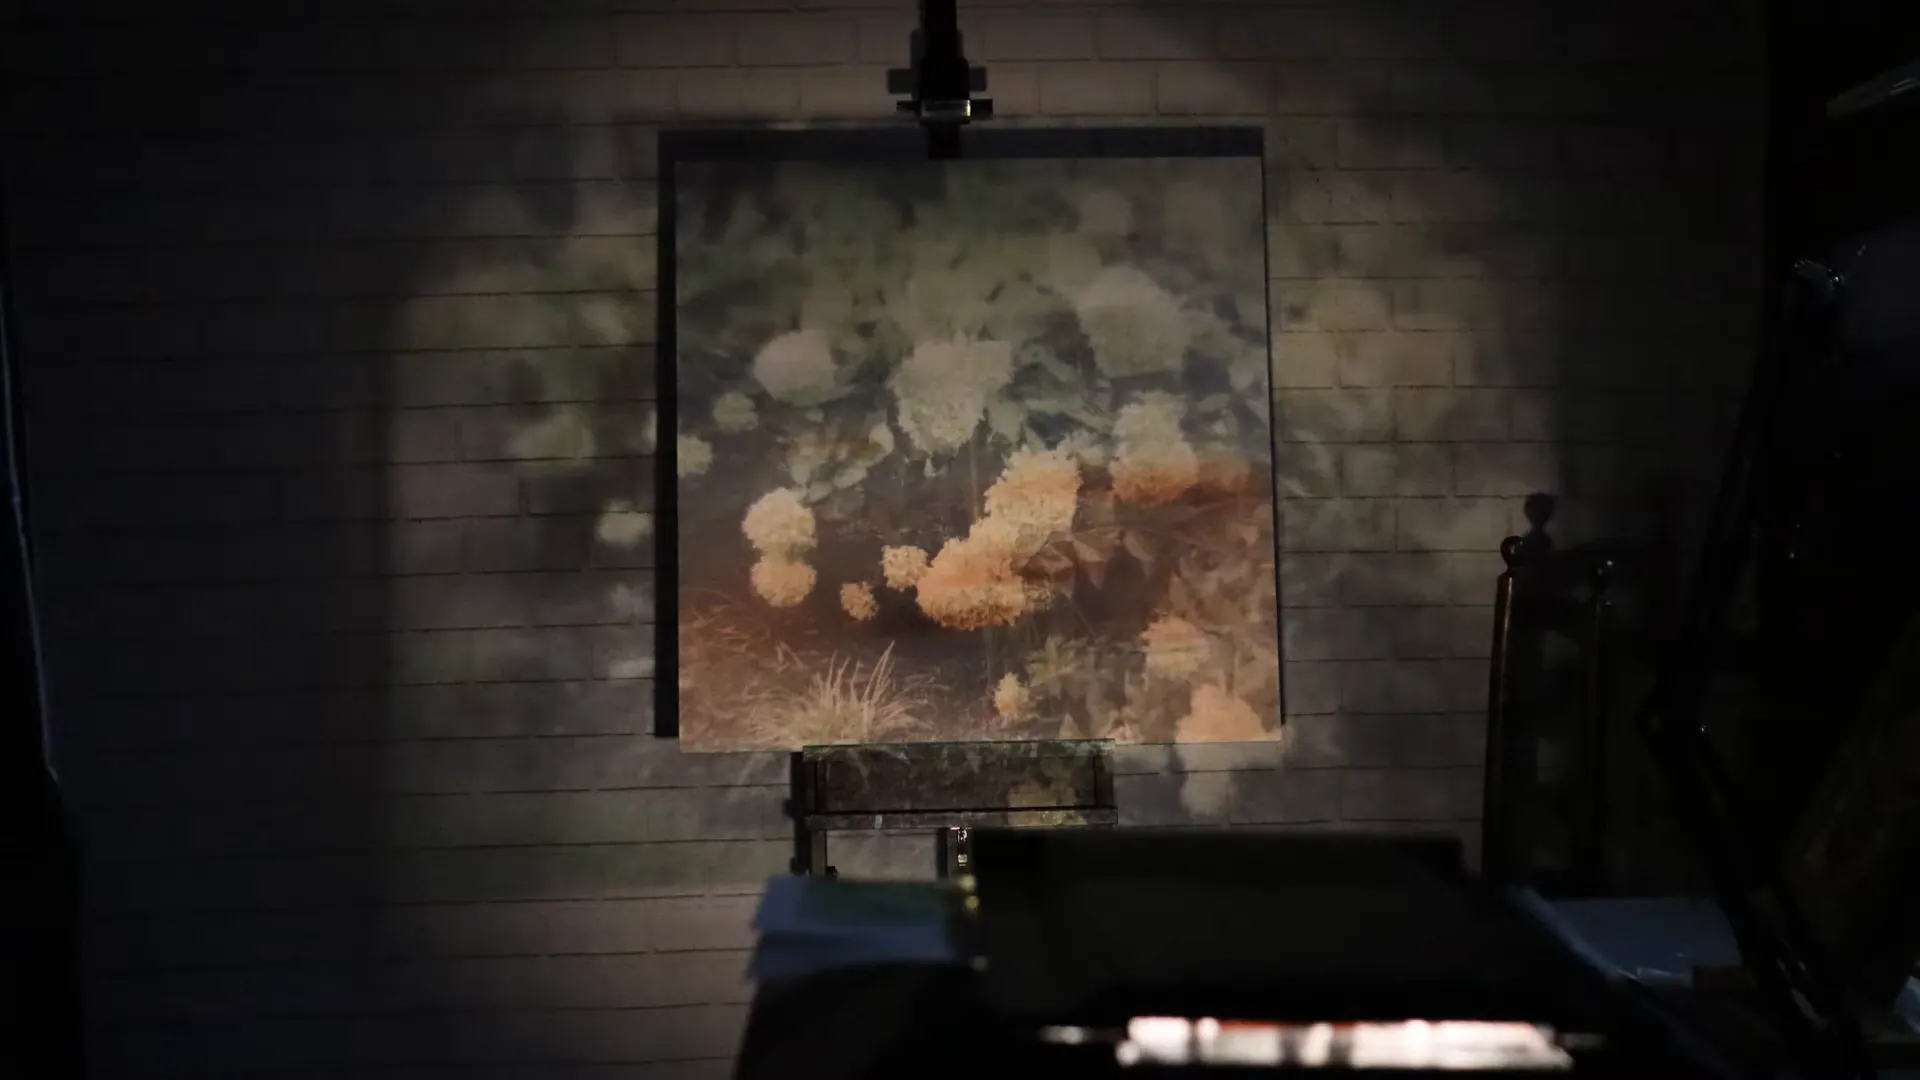
Before diving into the painting, it’s essential to have your workspace organized. Here’s what you’ll need:
- Projector: I recommend using the Artograph projector with a Super Prism Lens for clarity.
- Canvas: A 36×36 inch Blick Premier cotton canvas works great.
- Gesso: Even if your canvas is pre-primed, applying an additional coat helps, especially for lighter colors.
- Brushes: Use a variety of sizes, including wide brushes for background and detail brushes for flowers.
- Acrylic Paints: Essential colors include sap green, ultramarine blue, burnt sienna, and titanium white.
Step 2: Projecting Your Image for Composition 🎨
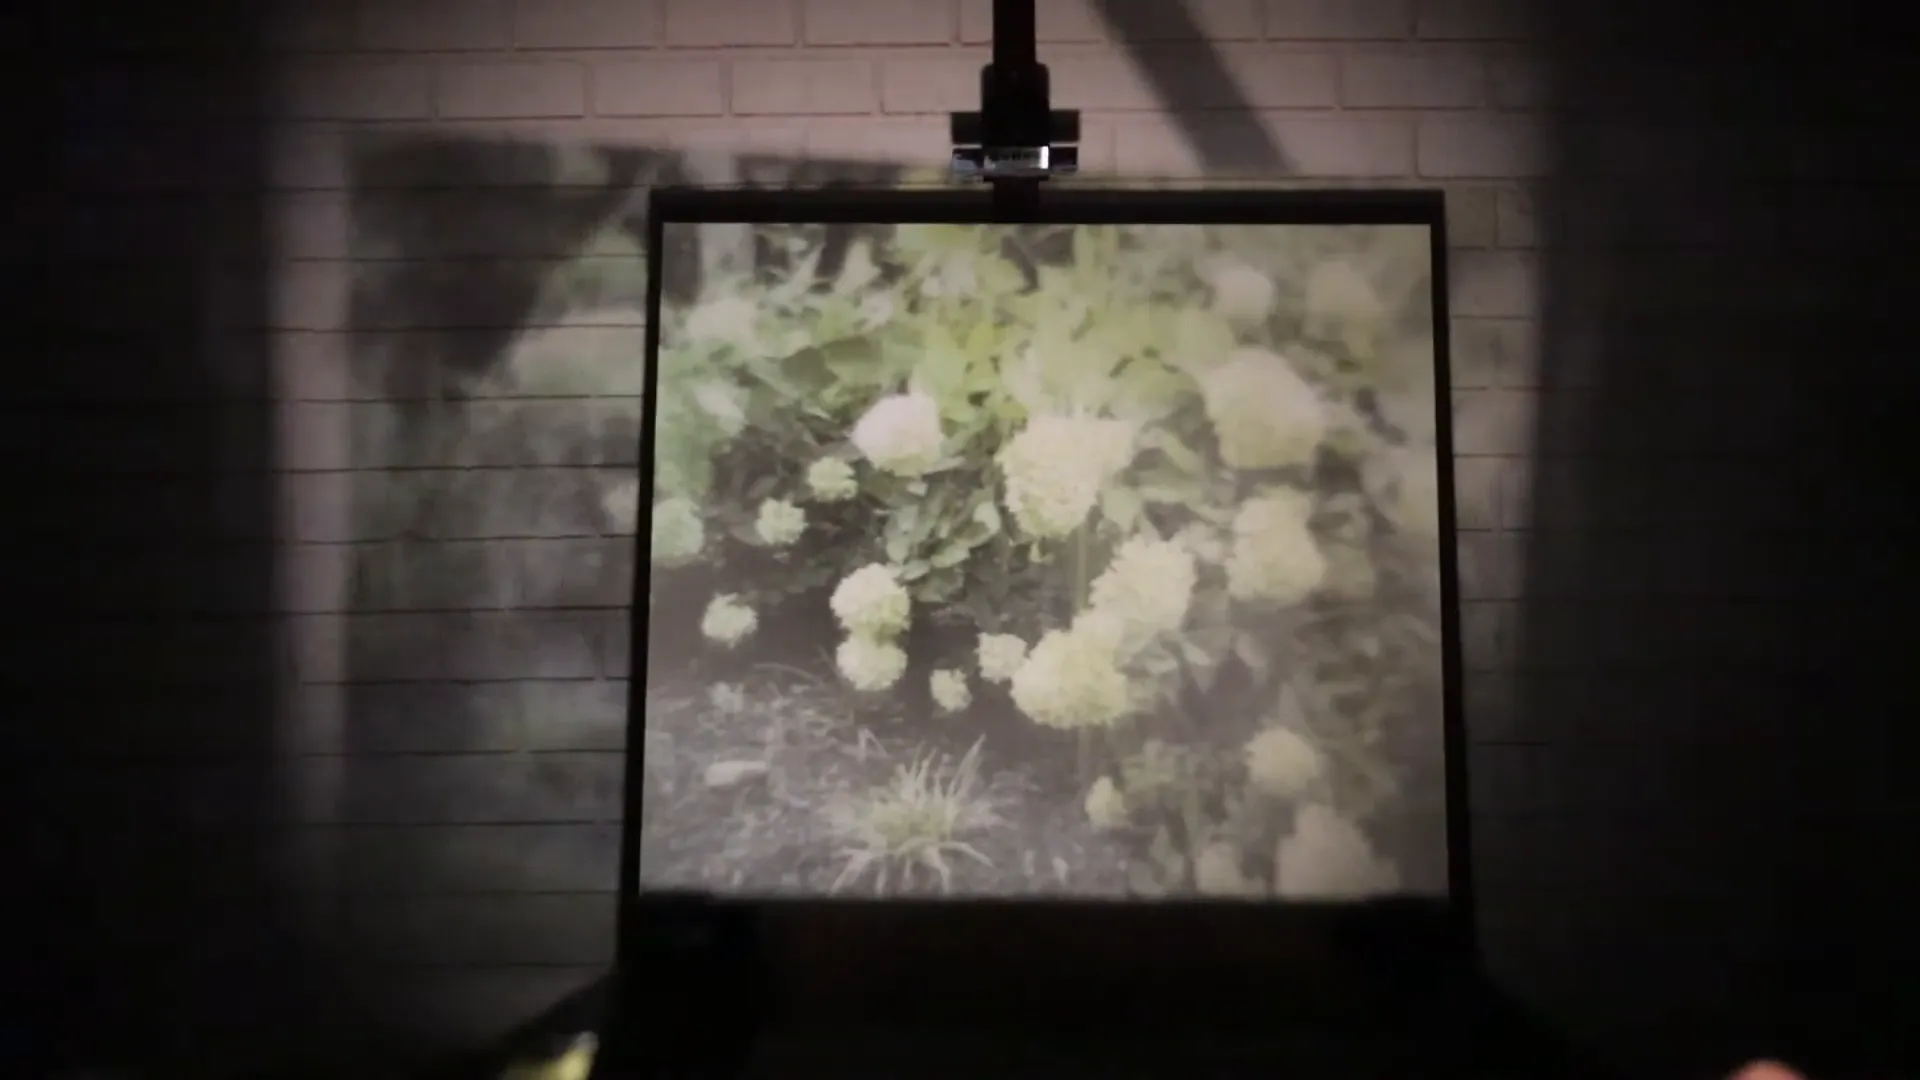
To begin, project your reference image onto the canvas. This helps in determining the scale and composition of your painting. Adjust the projector until you find the perfect section of the reference photo that you want to focus on. This technique allows for accurate placement and a more dynamic composition.
Step 3: Blocking In the Background 🌿
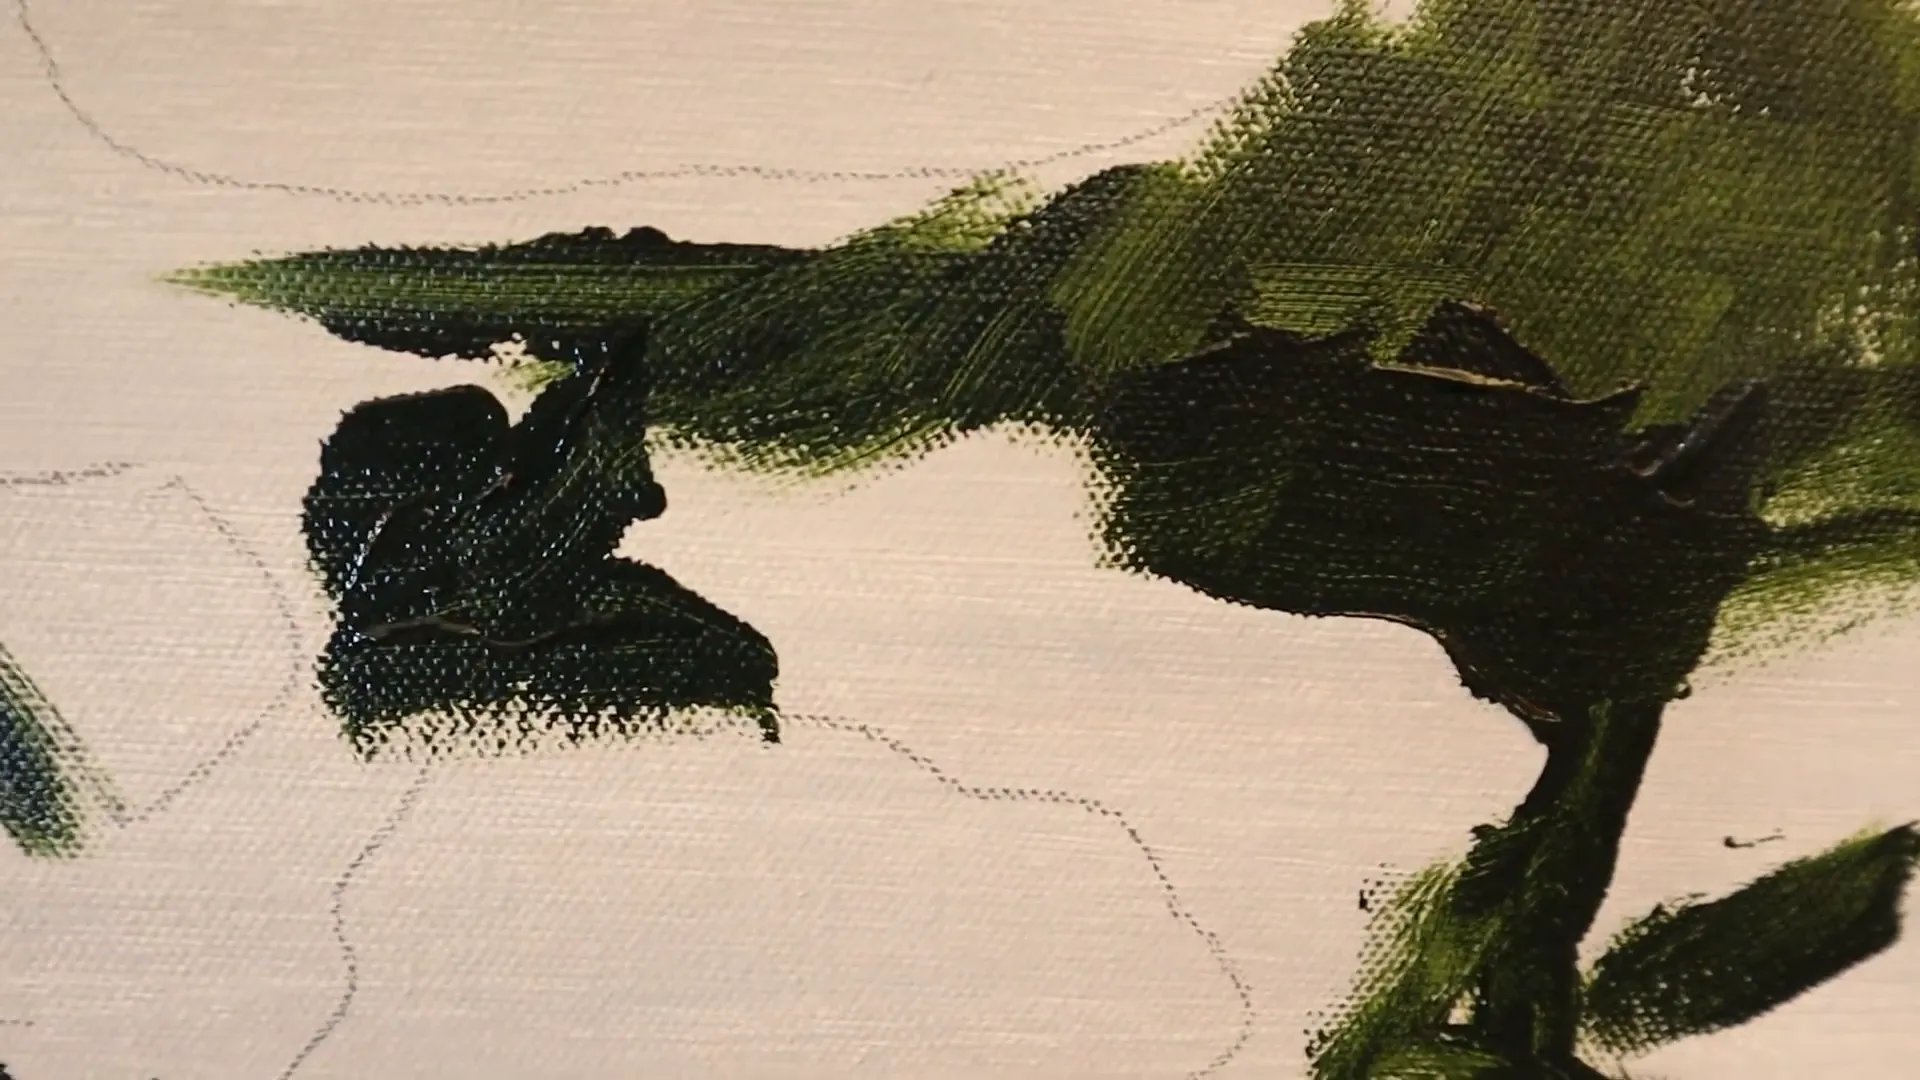
Start by blocking in the background. Using a combination of sap green and burnt umber, fill in the dark areas of your canvas. Be loose and expressive with your brush strokes; this will create a vibrant base for your hydrangeas. Don’t worry about perfection at this stage; you just want to establish colors and forms.
Step 4: Creating the Color Palette 🌈
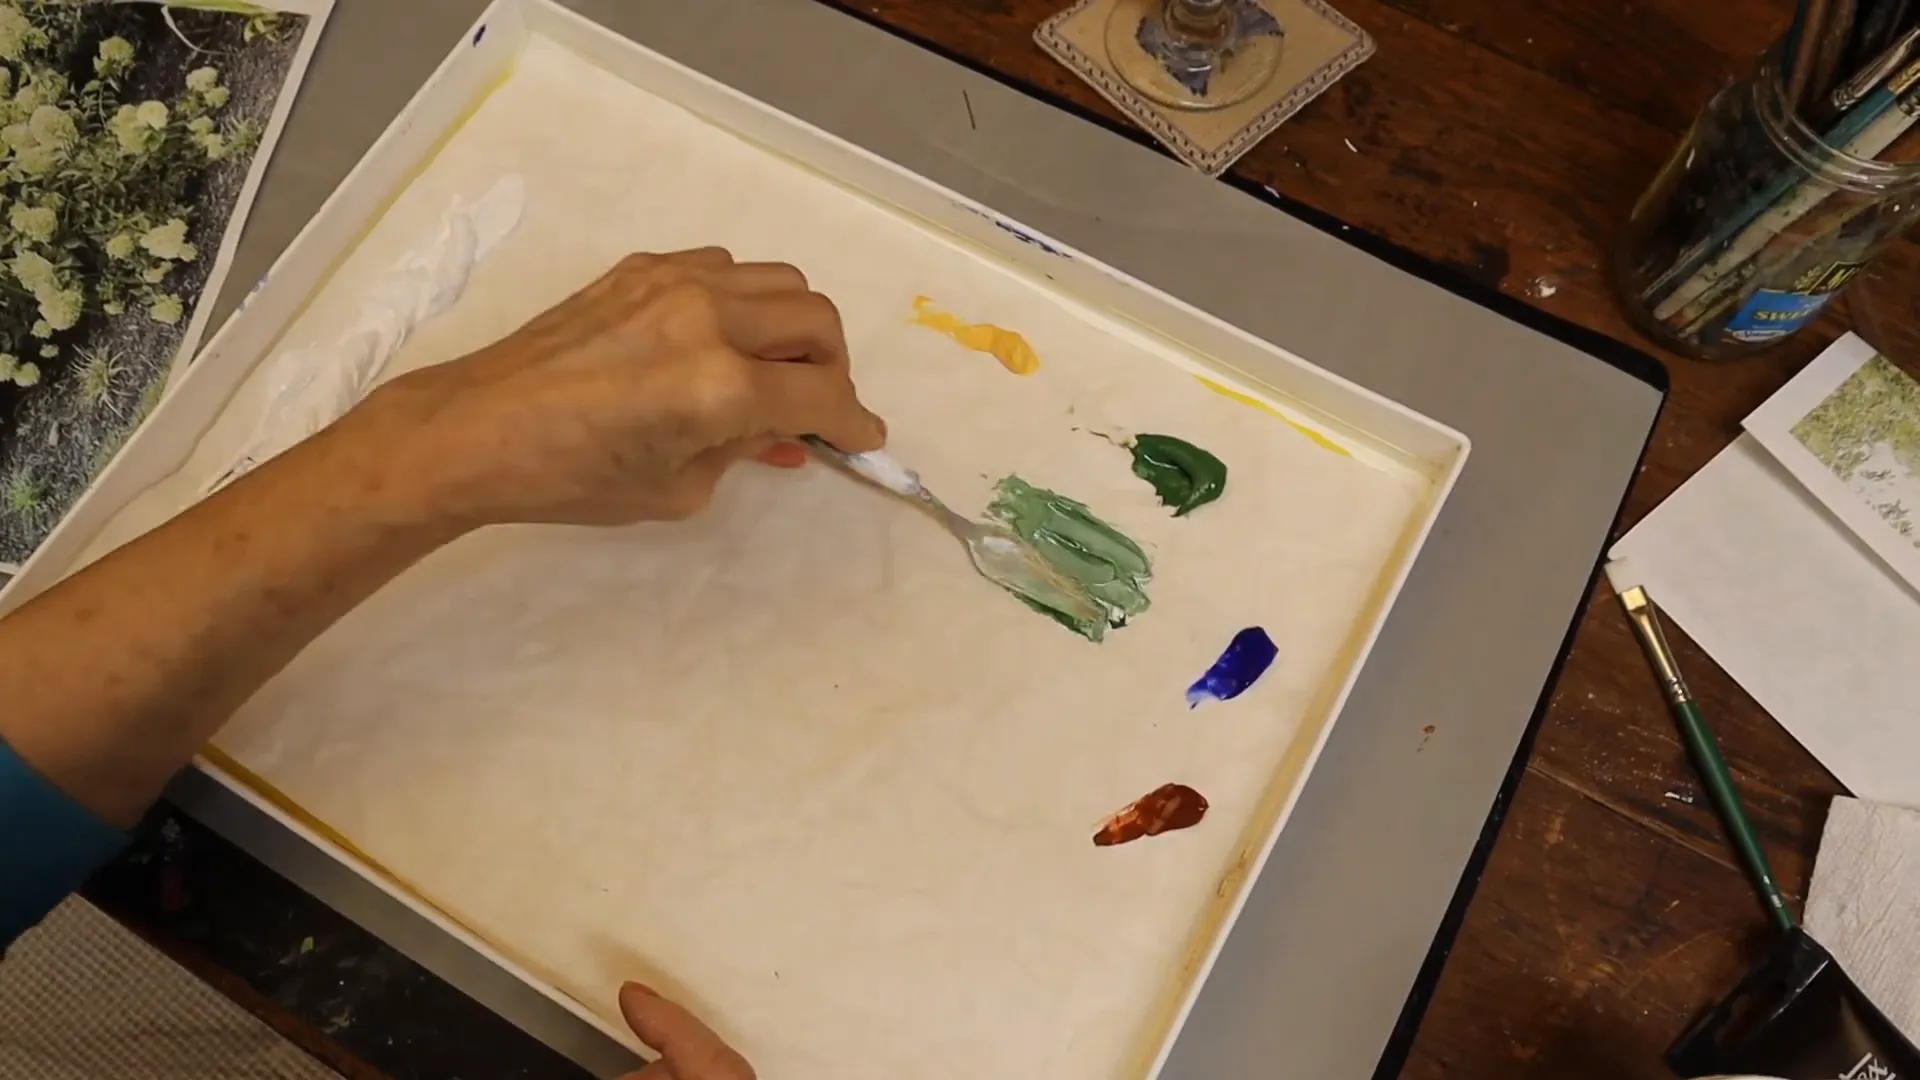
Next, develop your color palette for the hydrangeas. Mix a combination of green and white to achieve the soft, delicate look of hydrangeas. Keep in mind that the underside of the flowers will be darker, so adjust your values accordingly. Experiment with adding Naples yellow to warm up the colors, making them more inviting.
Step 5: Blocking In the Flowers 🌸
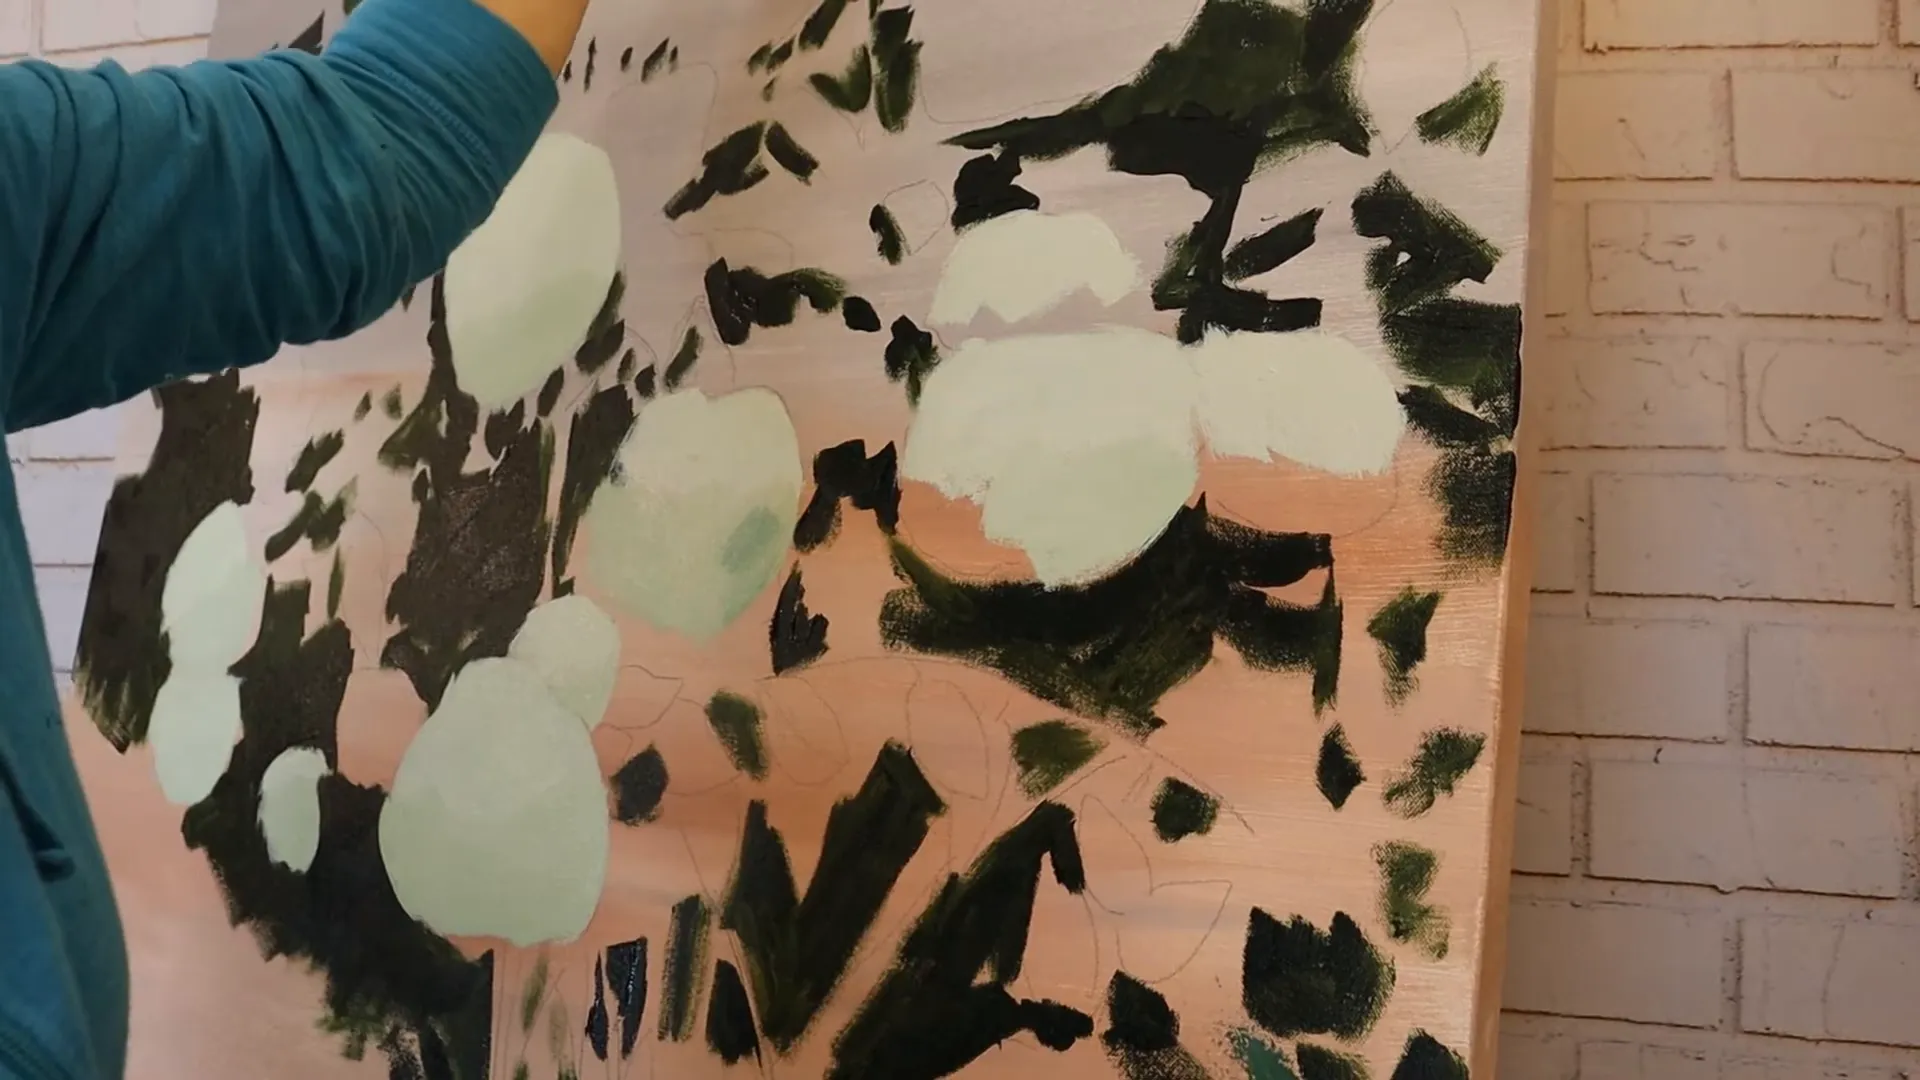
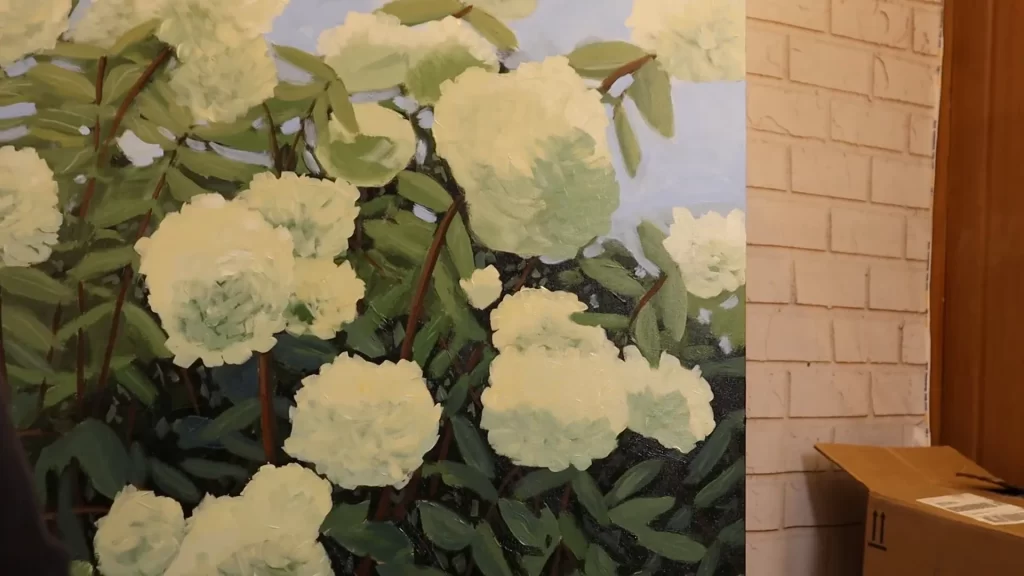
Using a larger brush, begin blocking in the flowers using your mixed colors. Focus on getting the shapes and general values down rather than detailing at this stage. Remember that the tops of the flowers will be lighter, while the undersides will be darker. This contrast adds depth to your painting.
Step 6: Adding Texture and Detail 🌼
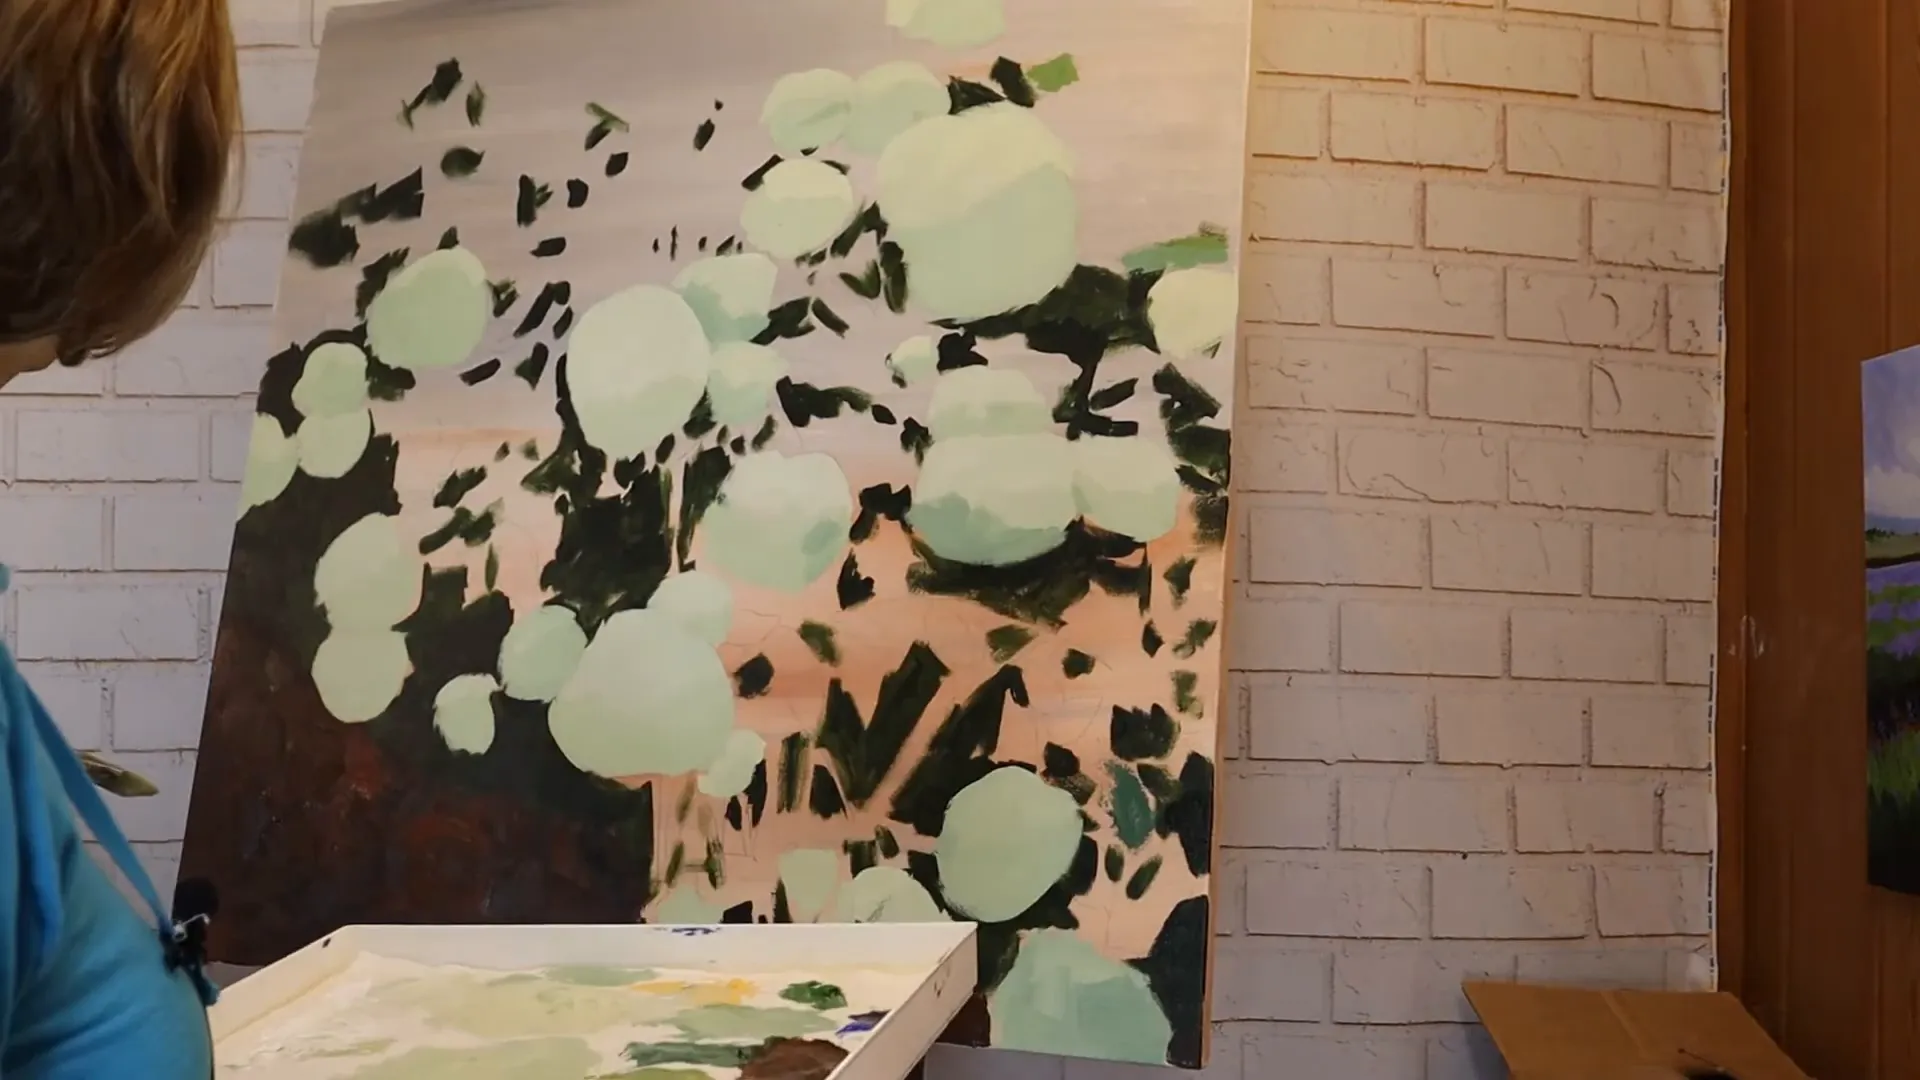
Once the flowers are blocked in, it’s time to add texture. Use a smaller brush to apply lighter strokes on the top of the flowers, creating highlights. This technique gives the impression of light hitting the petals, making them look more three-dimensional and vibrant.
Step 7: Painting the Leaves 🍃
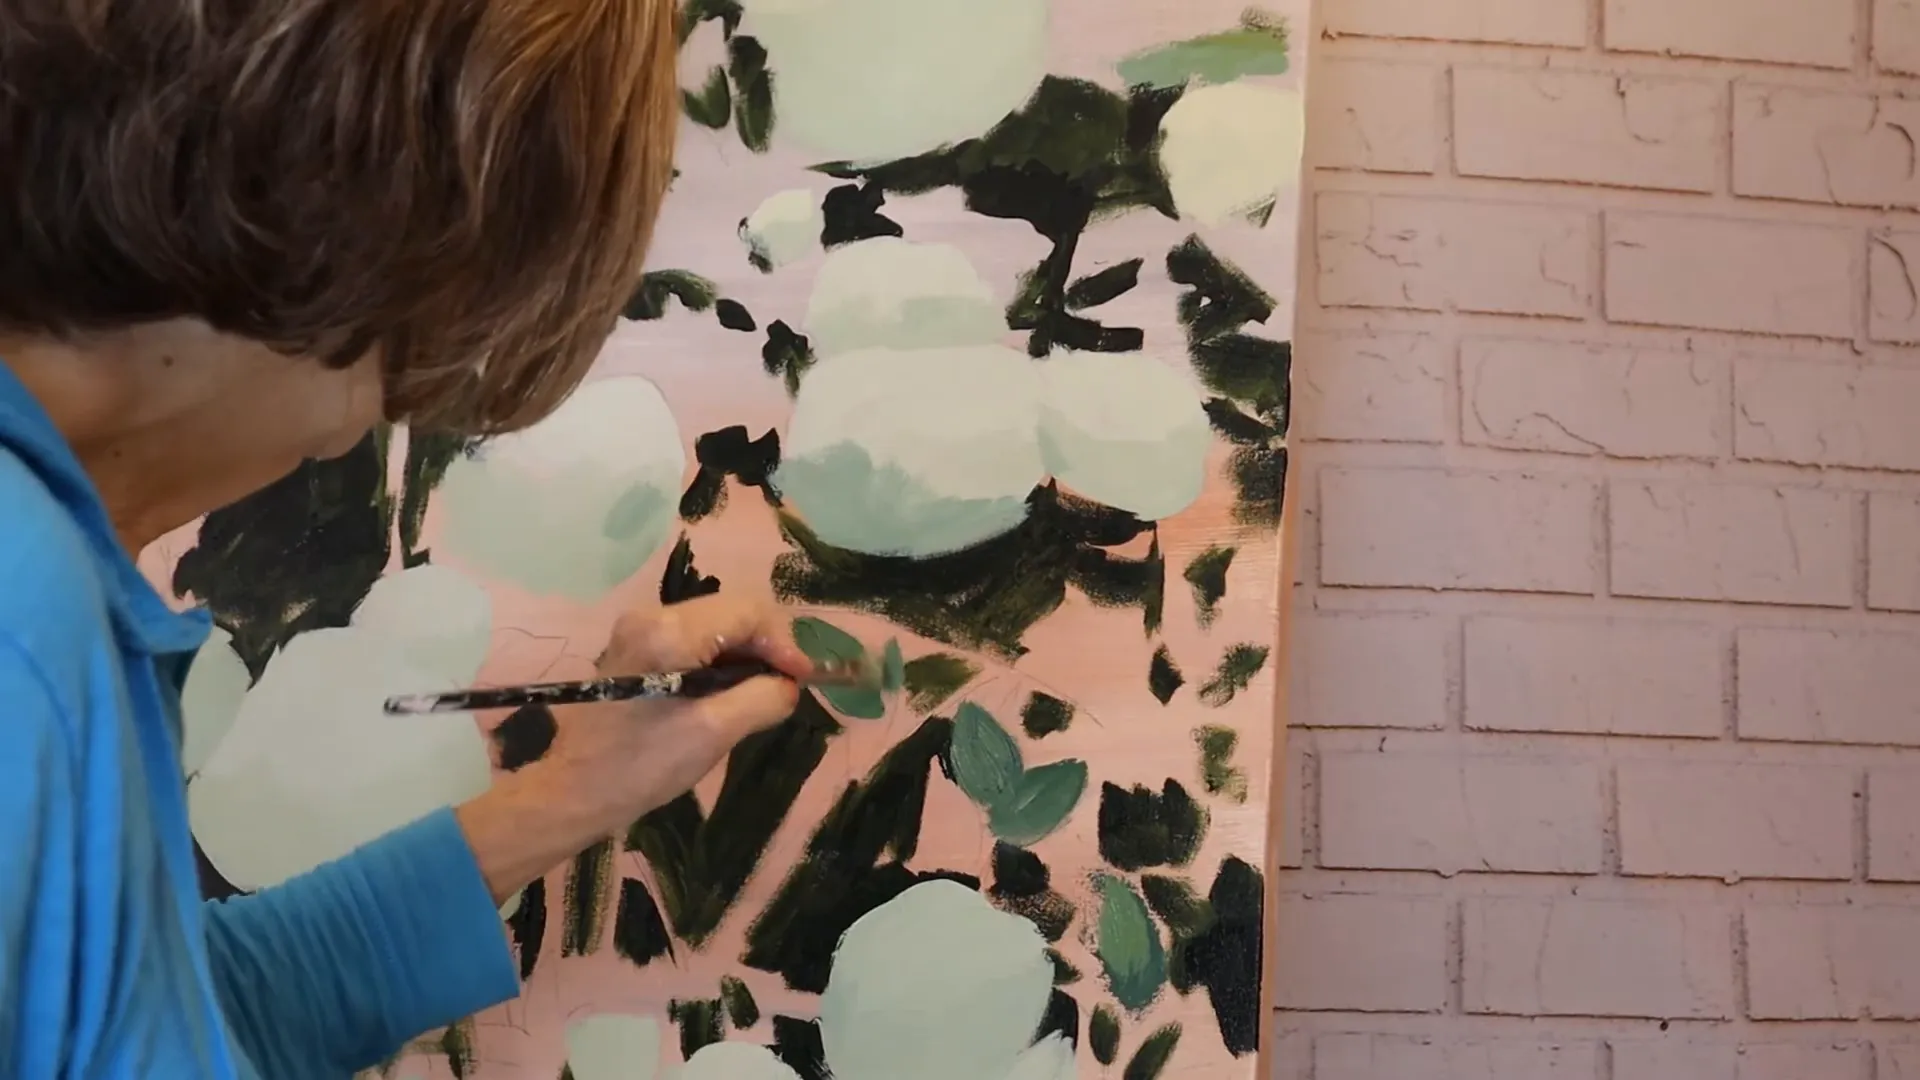
With the flowers in place, turn your attention to the leaves. Use a mix of greens, incorporating ultramarine for darker shades and a lighter yellow-green for highlights. As you paint, be mindful of the shapes and directions of the leaves; this variety will create a more natural and dynamic look.
Step 8: Final Touches and Dappled Light ✨
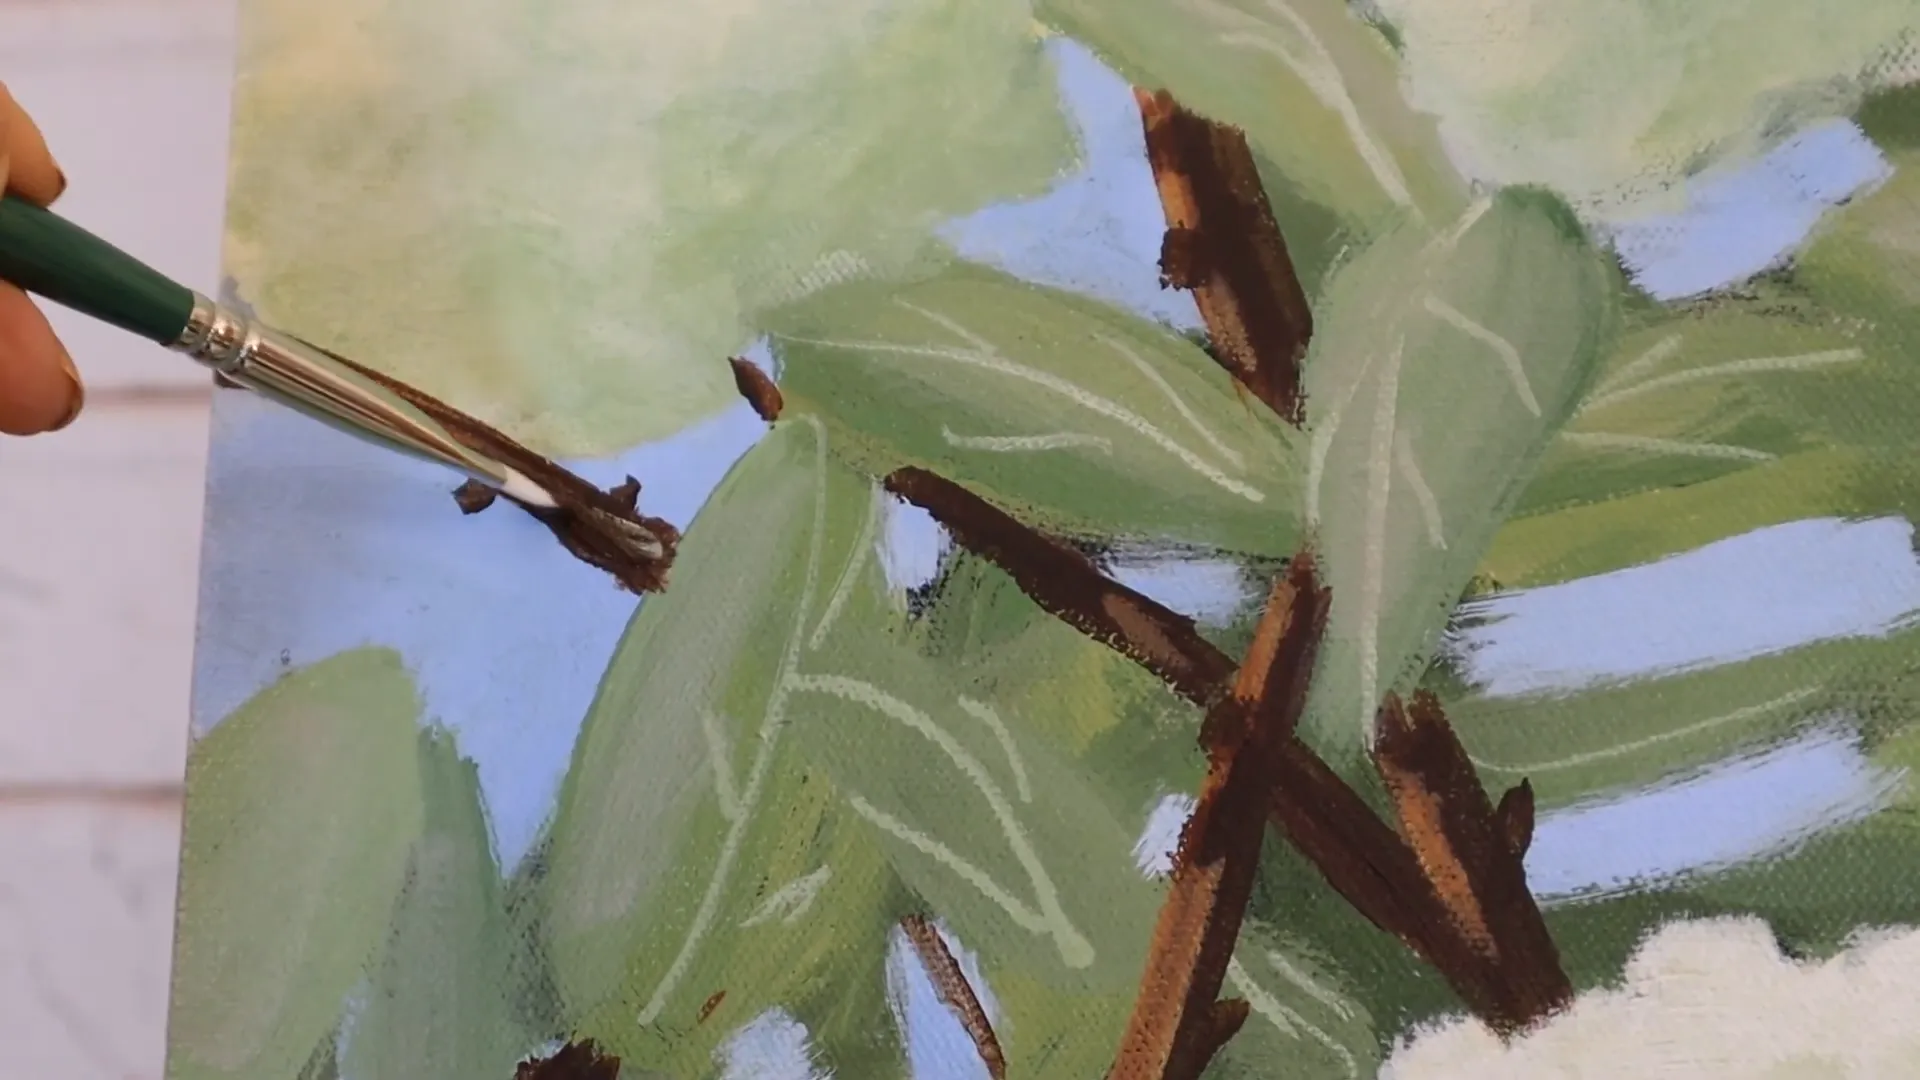
To bring your painting to life, add dappled light effects on the stems and mulch area. Use a straight edge brush dipped in burnt umber to draw lines along the shadow side of the stems. On the illuminated side, apply Naples yellow for highlights. This technique enhances the texture and adds realism to your painting.
Step 9: Reflect and Adjust 🎉
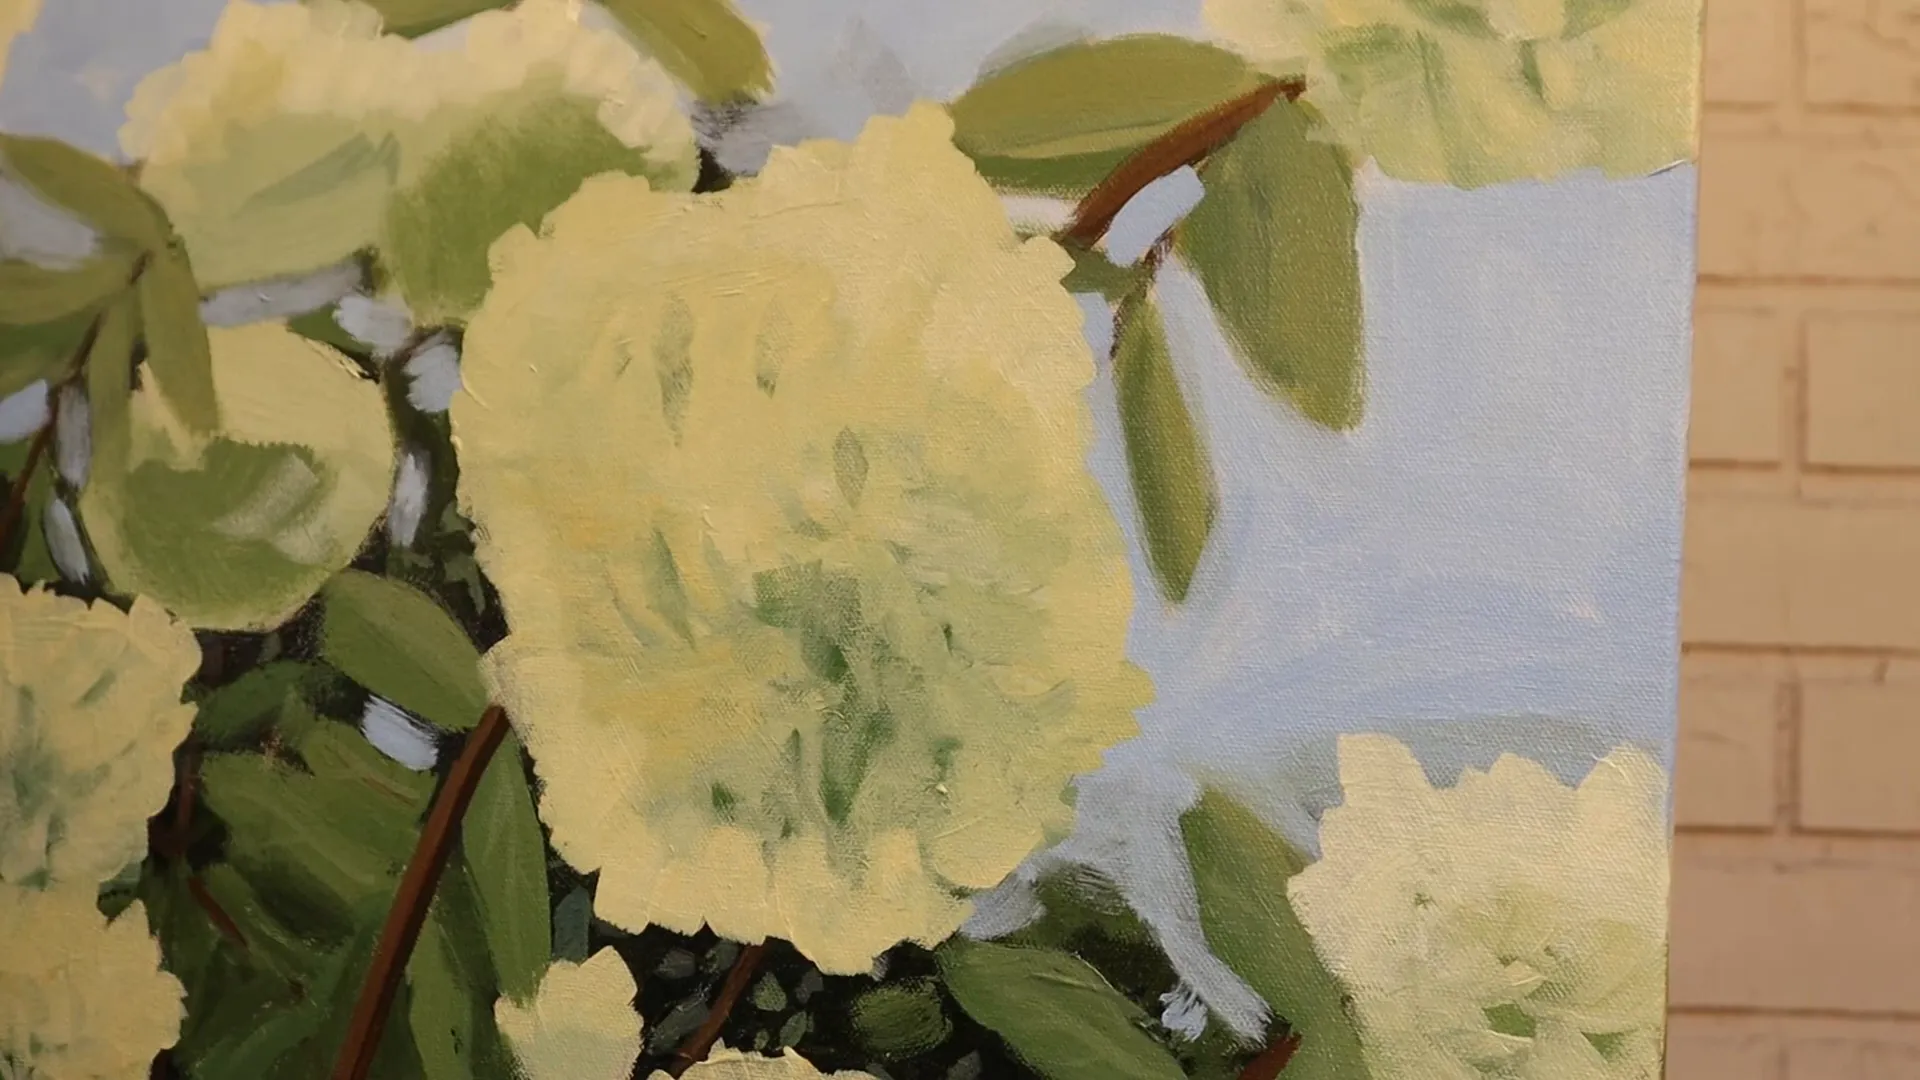
Step back and evaluate your painting. Adjust any areas that need more contrast or detail. This is your opportunity to enhance the composition and ensure the painting reads well overall. Don’t be afraid to make bold changes; art is all about experimentation!
Conclusion
Painting hydrangeas in a loose, impressionistic style is a rewarding experience that allows you to explore your creativity while capturing the delicate beauty of nature. By following this step-by-step guide, you’ve learned how to set up your workspace, create a vibrant color palette, and master techniques that bring your floral artwork to life. Whether you’re a beginner or a seasoned artist, this process encourages artistic growth and personal expression. So, gather your materials, let go of perfection, and enjoy the journey of creating your own stunning hydrangea masterpiece. Happy painting! 🌸🎨
Frequently Asked Questions (FAQ) ❓
What type of projector do you recommend for painting?
I recommend the Artograph projector with a Super Prism Lens for clarity and ease of use.
Can I use different types of canvas?
Yes! While I use a Blick Premier cotton canvas, you can use other types as long as they’re suitable for acrylic paints.
How do I achieve a loose painting style?
Use larger brushes and focus on making expressive strokes. Don’t fuss over details until the later stages.
What if I don’t like a color I mixed?
It’s always better to adjust colors early in the process. You can mix in more paint to change the hue or value.
How long does it take to complete a hydrangea painting?
The time varies depending on your style and detail level, but expect to spend several hours on a large piece.
