Step-by-Step Guide to Sketching a Labradoodle
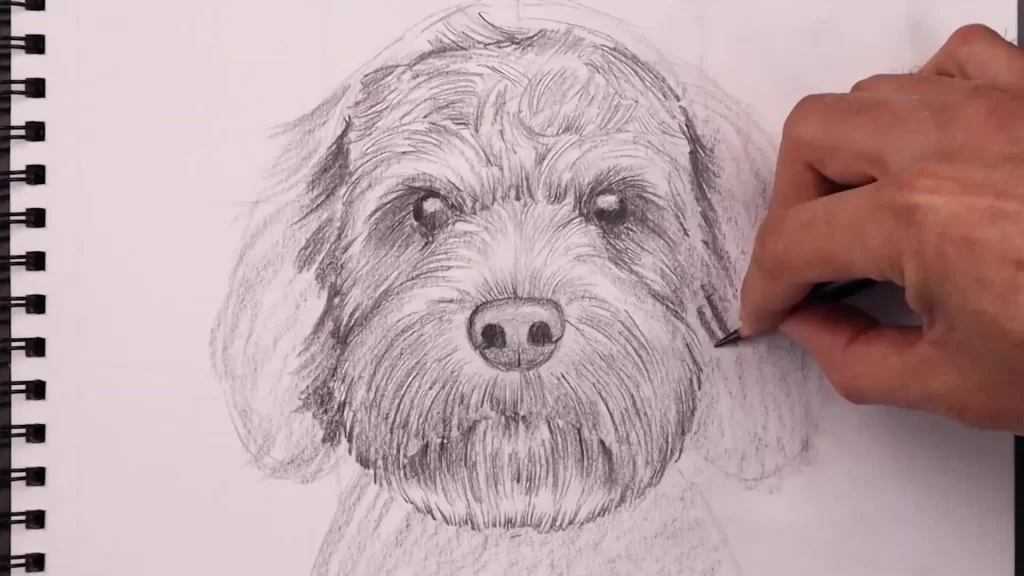
Learning how to draw a dog, especially a charming Labradoodle, can be a rewarding experience. This step-by-step tutorial will guide you through creating a sketch illustration of a Labradoodle, focusing on its unique features and fluffy texture.
- Step-by-Step Guide to Sketching a Labradoodle
- Step 1: Start with the Basic Guidelines 🖊️
- Step 2: Create the Facial Structure 🐶
- Step 3: Define the Ears and Muzzle 🐾
- Step 4: Add Details to the Nose and Mouth 🌟
- Step 5: Shape the Eyes and Fur Around Them 👀
- Step 6: Refine the Fur Texture 🎨
- Step 7: Final Touches and Sign Your Art ✍️
- Conclusion
- FAQ ❓
- How to Draw a Dog
Step 1: Start with the Basic Guidelines 🖊️
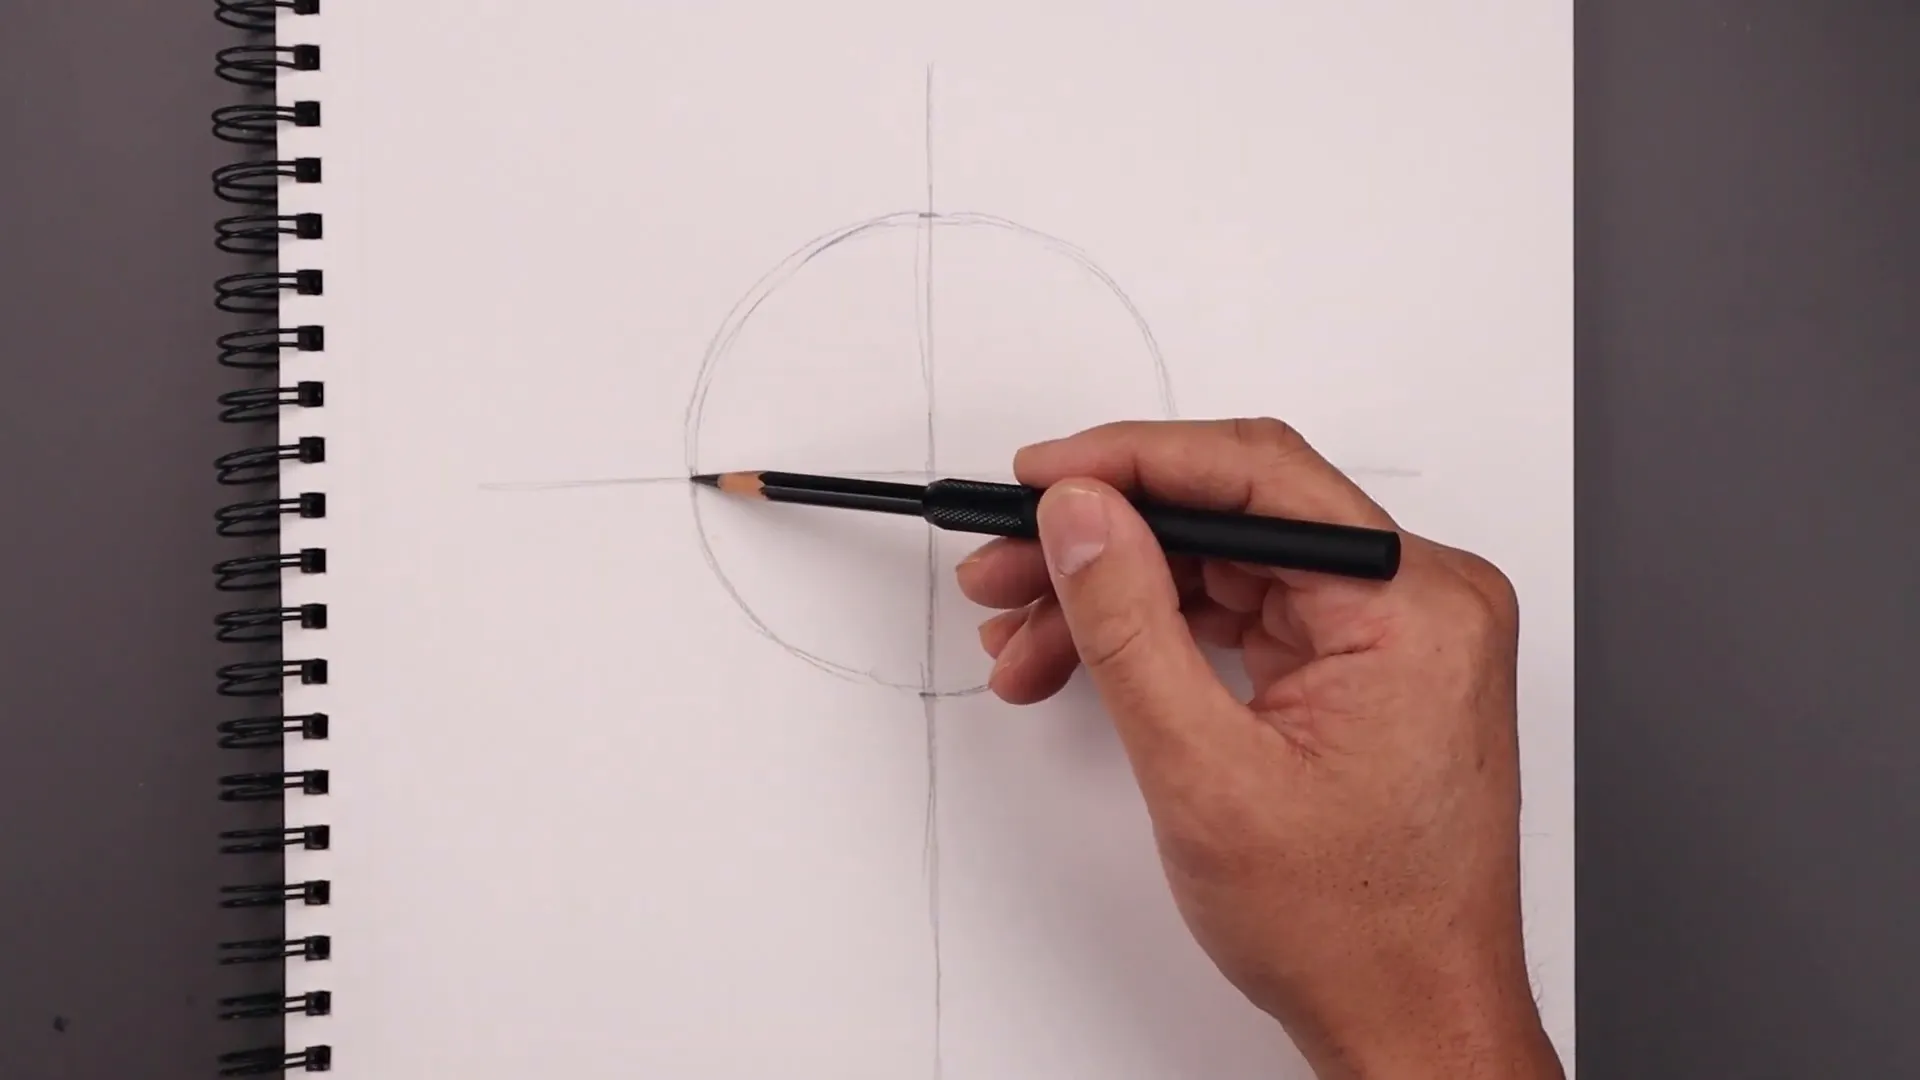
Begin by sketching a light vertical line down the center of your page. This will serve as the central guideline for your drawing. Next, draw a horizontal line across the middle of the vertical line to help visualize the circle’s size.
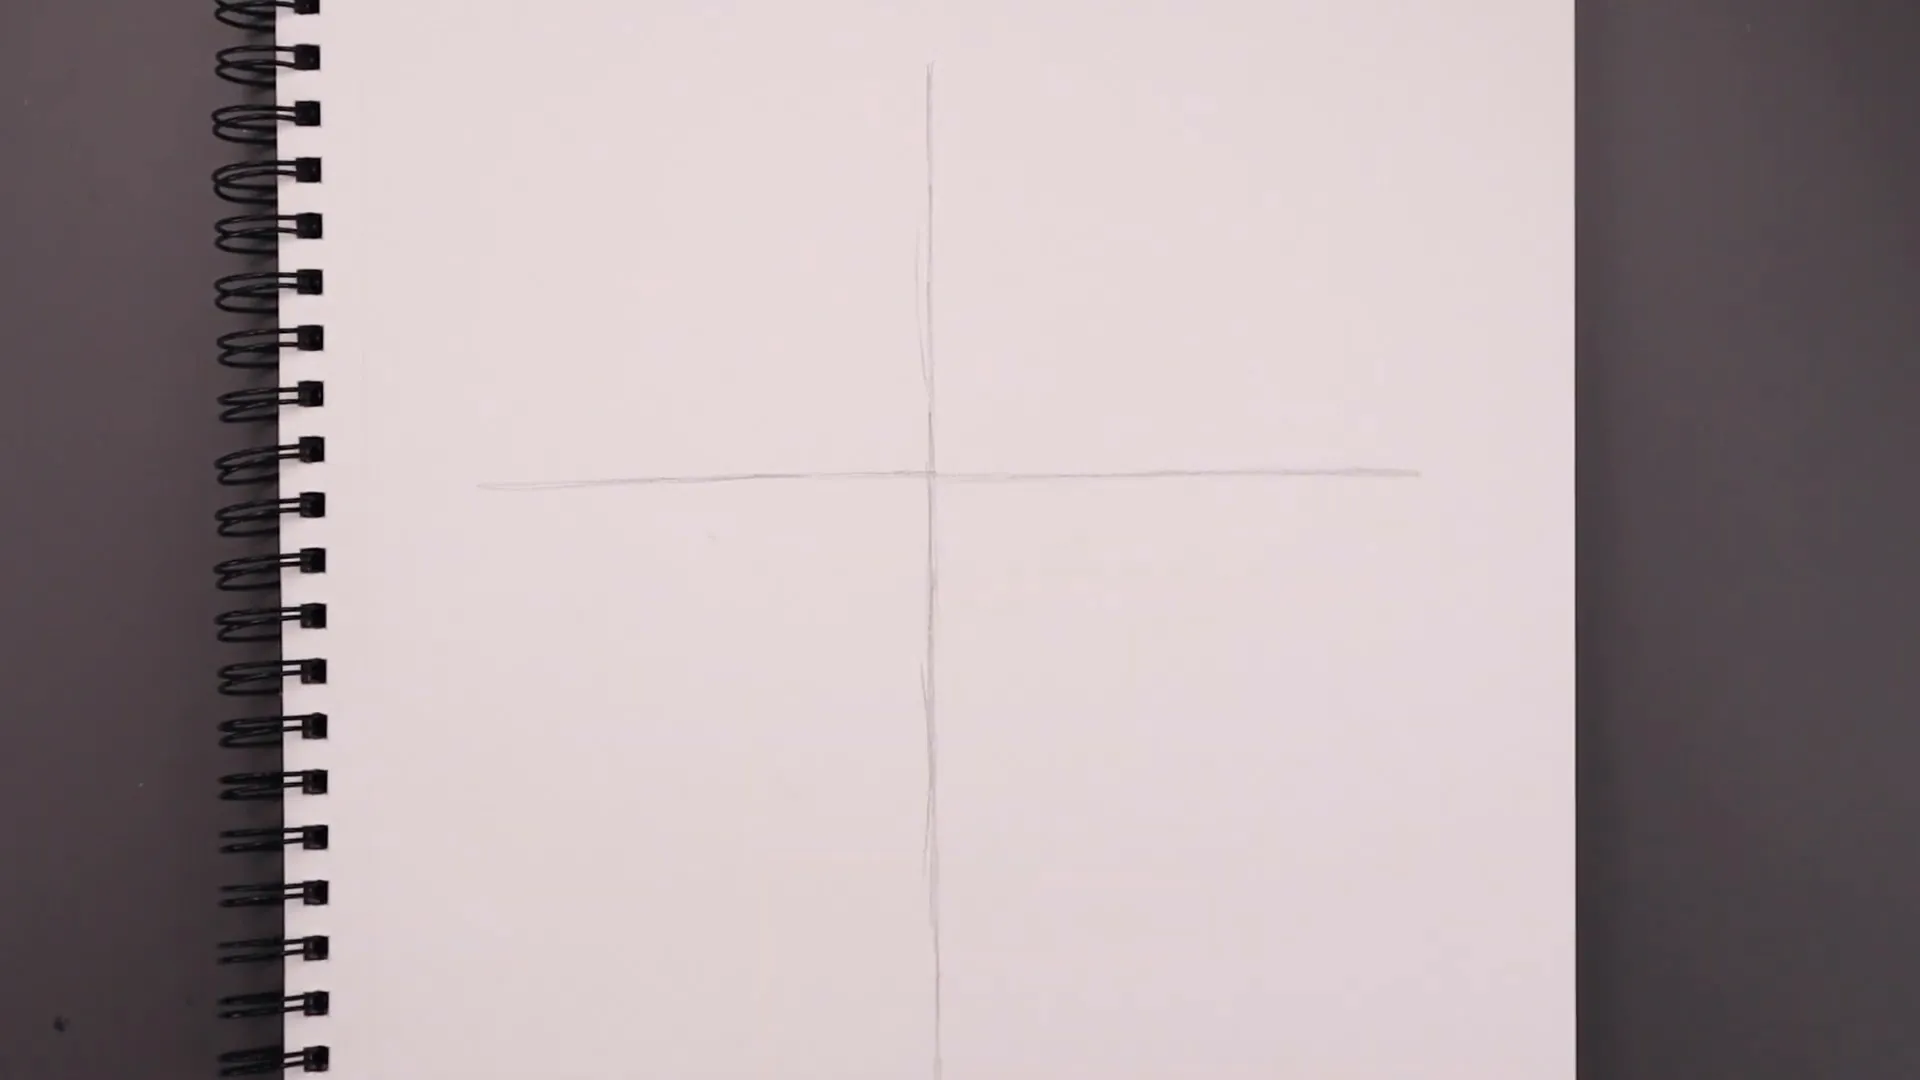
Using these guidelines, sketch a circle by marking the top, bottom, and sides equidistant from the center. Lightly connect these points to form a rough circle. Don’t worry about perfection; the aim is to get the right size.
Step 2: Create the Facial Structure 🐶
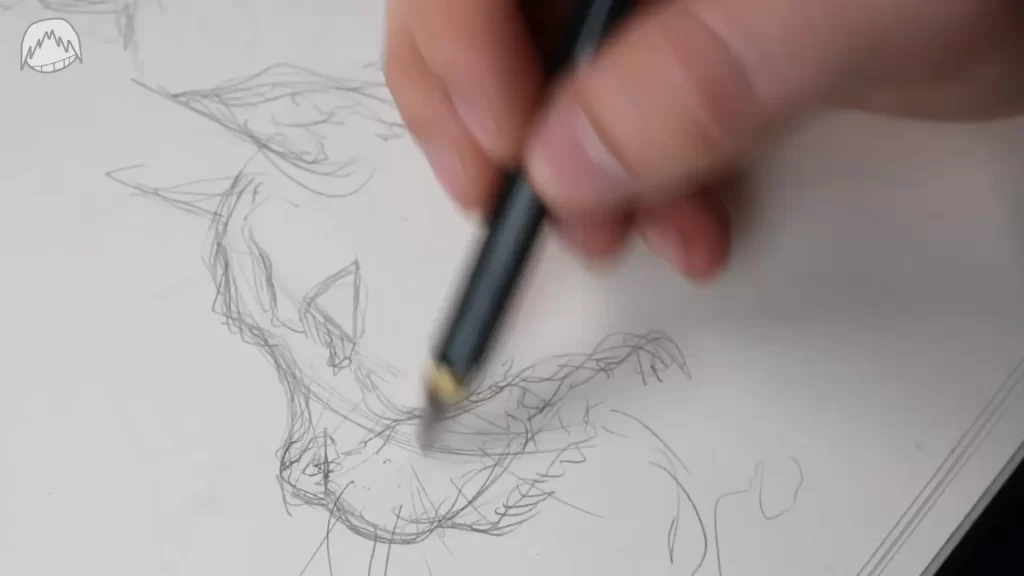
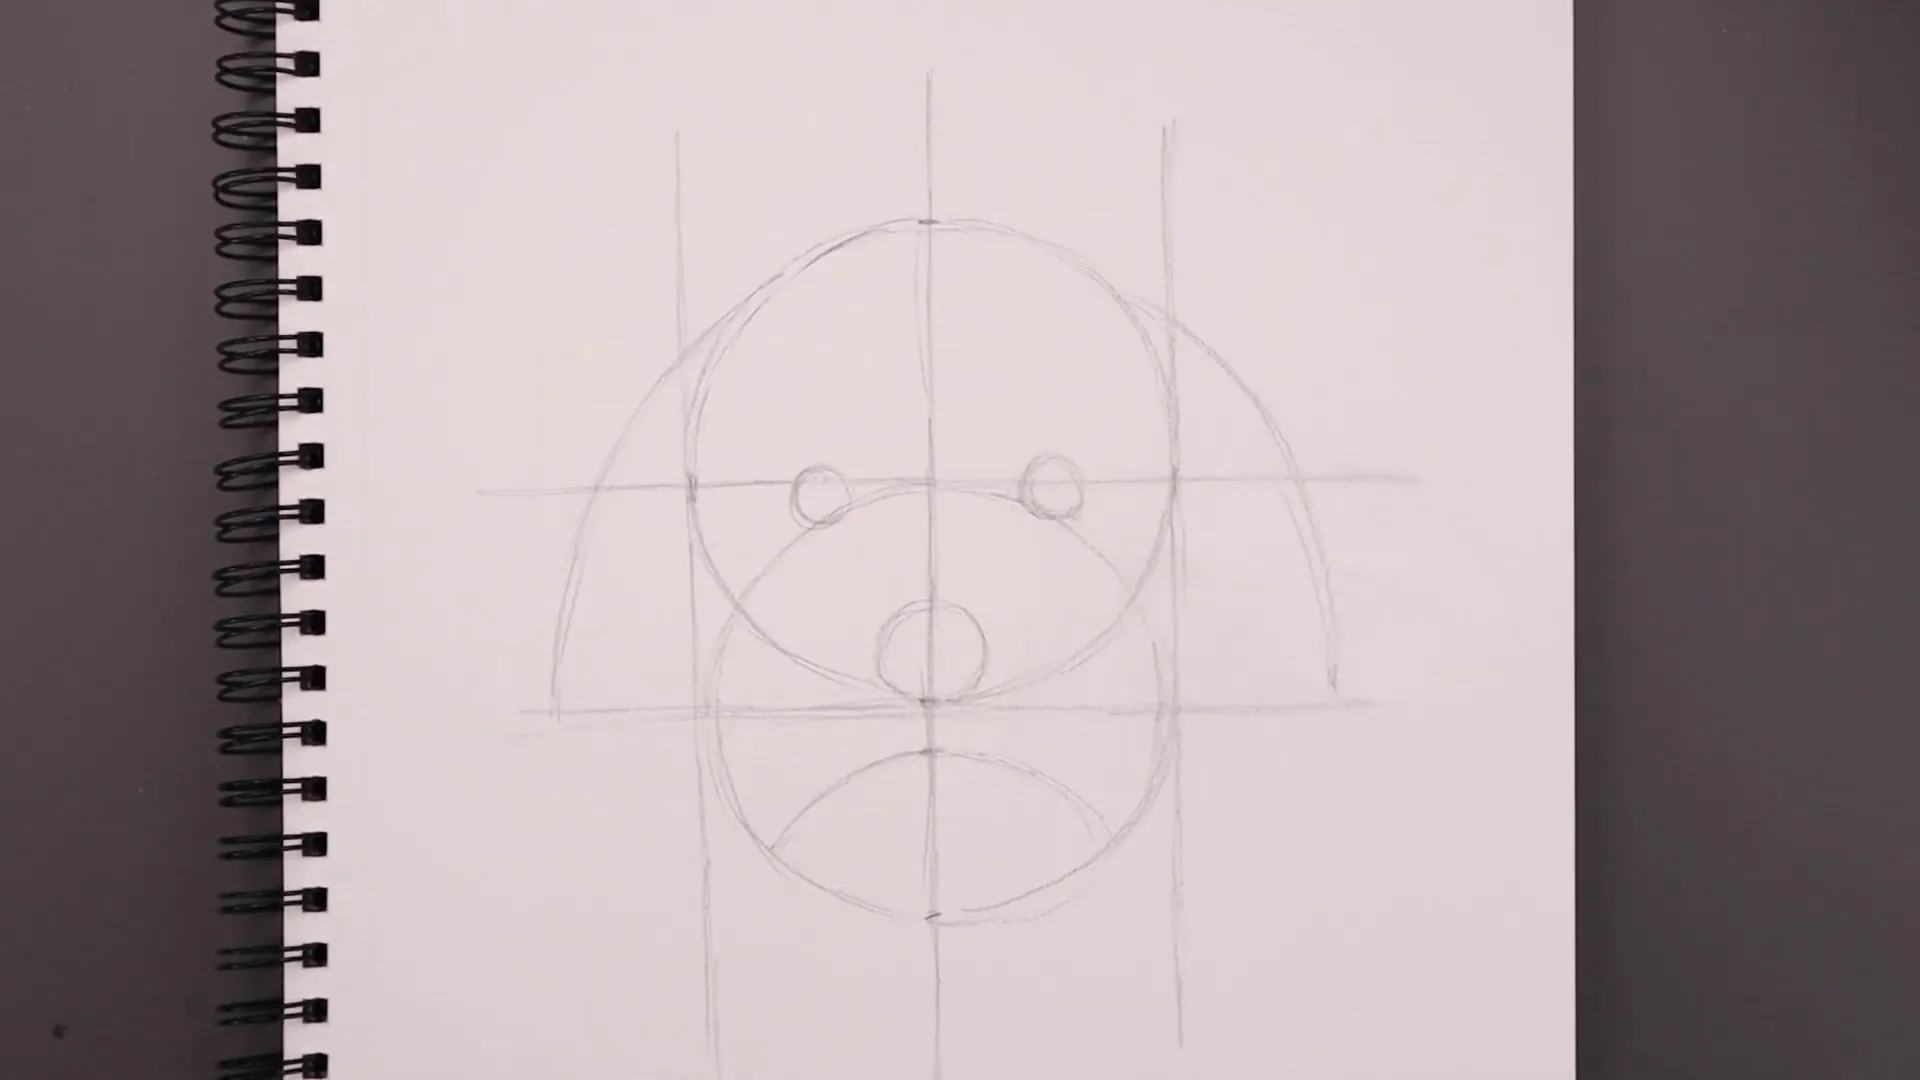
Draw another guideline on the side of the circle, extending it from top to bottom. Then, add a horizontal line across the bottom of the circle. This helps in positioning the facial features.
Sketch a similar-sized circle overlapping the bottom half of the primary circle. This will be the guide for the muzzle. Add two smaller circles on each side for the eyes and a larger circle at the bottom center for the nose.
Step 3: Define the Ears and Muzzle 🐾
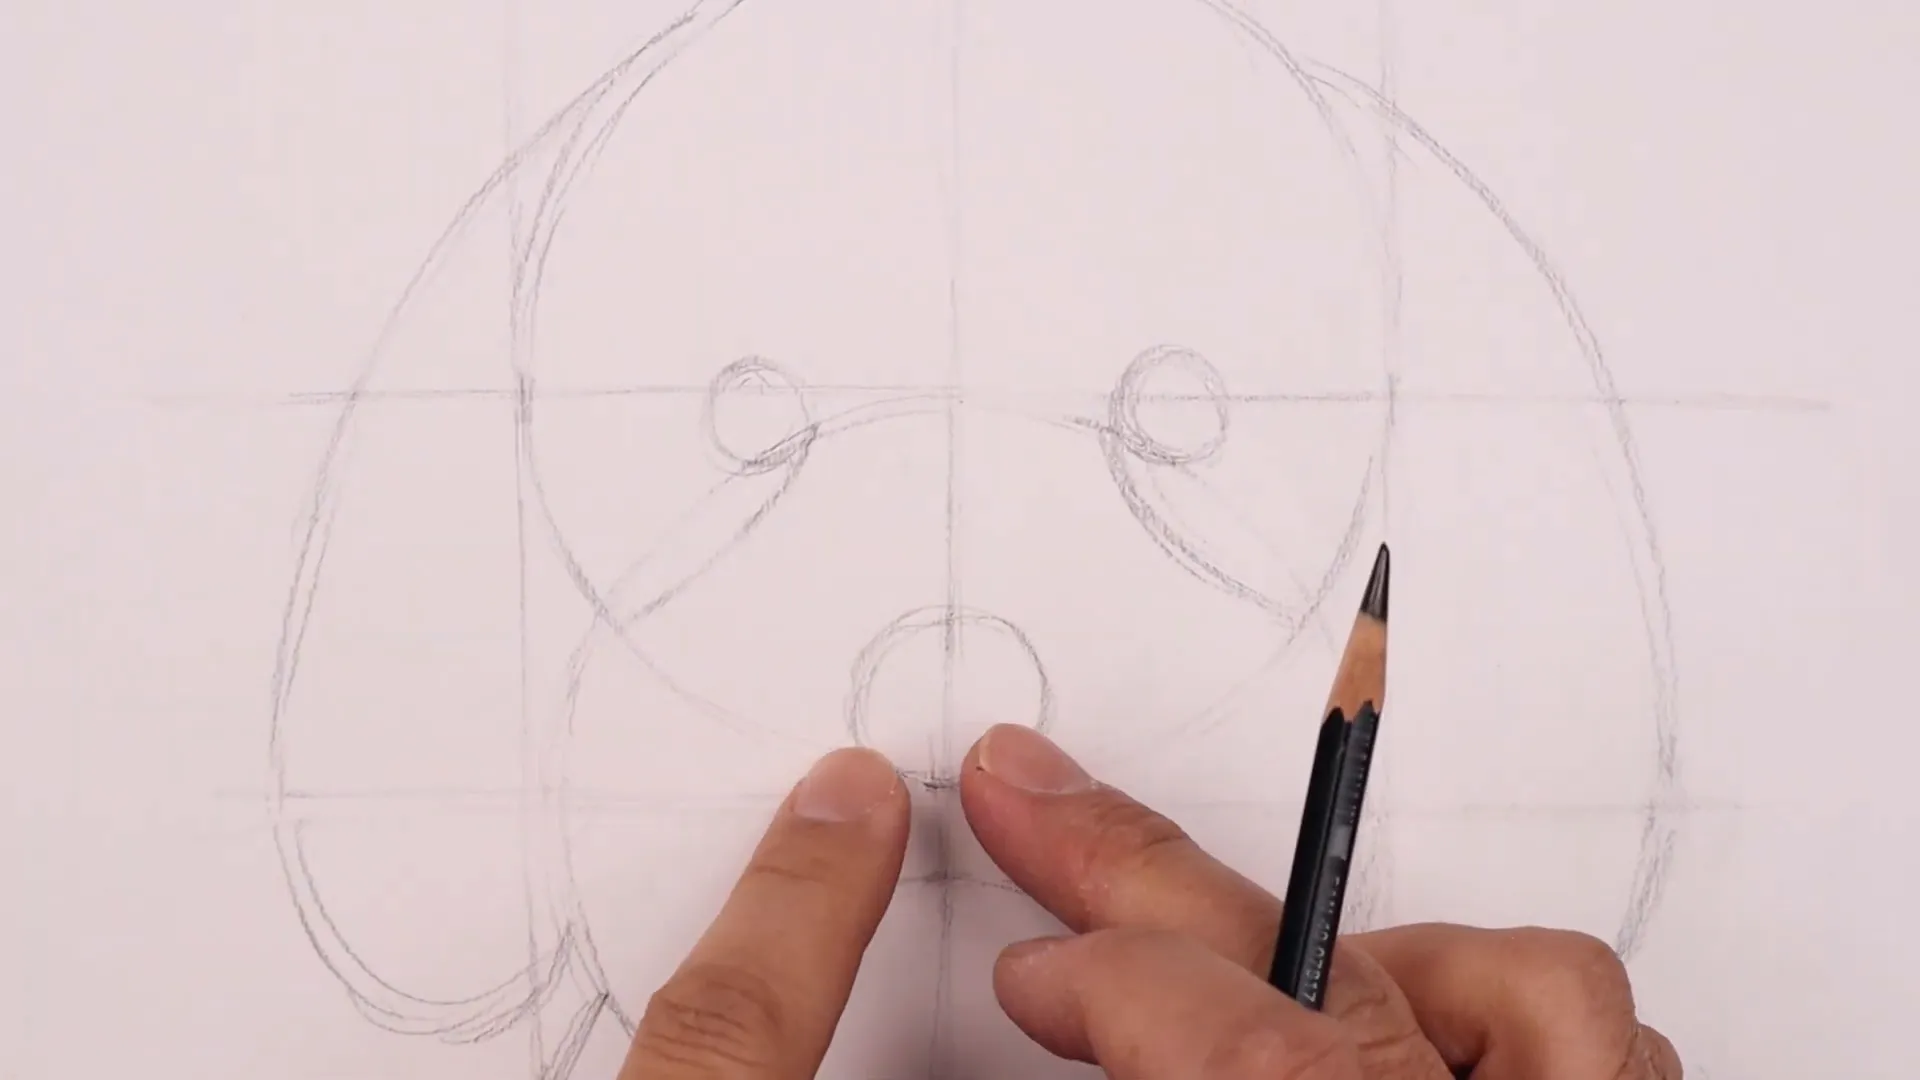
From the top left, sketch the ears by bending them outward and then downward, aligning with the guideline. Repeat on the right side. Round out the ears and pull them towards the head’s side.
Add shape to the muzzle’s top edge. Start from the inside of one eye, curl down, and bend outward. Erase unnecessary guidelines for a cleaner sketch.
Step 4: Add Details to the Nose and Mouth 🌟
Focus on the nose by flattening the top edge, rounding the bottom, and adding nostrils. Darken these areas for depth and add a highlight at the nose’s top edge. Use the pencil’s side to pull fur texture around the nose, blending upwards.
Work around the nose, down to the mouth, adding fur texture. Draw the mouth line by extending from the nose’s bottom edge and bending it outward.
Step 5: Shape the Eyes and Fur Around Them 👀
Trace the eyes’ outline, tucking them under the fur. Add a highlight square at the top of each eye and darken the surrounding area. Lightly shade inside the highlights.
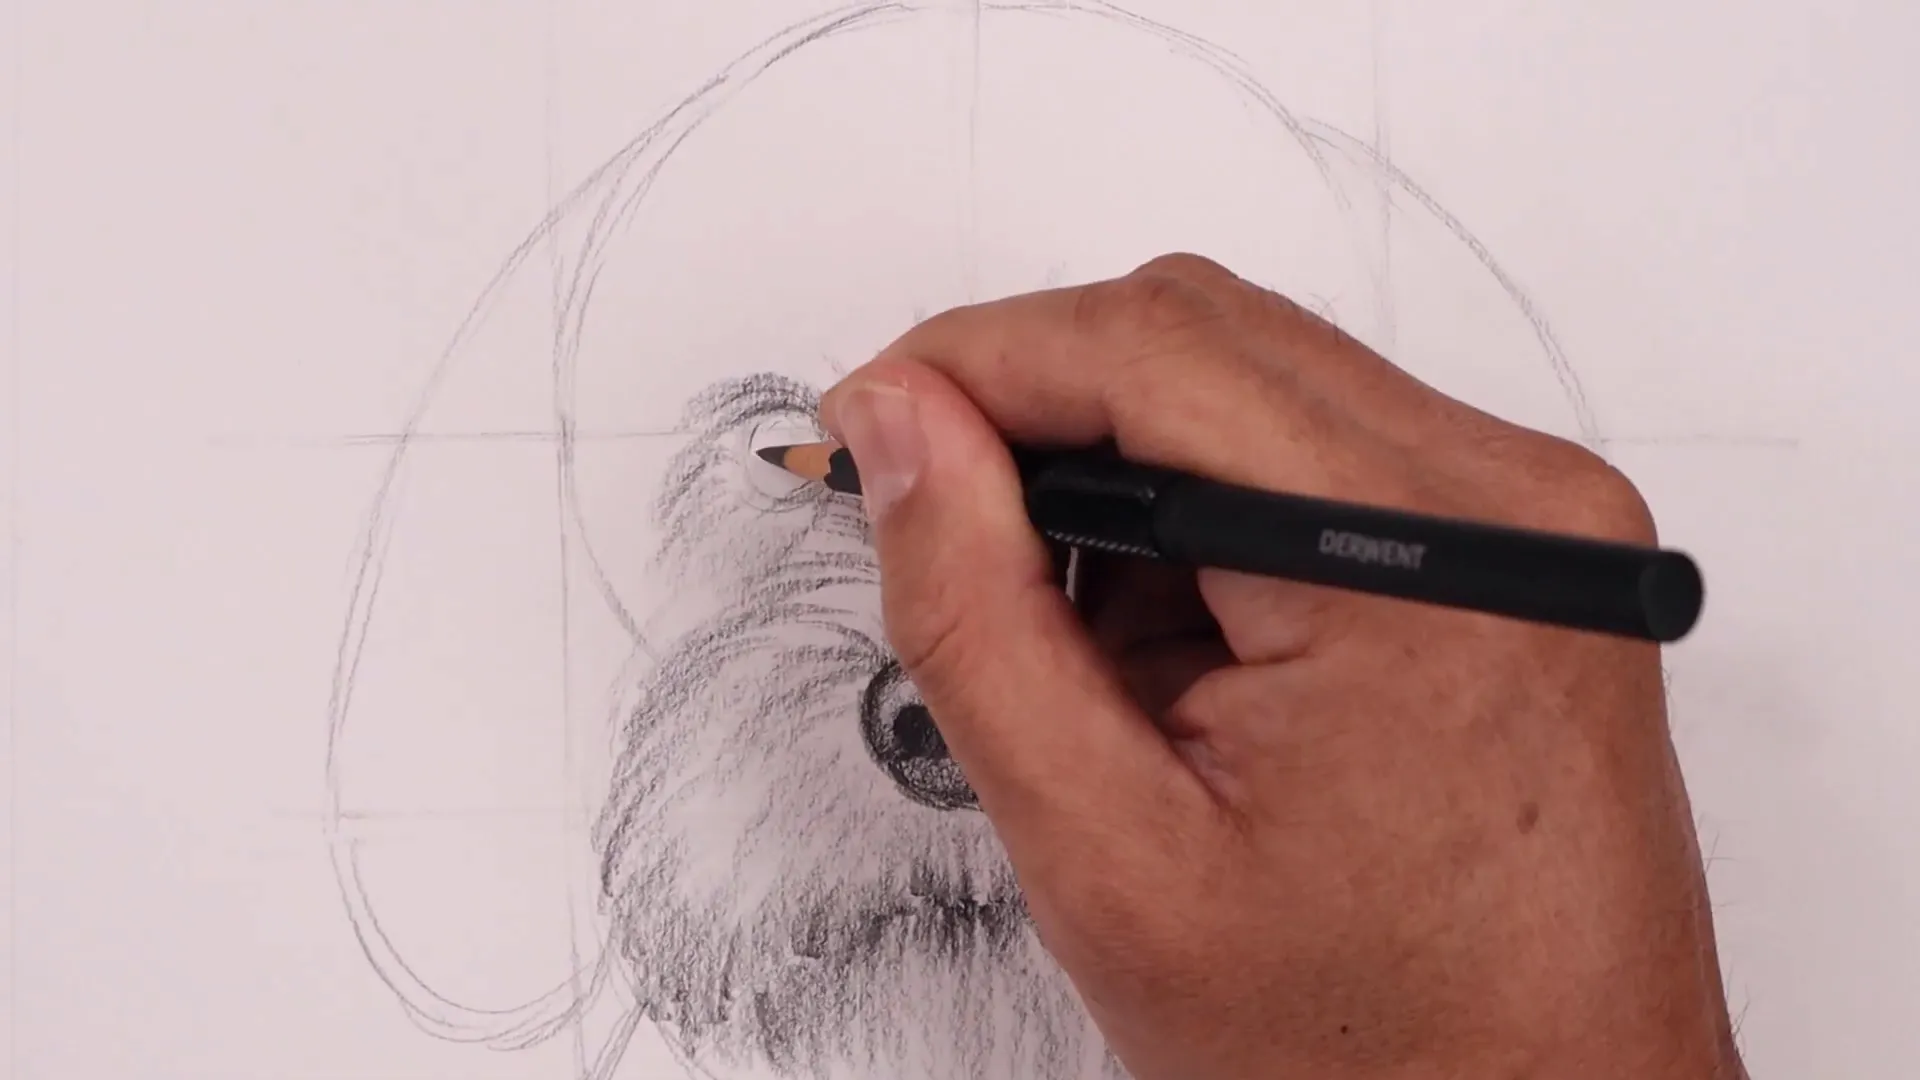
Work on the fur around the eyes, extending up and outwards. Add loose fur texture along the head’s top and continue around the ears, emphasizing curls and shading lightly inside.
Step 6: Refine the Fur Texture 🎨
Using the pencil tip, refine the fur texture starting around the nose and moving down the sides. Add shadows along the head’s side and across the ears for contrast.
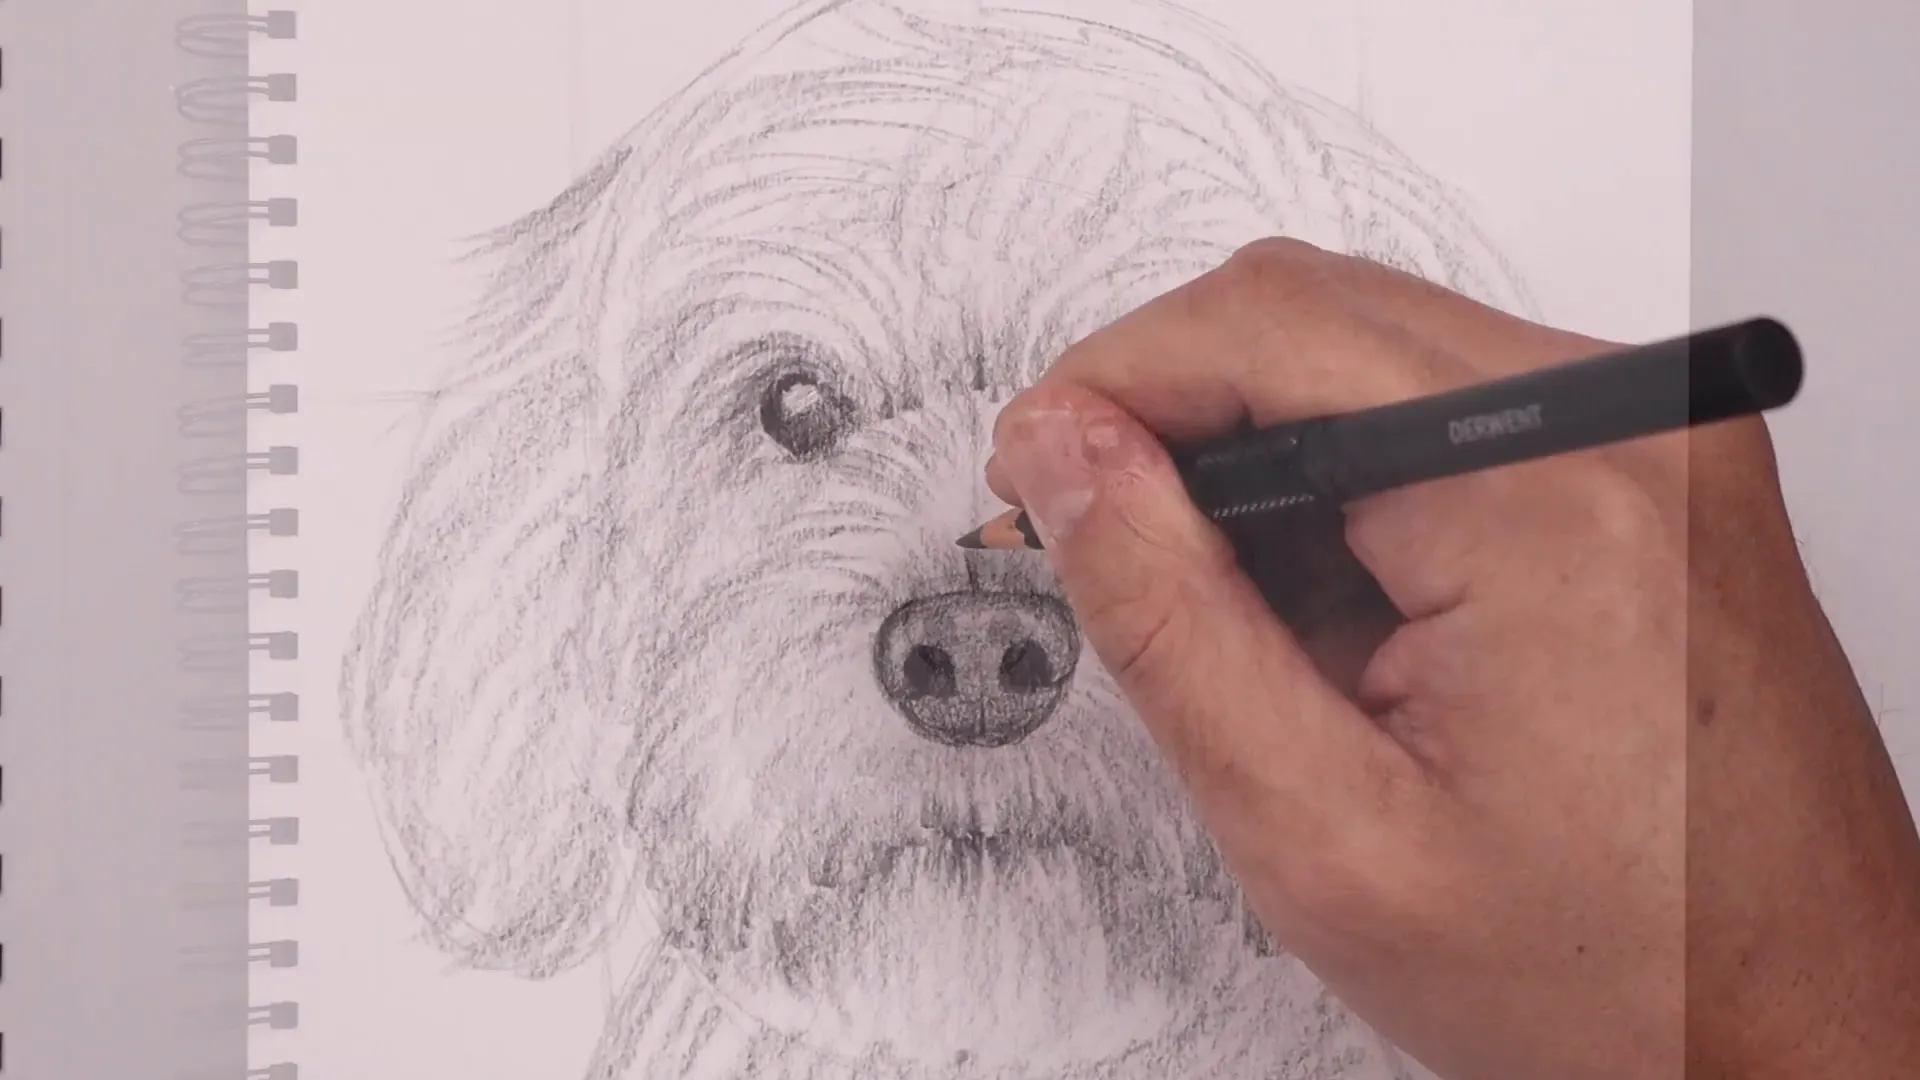
Introduce dark shadows beneath the head and across the body. Add short curls for texture, refining contrast as needed.
Step 7: Final Touches and Sign Your Art ✍️
As you near completion, continue refining textures and contrasts. Ensure your artwork has depth and dimension. Finally, don’t forget to sign your masterpiece!
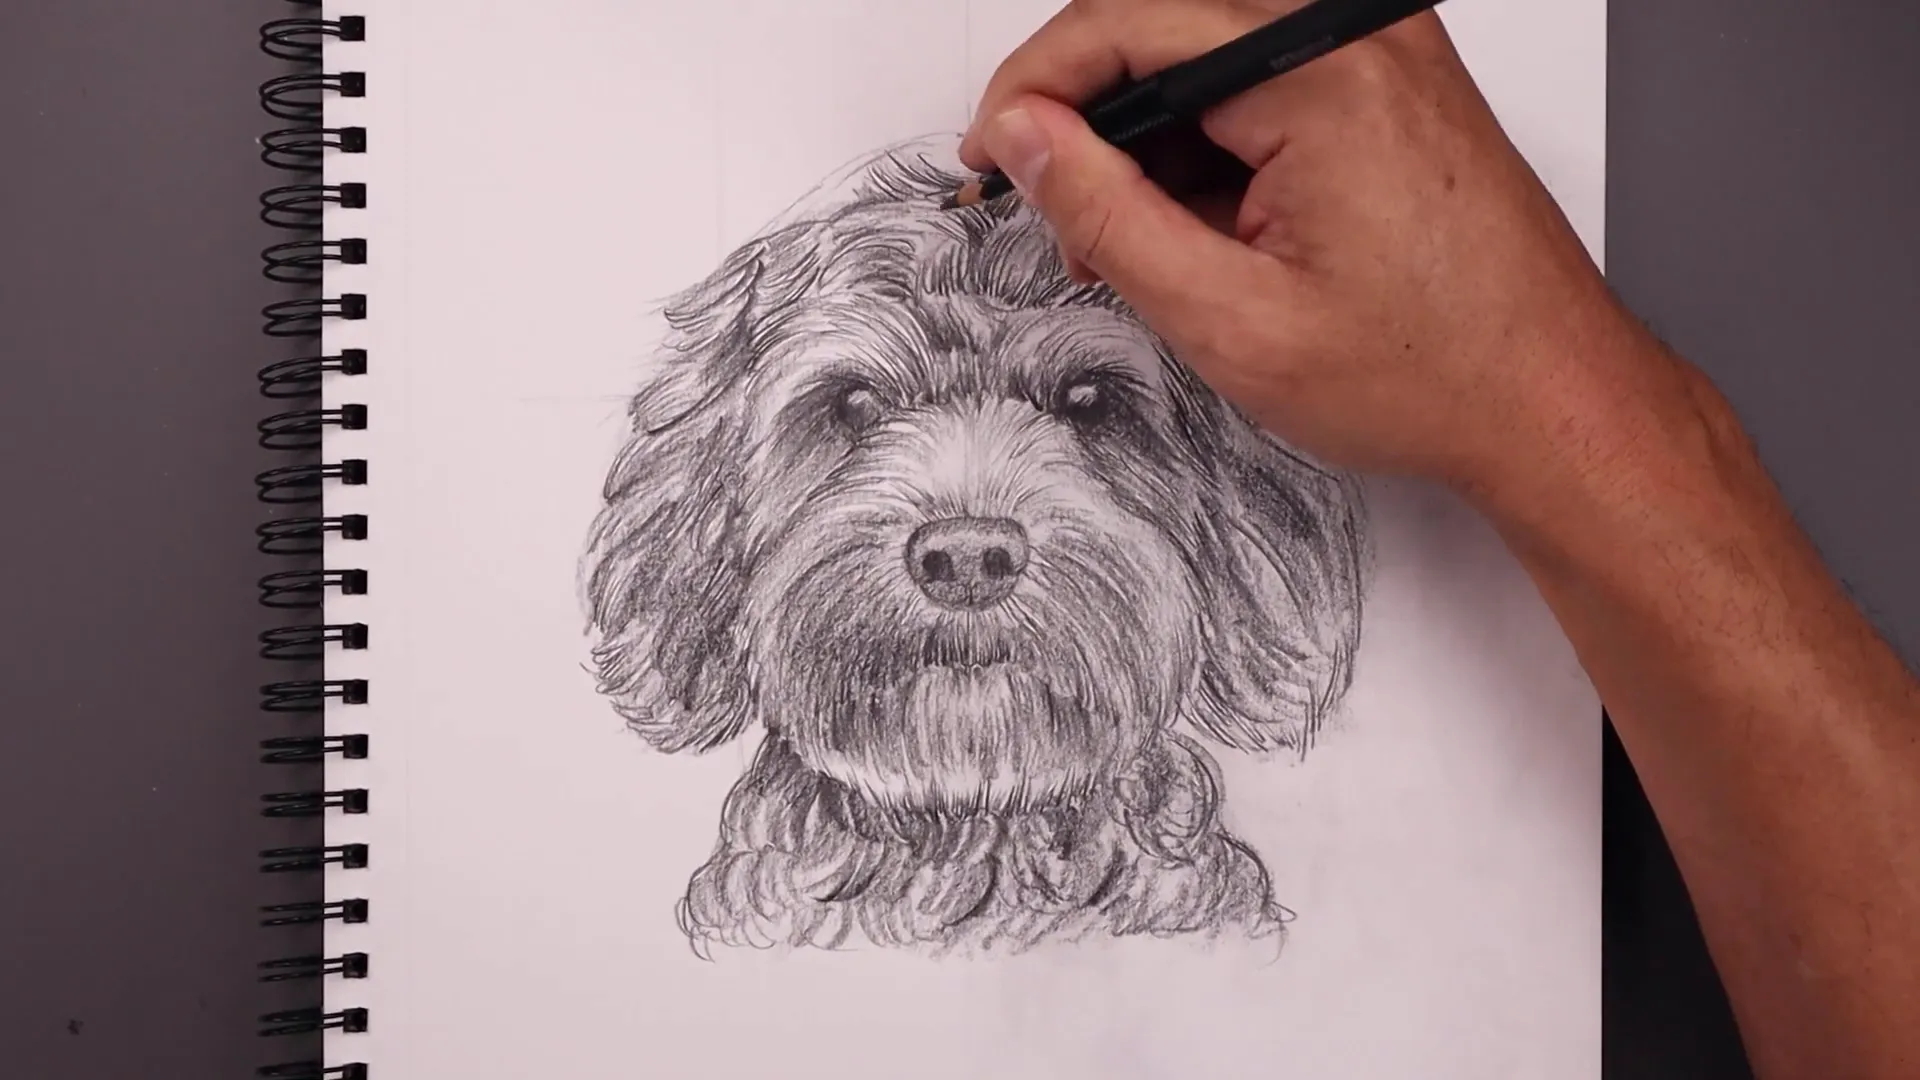
Conclusion
Drawing a Labradoodle is not just about creating a sketch but also about capturing its fluffy charm and playful essence. By following this step-by-step guide, you’ve learned how to structure, detail, and bring your artwork to life. Remember, practice is key to refining your technique, and every stroke helps you grow as an artist. Don’t be afraid to experiment with textures and shading to make your Labradoodle unique.
Now, it’s your turn to share your masterpiece! Tag us in your creations or let us know how this tutorial helped you. Stay inspired, keep sketching, and check back soon for more fun and creative art guides. Happy drawing! 🐾✨
FAQ ❓
What tools do I need for this sketch?
You can use a simple graphite pencil and eraser for this tutorial.
Can I use colors?
Absolutely! Once you’re happy with the sketch, feel free to add colors using colored pencils or markers.
How can I improve my drawing skills?
Practice regularly and try drawing from different references to enhance your skills.
