Essential Guide to DIY Drywall Repairs
Repairing drywall is an essential skill for any homeowner. Whether you’re dealing with a small hole in a doorknob or a larger patch job, knowing how to repair drywall can save you time and money. In this comprehensive guide, we’ll walk you through the process of how to repair drywall, from start to finish.
🛠️ Step 1: Gather Your Materials and Prepare the Area
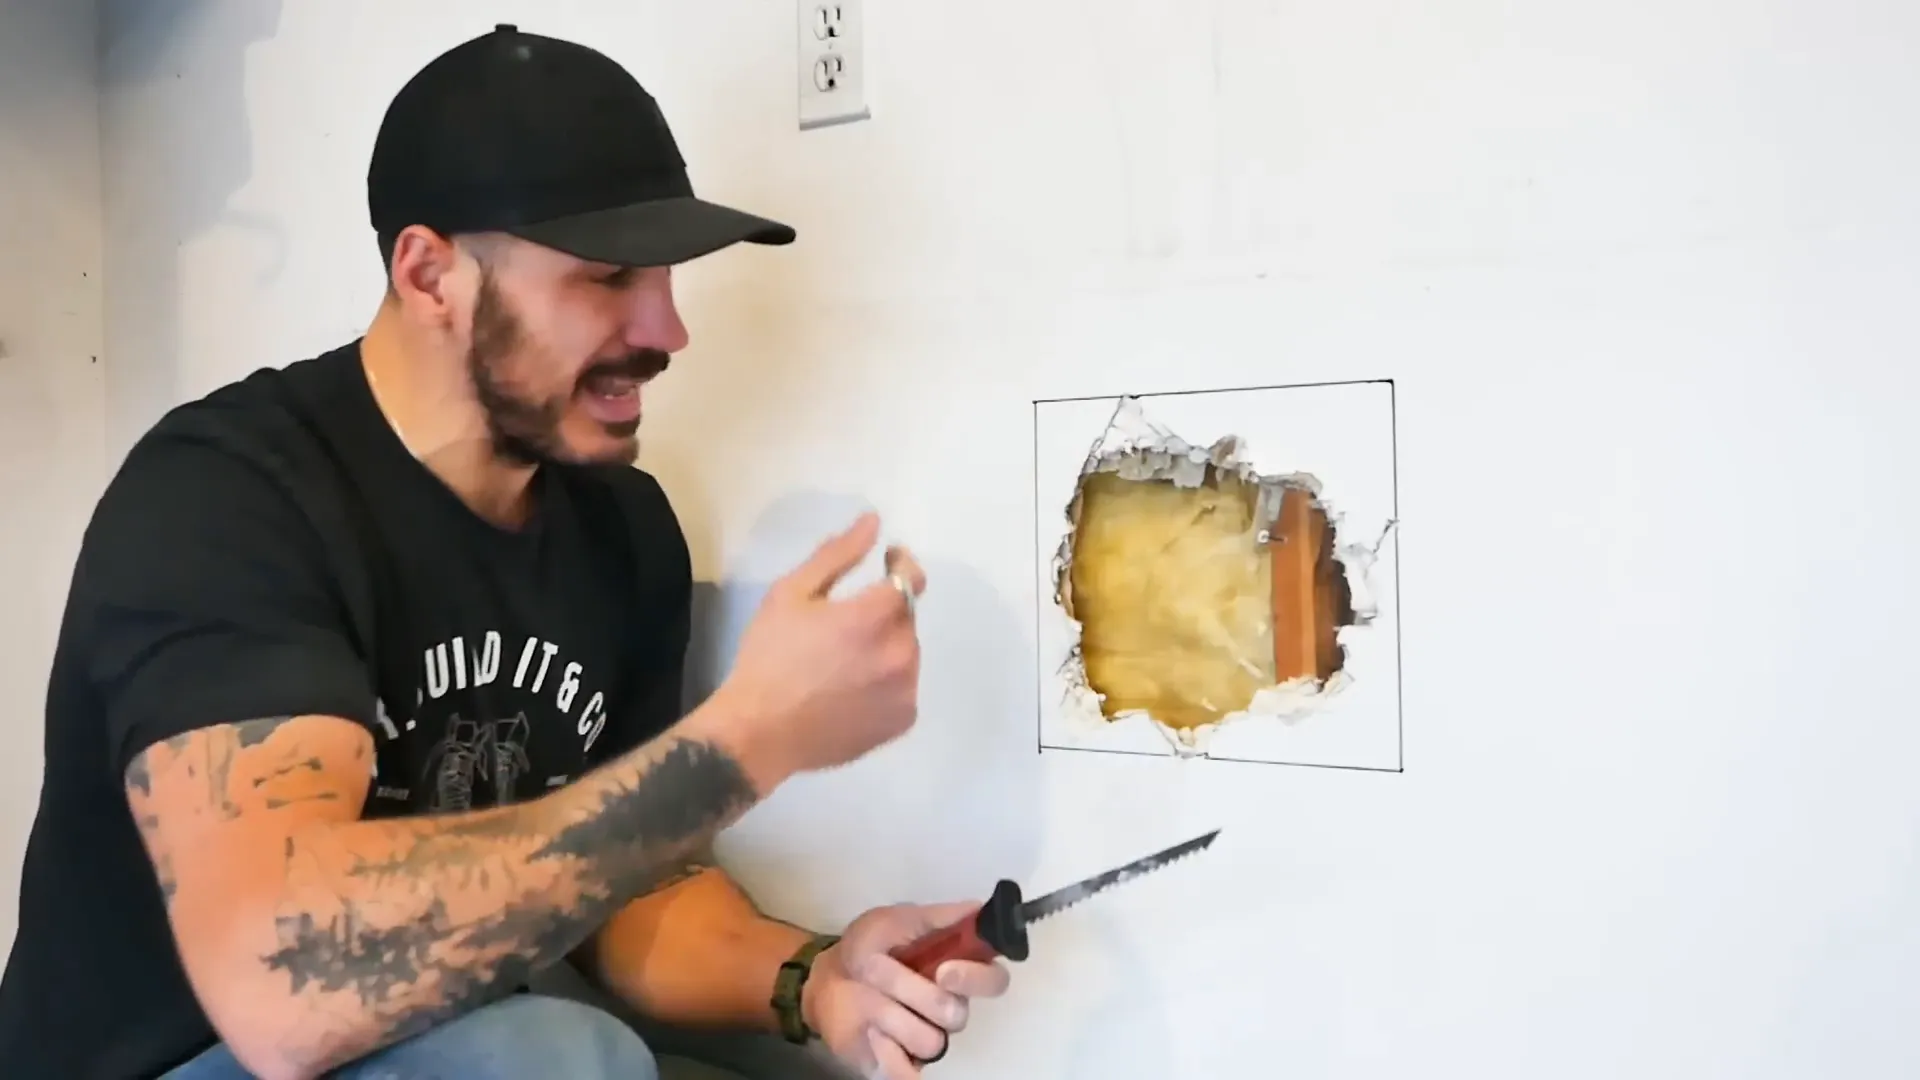
Before you begin your drywall repair project, it’s important to gather all the necessary materials and prepare the area. Here’s what you’ll need:
- Drywall saw
- Drywall
- Drywall screws
- Drill
- Drywall joint tape
- Drywall mud (joint compound)
- Putty knife
- Drywall sandpaper
- Straight edge
- Utility knife
Once you have your materials, start by cleaning up the damaged area. Use a drywall knife to scrape away any loose debris or protruding paper. This will give you a clean surface to work with and ensure better adhesion for your patch.
✂️ Step 2: Cut and Shape the Drywall Patch
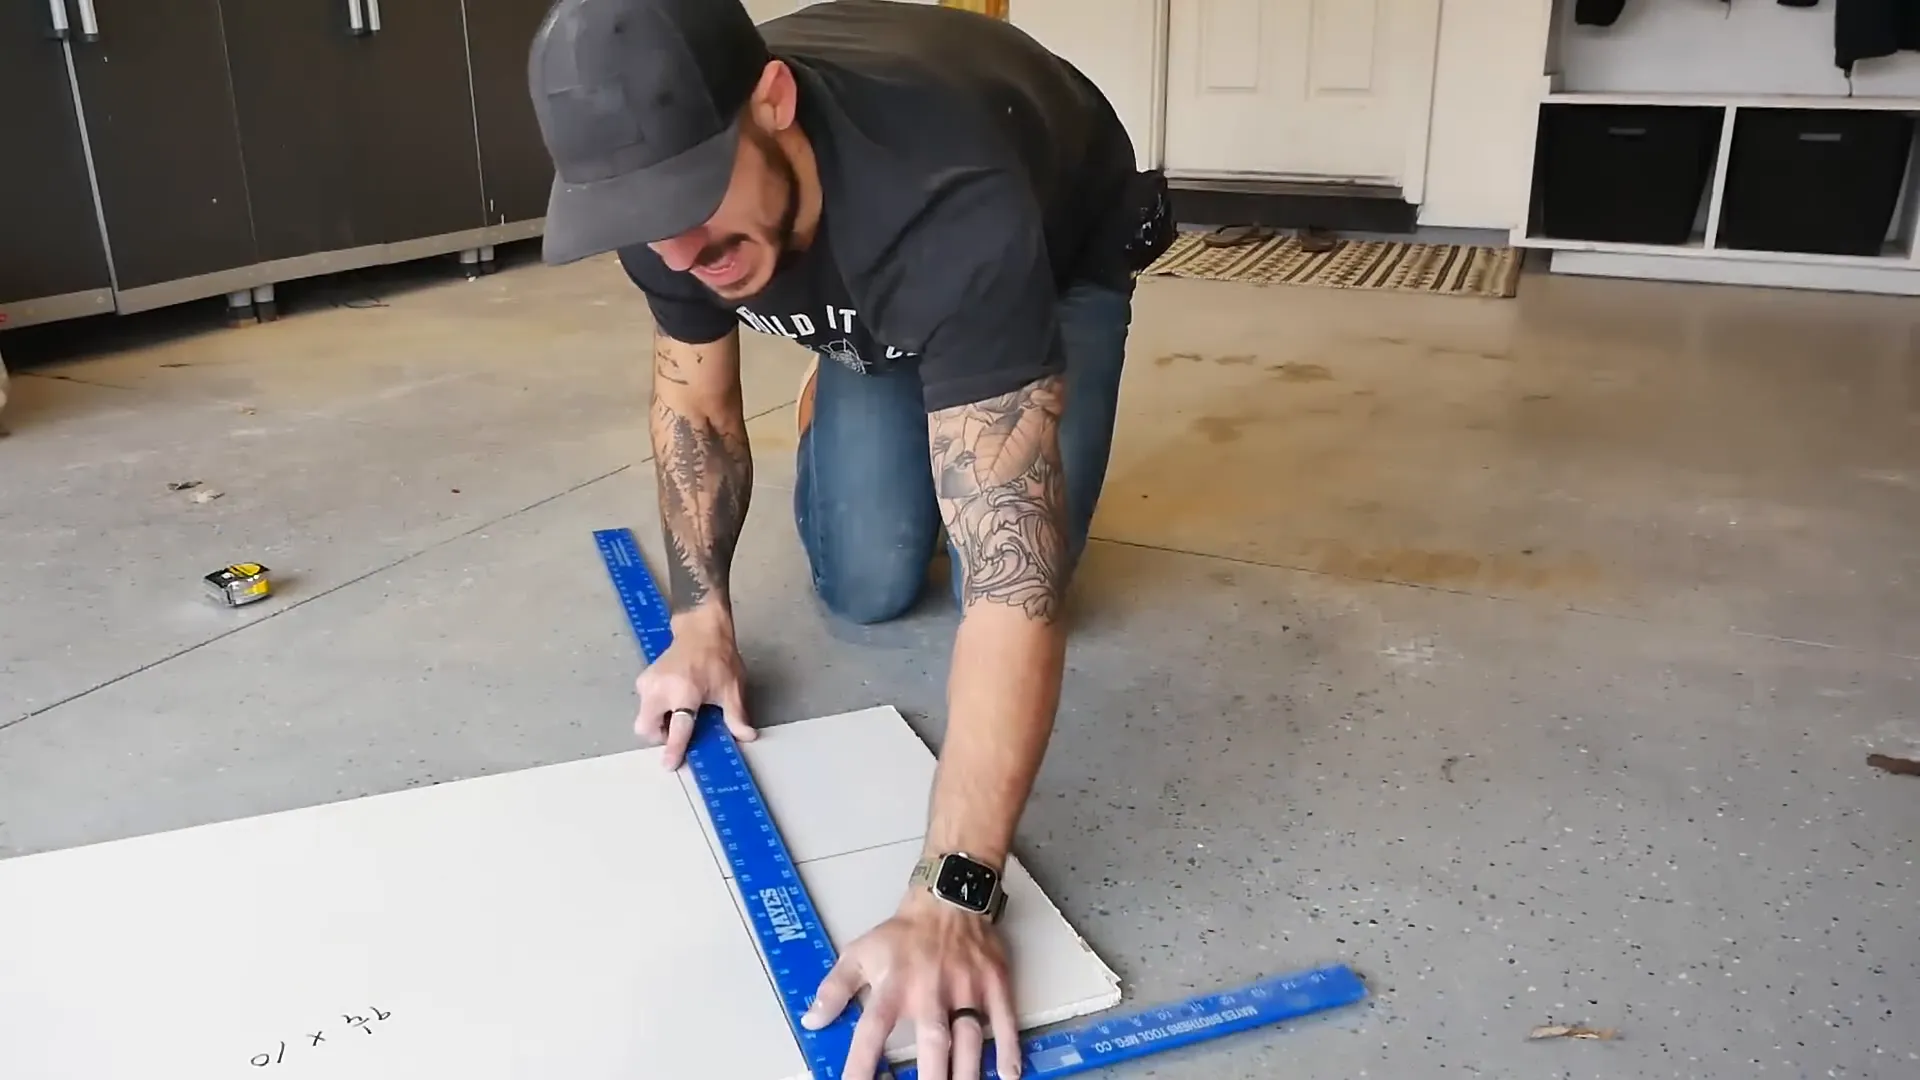
Next, you’ll need to cut a piece of drywall to fit the hole. Here’s how to do it:
- Measure the dimensions of the hole.
- Cut a piece of drywall slightly larger than the hole using a utility knife and straight edge.
- Score the front of the drywall along your cut lines.
- Snap the drywall along the scored lines and cut through the paper backing.
Pro tip: To ensure a perfect fit, make your patch about 1/4 inch smaller on all sides than the hole you’re filling. This will give you some wiggle room when installing the patch.
🔨 Step 3: Install the Drywall Patch
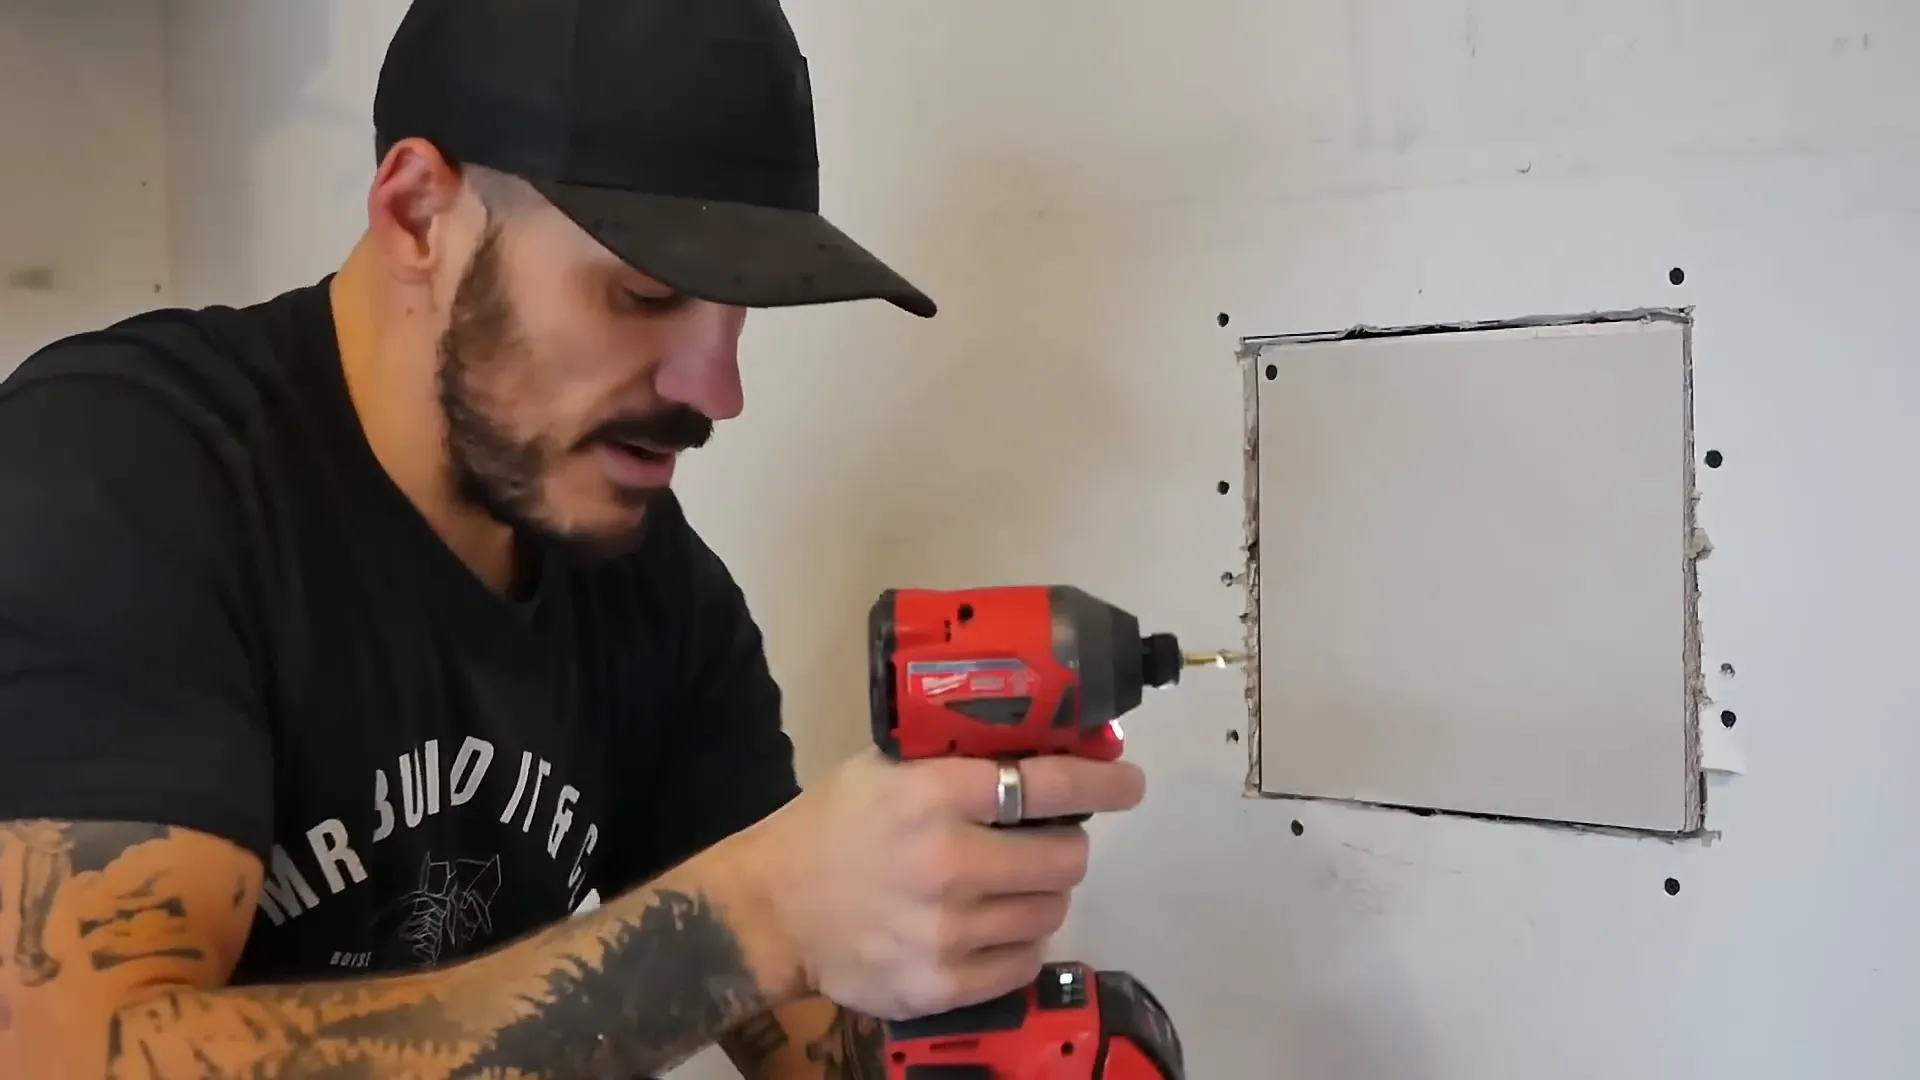
Now that you have your patch cut to size, it’s time to install it. If your hole is larger or doesn’t have studs nearby for support, you’ll need to create a backing. Here’s how:
- Cut two pieces of scrap wood slightly longer than the hole.
- Insert these pieces into the hole and secure them to the existing drywall with drywall screws.
- Place your drywall patch over the hole and secure it to the wooden backing with drywall screws.
- Make sure to countersink the screws slightly to avoid them protruding.
For smaller holes, you may be able to simply place the patch directly over the hole and secure it to the surrounding drywall.
🧴 Step 4: Apply Drywall Tape and Mud
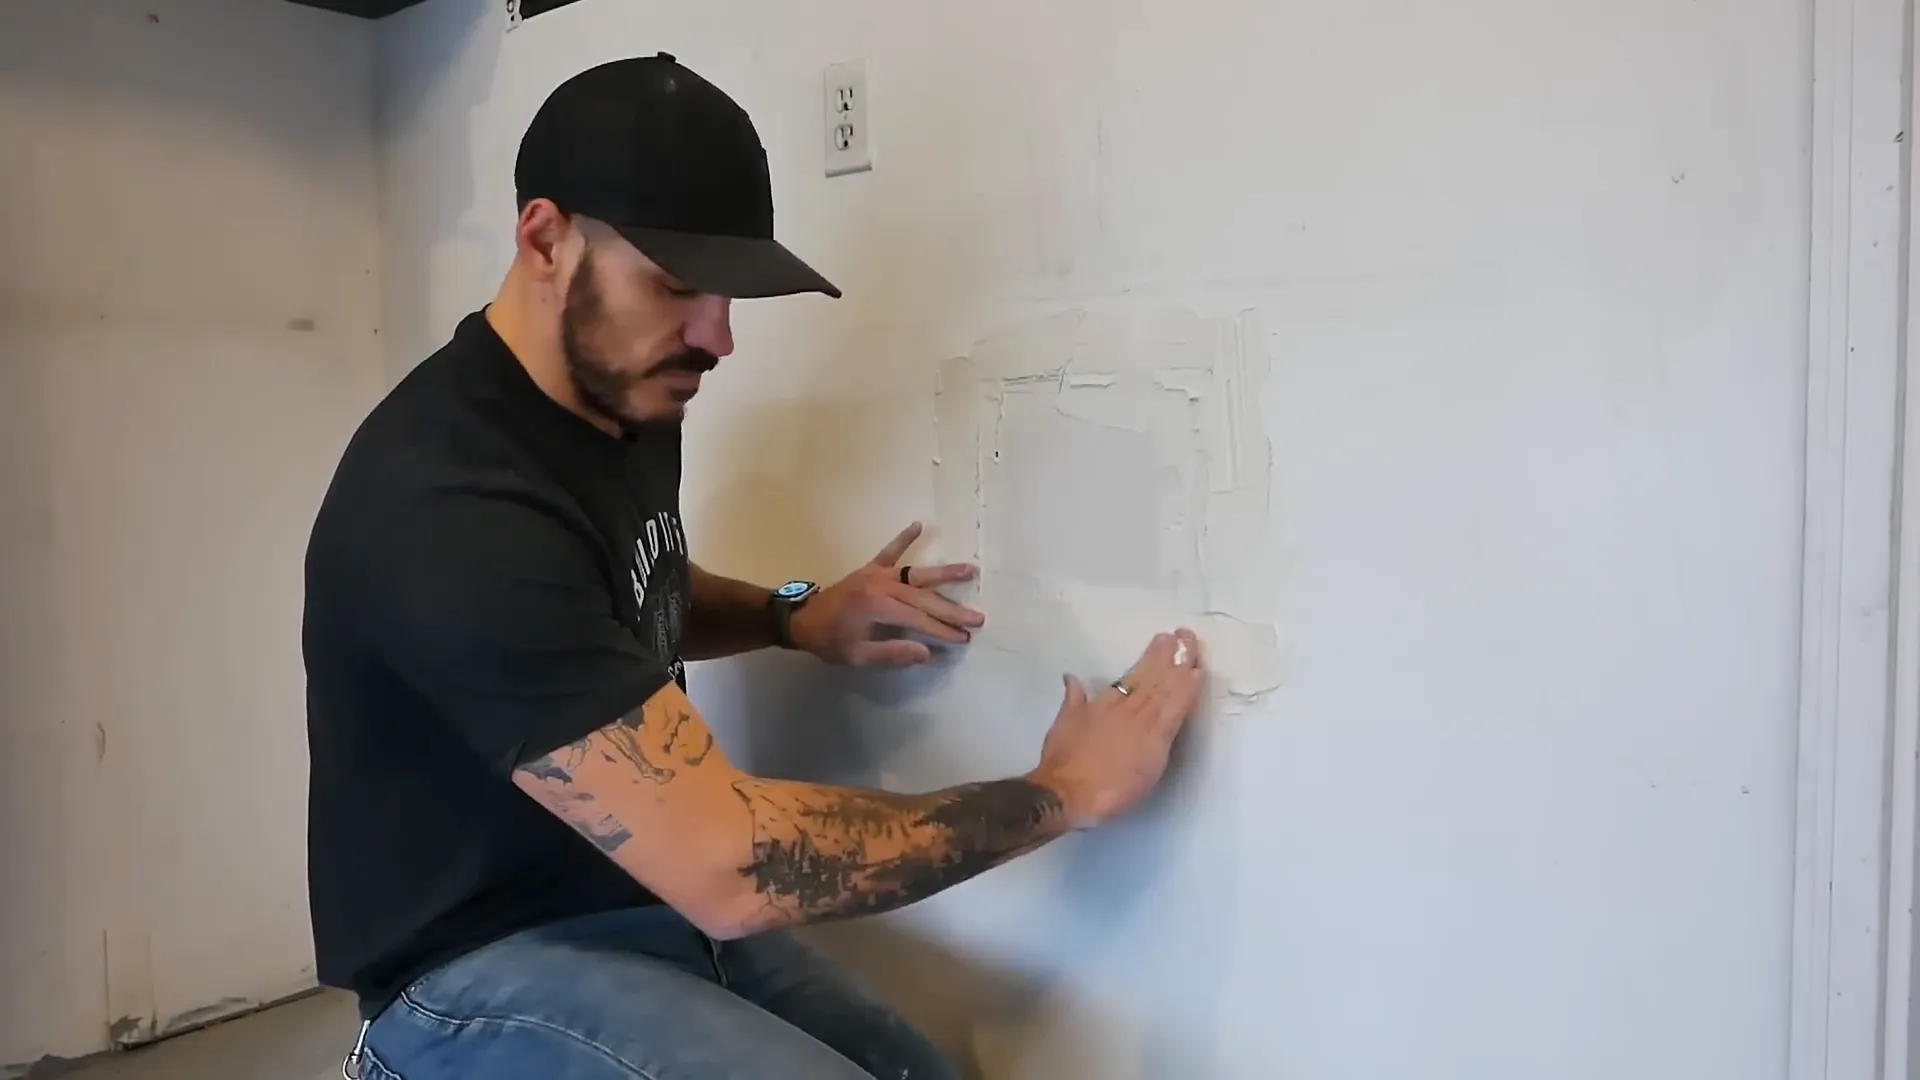
With your patch securely in place, it’s time to blend it seamlessly with the surrounding wall. This is where drywall tape and mud come into play:
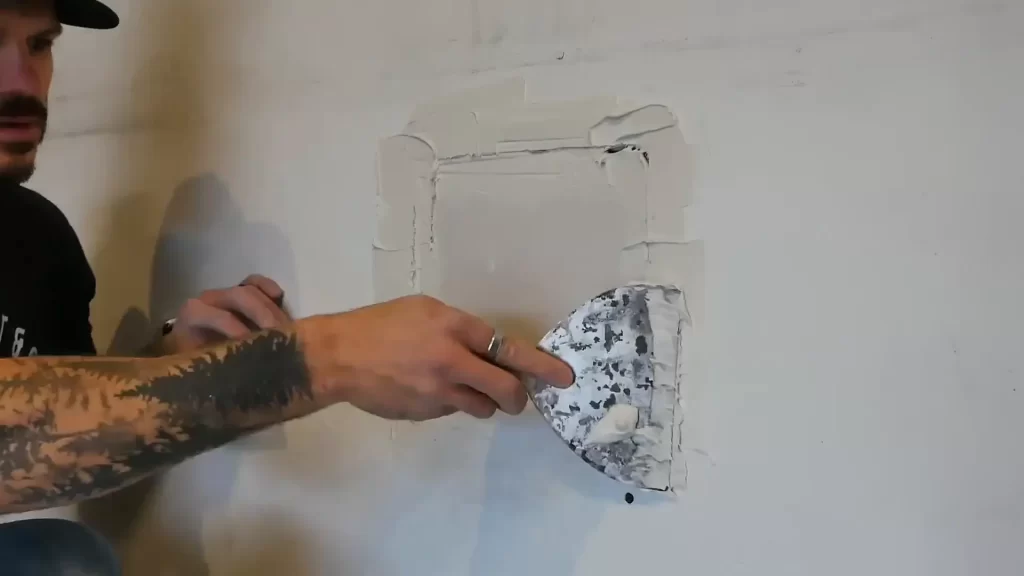
- Apply a thin layer of drywall mud along the seams of your patch.
- Place drywall tape over the mud, centering it over the seams.
- Use your putty knife to press the tape into the mud, removing any air bubbles.
- Apply another thin layer of mud over the tape, feathering it out beyond the edges of the tape.
Remember, it’s better to apply multiple thin layers of mud rather than one thick layer. This will result in a smoother finish and reduce the amount of sanding required later.
🥄 Step 5: Apply Additional Coats of Mud
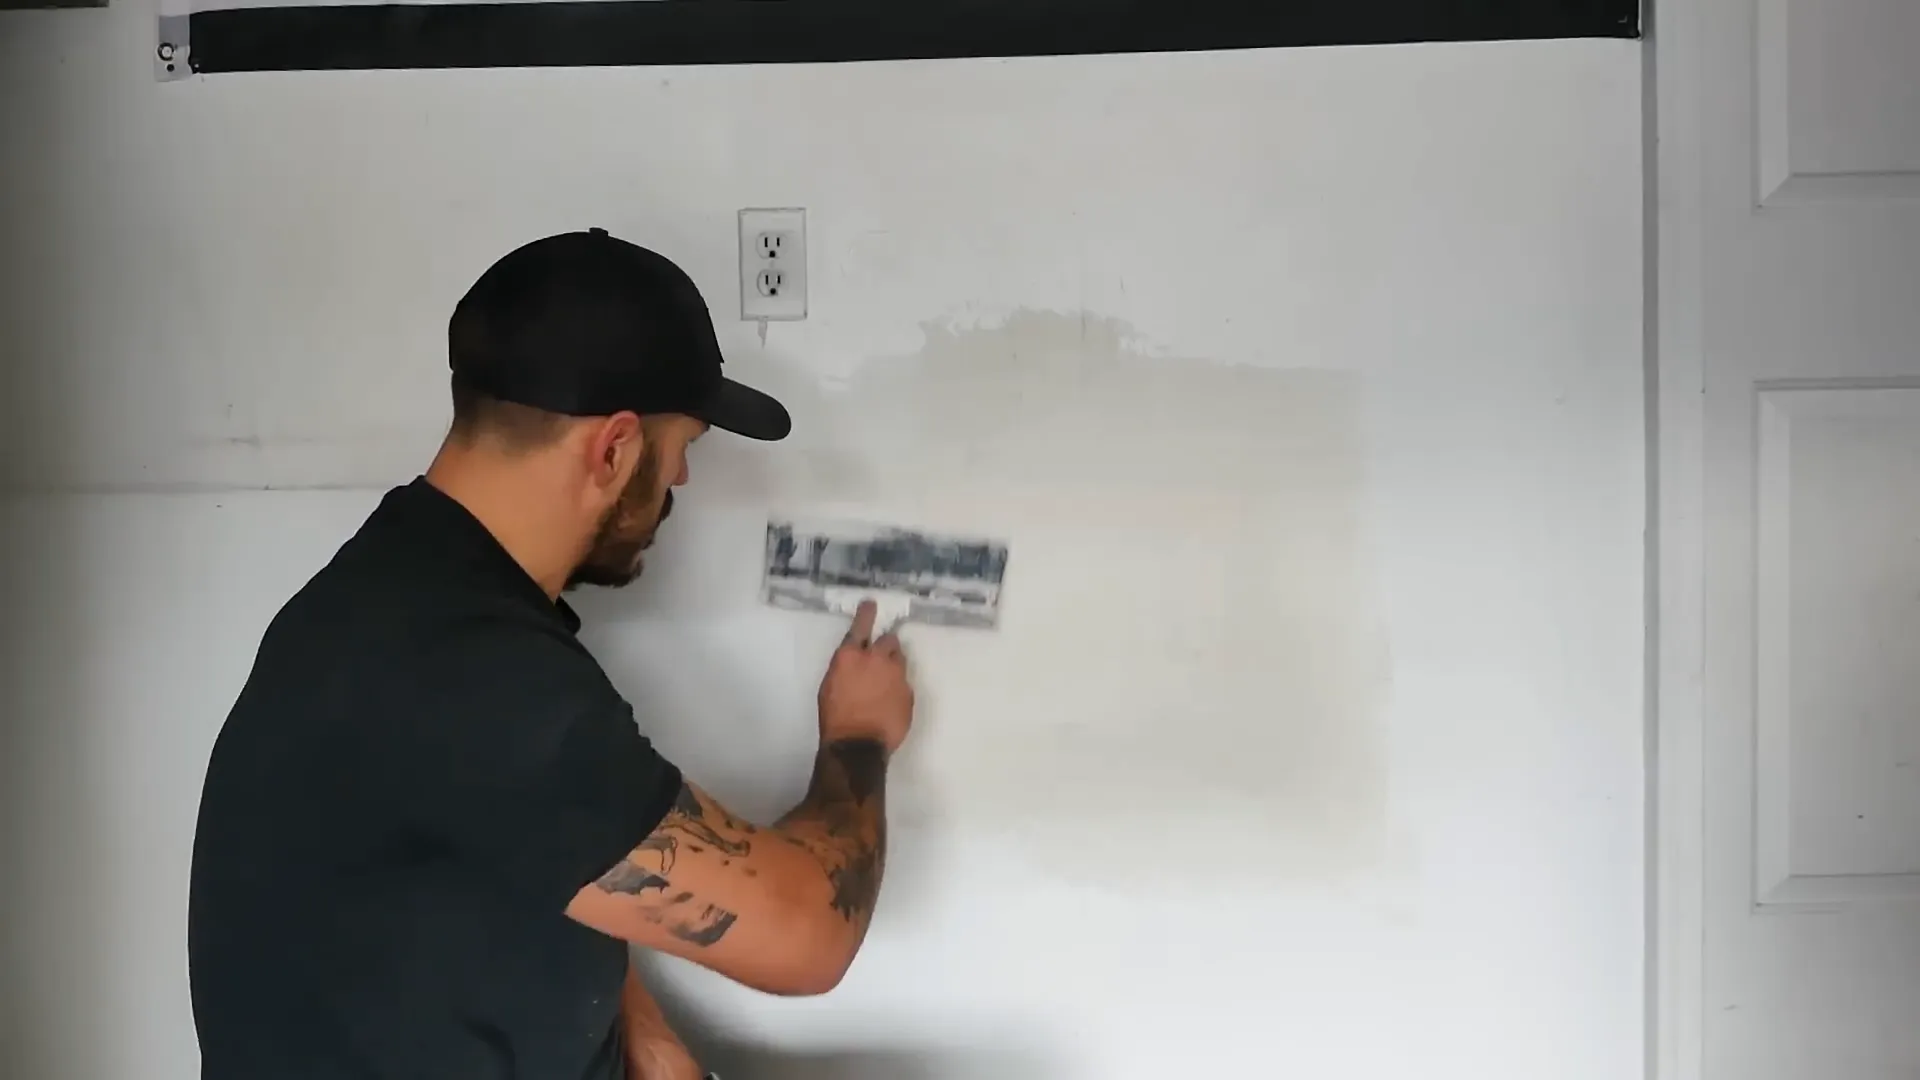
After your first coat of mud has dried completely (usually 24 hours), it’s time to apply additional coats:
- Sand the dried mud lightly to remove any high spots or ridges.
- Mix your joint compound to a consistency slightly thinner than mayonnaise.
- Apply a second coat of mud, extending it about 2 inches beyond the edges of the first coat.
- Allow this coat to dry completely.
- Sand lightly and apply a third coat if necessary, feathering it out even further.
The goal is to create a smooth, seamless transition between your patch and the existing wall. Take your time with this step – it’s crucial for achieving a professional-looking finish.
🍊 Step 6: Texture the Surface (If Necessary)
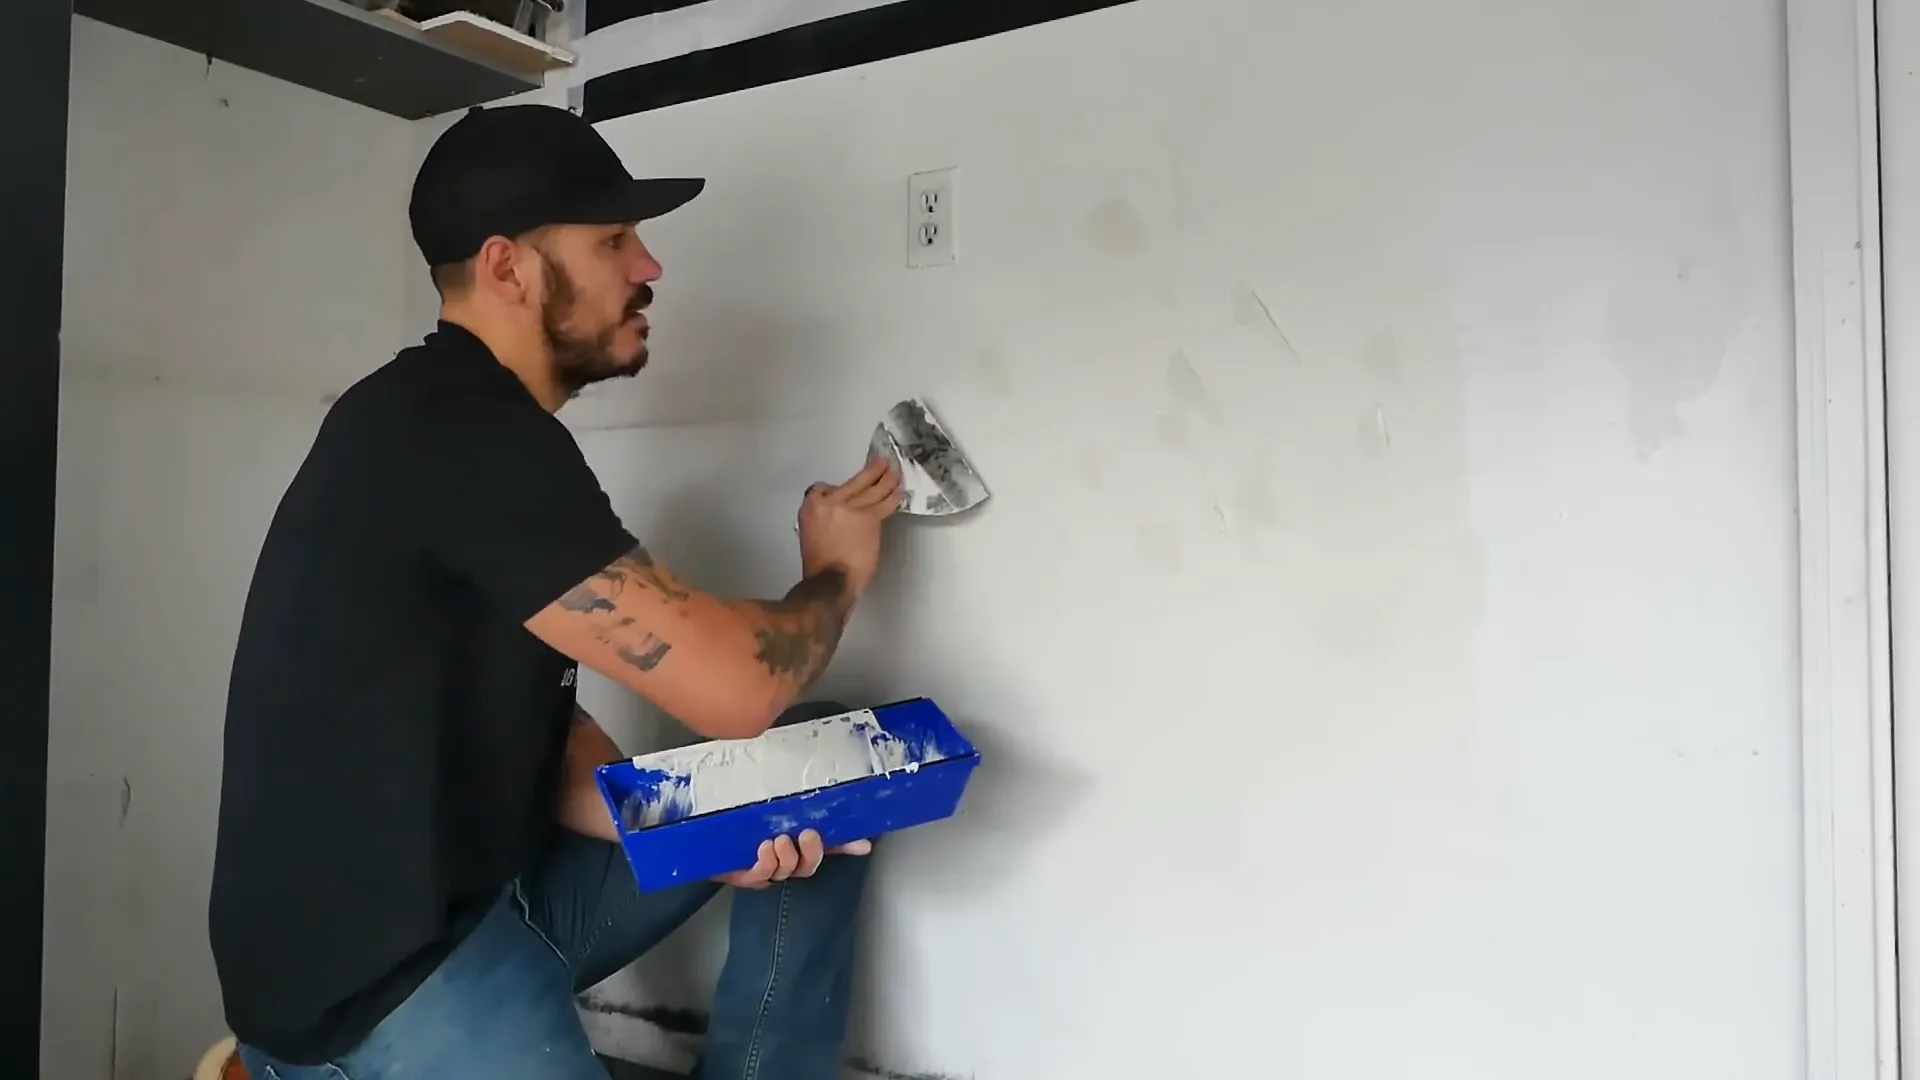
If your wall has a textured finish, you’ll need to match it on your patch. There are two main types of textures:
- Orange peel: A slightly bumpy texture that resembles the skin of an orange.
- Knockdown: A texture with a mottled appearance, created by applying texture and then partially flattening it.
To apply texture:
- Mix your joint compound to a thin, soupy consistency.
- For orange peel, use a spray texture tool or a roller with a thick nap.
- For knockdown, apply the texture with a putty knife, then lightly flatten it with a drywall knife after it sets slightly.
Practice on a piece of scrap drywall or cardboard first to get the technique right before applying it to your wall.
🎨 Step 7: Prime and Paint
The final step in your drywall repair is to prime and paint the patched area:
- Once your texture has dried completely, sand the area lightly if needed.
- Apply a coat of drywall primer to the patched area.
- Once the primer is dry, paint the area to match the rest of the wall.
For the best results, you may want to paint the entire wall rather than just the patched area. This will ensure a uniform appearance and make your repair virtually invisible.
Conclusion
Mastering the art of drywall repair empowers you to handle wall damage like a pro, saving both time and money while maintaining the beauty of your home. By following the step-by-step guide provided, you can confidently address a range of drywall issues, from minor dents to major patch jobs.
Remember, preparation and attention to detail are key to achieving a seamless and professional finish. Whether you’re applying drywall tape, feathering out joint compound, or matching textures, patience and practice will make all the difference. With these skills in your toolkit, you’ll not only restore your walls but also gain the satisfaction of a job well done.
Ready to get started? Gather your materials, follow the steps, and transform your walls back to perfection!
❓ FAQ: Common Questions About Drywall Repair
How long does it take for drywall mud to dry?
Drywall mud typically takes 24 hours to dry completely. However, this can vary depending on humidity levels and the thickness of the application. Always ensure each coat is fully dry before sanding or applying the next coat.
Can I use spackle instead of joint compound for drywall repair?
While spackle can be used for very small holes, joint compound is generally better for larger repairs. It’s easier to sand, less likely to shrink, and provides a more durable finish.
Do I need to use drywall tape for small holes?
For very small holes (less than 1/2 inch), you can usually get away with just using joint compound. For anything larger, it’s best to use drywall tape to prevent cracking over time.
How do I match the existing wall texture?
The best way to match existing texture is to practice on a scrap piece first. You can also buy spray texture in a can for small repairs, which can be easier to match than hand-applied texture.
Can I paint directly over drywall mud?
While you can paint directly over drywall mud, it’s not recommended. The mud is porous and will absorb paint differently than the surrounding drywall. Always prime the patched area before painting for the best results.
