To capture high-quality audio in your screen recordings, you’ll need to choose the right tools and settings. On Windows, you can adjust audio inputs via the Xbox Game Bar, whereas Mac users will utilize QuickTime Player. Mobile devices require microphone activation to record voices or external sounds. Mixing audio sources like microphone and system sounds sharpens your content, and selecting a superior microphone improves clarity. You’ll want a quiet room; carpets and curtains can minimize noise interference. For tutorials or gameplay, incorporating system audio creates an immersive experience. Remember, a nuanced approach enhances your final product, preparing you for impressive audio undertakings.
Basics of Screen Recording Audio
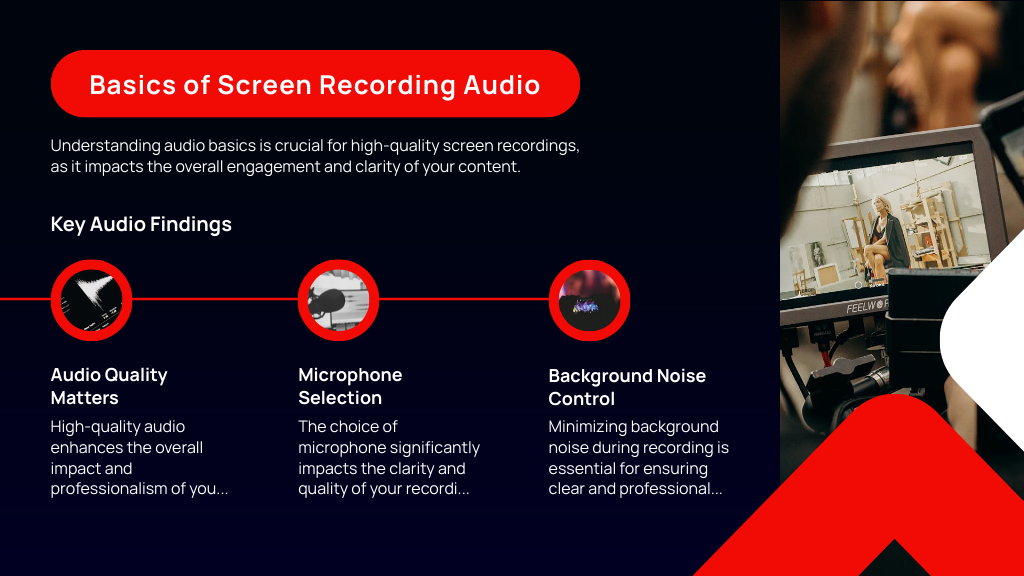
When recording your screen, capturing high-quality audio is just as essential as the video itself. You might wonder, does screen recording record audio? The answer is yes, but knowing how to screen record with sound is key.
Whether you’re using Windows, macOS, or a mobile device, each platform offers specific methods to guarantee that your audio is as clear and effective as the visuals.
On Windows, explore the Xbox Game Bar settings. Here, you can configure to capture either the system audio, your voice through the microphone, or both. This flexibility allows you to tailor your recording to either narrate over a presentation or capture in-game sounds without additional noise.
For Mac users, QuickTime Player simplifies how to record audio on screen recording. During the setup, select your preferred audio source from the Options menu. You can choose to record the sounds within the application or add commentary using an external mic.
Mobile devices are equally capable. Both iPhones and Androids feature built-in screen recording that includes audio options. Typically, you’ll need to enable microphone recording if you want to capture your voice or external sounds, which is perfect for creating dynamic, engaging content.
Types of Audio Sources
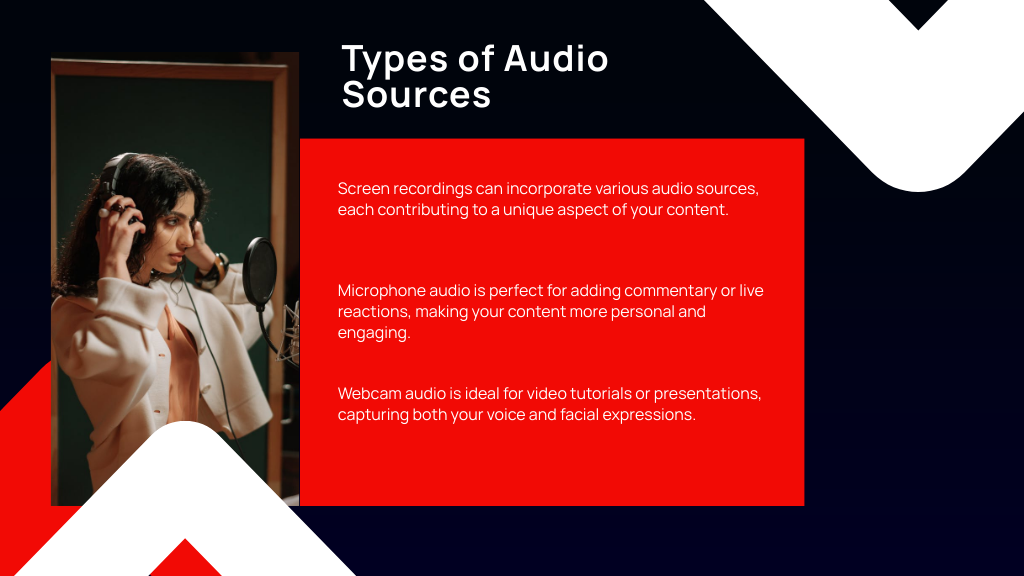
Understanding the different types of audio sources available for screen recording will help you enhance the quality and impact of your content. When you’re figuring out how to record audio with screen capture, you’ve got a few main options. Each type of audio source serves a unique purpose and understanding these can greatly improve your recordings.
Firstly, if you’re looking to capture both your gameplay and the reactions from your friends, you’ll need to take into account microphone audio. This is perfect for adding commentary or live reactions. It’s what makes your content feel personal and relatable. Just verify your mic is properly set up to avoid capturing unwanted background noise.
Webcam audio is another source. It’s ideal when you’re recording video tutorials or presentations. This method captures your voice and facial expressions, offering a more personal touch to the audience. It’s great for when you want to connect more directly with your viewers.
For tutorials or walkthroughs where you might want to showcase software functionality or play a video, mixing these audio sources will give your audience the best experience. You can balance your voice with the sounds from the application, making sure both are clear and effectively contribute to your content’s impact.
Recording System Audio
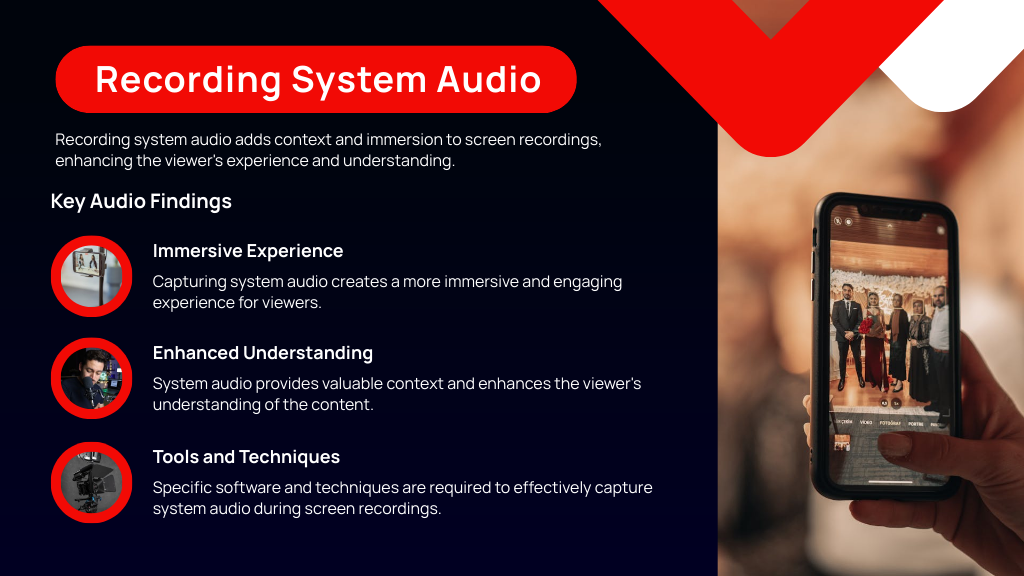
Why consider recording system audio for your screen captures? Capturing system audio allows you to provide a rich, immersive experience, especially critical when creating tutorials or gameplay videos. This guarantees your audience hears every alert, soundtrack, or instructional step directly from the application, enhancing the overall effectiveness of your content.
On Windows, you can capture this audio by enabling the “Stereo Mix” option in your sound settings. Make sure it’s selected as the input source in your screen recording software. This feature grabs all the audio playing on your system, giving a true-to-life audio experience in your recordings.
For macOS users, the process involves a bit more setup since macOS doesn’t natively support direct system audio capture. You’ll need to use audio routing software like Soundflower or BlackHole. These tools channel your system audio into your recording application, allowing seamless integration of system sounds into your videos.
Regardless of the platform, using tools like OBS Studio or Camtasia simplifies this process. They often include options to capture system audio directly, reducing the need for additional software.
Just remember to balance your audio levels to avoid distortion and maintain clarity, making your final output as professional as possible.
Capturing Microphone Input
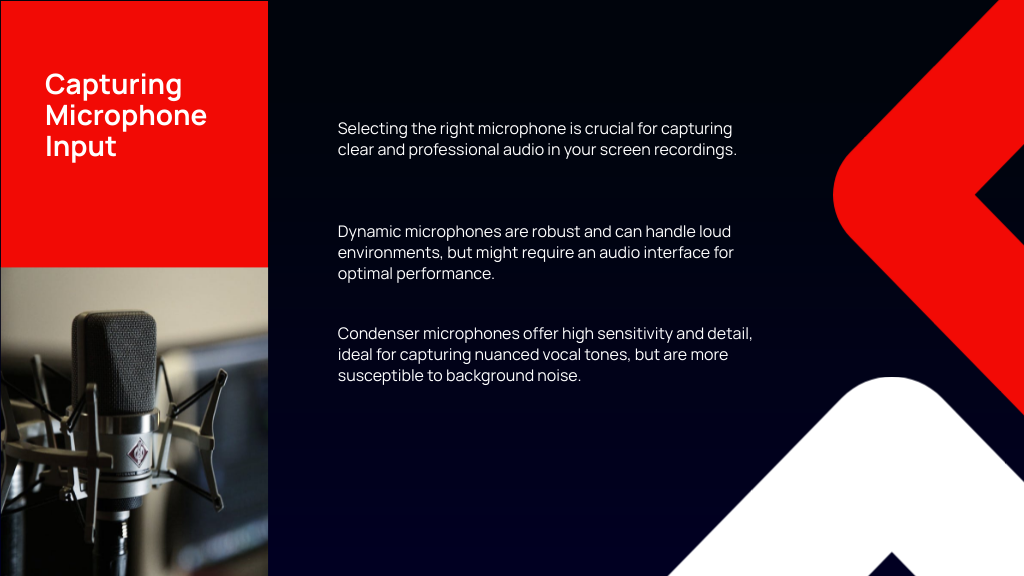
When you’re setting up your screen recording, choosing the right type of microphone can make a significant difference.
You’ll need to tweak your microphone settings to find the ideal balance that captures your voice clearly while minimizing background noise.
Always remember, that testing these settings before going live will help you avoid common audio pitfalls and guarantee your voice is heard loud and clear.
Microphone Types Comparison
To achieve the best audio quality in your screen recordings, it’s crucial to select the right type of microphone based on your specific needs.
Let’s explore the types and find what suits you best.
Dynamic microphones are your go-to if you’re recording in a setting where robustness is key. They’re less sensitive to sound pressure and can handle loud environments without distortion.
However, remember that they might need a bit of a boost, like an audio interface, to catch every detail.
If clarity and detail are what you’re after, consider a condenser microphone. These mics have a broader frequency response and higher sensitivity, perfect for capturing the nuances of your voice during a screen recording.
But watch out—they’re also good at picking up unwanted background noises.
For those of you moving around or demonstrating while recording, lavalier microphones are ideal. They’re discreet, clip to your clothing, and allow freedom of movement without sacrificing audio quality.
USB microphones could be the simplest choice. They plug directly into your computer and offer decent quality without fuss, making them perfect for quick setups or less technical users.
Finally, if you’re in a noisy space, a shotgun microphone might be what you need. Their directional design focuses on the sound coming from in front of the mic, reducing side and rear noise.
Optimal Microphone Settings
After selecting the right microphone for your screen recording, it’s vital to set it up properly to guarantee the best audio quality. Here’s how you can optimize your microphone settings:
1. Position Your Microphone Correctly: Place the microphone within 6 to 12 inches from your mouth. This distance helps maintain sound clarity and guarantees your voice is captured clearly without picking up too much background noise.
2. Adjust the Gain: Set the gain on your microphone so that your voice peaks at -12dB to -6dB on the audio meter of your recording software. This range helps avoid distortion while maintaining a robust audio presence.
3. Use Pop Filters: Attach a pop filter or windshield to your microphone. These accessories are vital for minimizing plosives, those harsh “p” and “b” sounds, which can disrupt the clarity of your audio.
Remember to conduct a test recording after setting up. This practice lets you check the audio quality and make any necessary adjustments before you start your main recording session.
Making sure these settings are optimized will greatly enhance the audio component of your screen recordings.
Background Noise Reduction
Cutting down on background noise greatly improves the clarity of your screen recordings. When you’re aiming to capture only the important audio, like your voice, it’s essential to minimize distractions.
Using a high-quality microphone with noise-canceling technology can make a huge difference. These mics focus on your voice while ignoring most of the ambient noise, ensuring your recordings are crystal clear.
Additionally, consider leveraging software tools such as Audacity or Adobe Audition. These programs have advanced noise reduction features that allow you to isolate and remove unwanted background sounds from your recordings. It’s a game-changer for enhancing audio clarity.
Don’t overlook the importance of your recording environment. A quiet room, preferably with sound-absorbing materials like carpets and curtains, naturally reduces noise levels. This setup prevents echoes and unwanted noise from ruining your audio.
Lastly, mic placement and accessories matter. Position the microphone close to your mouth and use a pop filter. This setup helps capture your voice at its clearest while filtering out pops and ambient noise.
Simultaneous Audio Recording
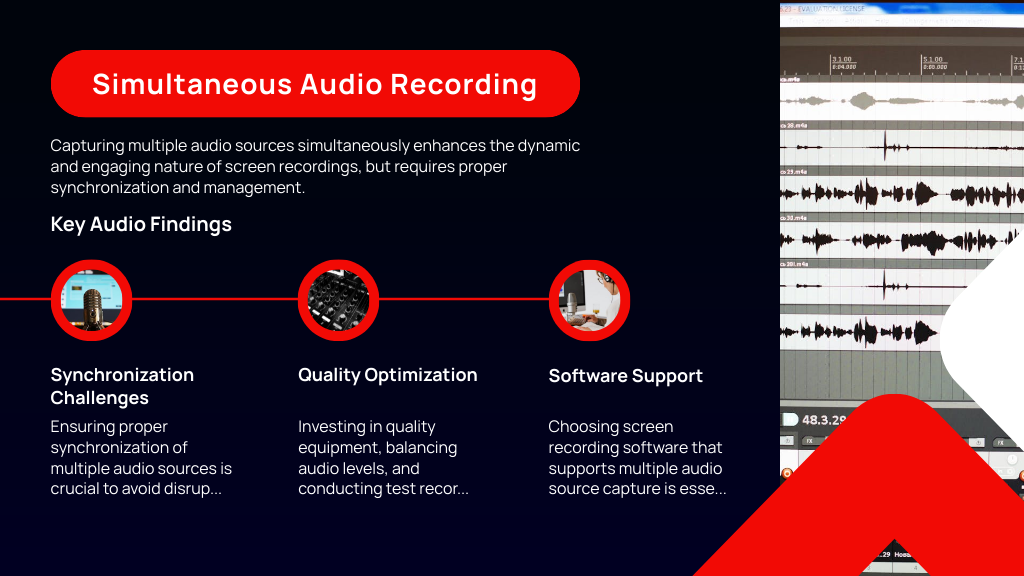
When you’re recording audio from multiple sources simultaneously, integrating these inputs smoothly is key to maintaining quality.
You’ll face challenges in syncing these varied audio tracks, which can disrupt the flow if not managed properly.
To optimize the sound quality, it’s essential to adjust and test your settings ahead of your recording session.
Multiple Sources Integration
In today’s digital age, effectively integrating multiple audio sources during screen recordings can greatly enhance the quality of your final content.
Whether you’re creating a tutorial, a presentation, or recording a gaming session, capturing both system sounds and your own commentary makes your content more dynamic and engaging.
Here’s how you can master this:
1. Choose the Right Software: Opt for screen recording tools like Descript or Camtasia that support multiple audio source recording. These platforms allow you to capture both system audio and microphone input simultaneously.
2. Configure Audio Inputs: Before starting your recording session, explore the software settings. Confirm you’ve selected both the internal sounds (application audio) and external sounds (voice commentary). This setup is essential for capturing all facets of your session without any hitches.
3. Test and Adjust Levels: Conduct a quick test recording to verify that all audio sources are being captured. Use the built-in audio mixing tools to adjust the volume levels of each source. This step helps you balance the audio so that neither the system sounds overpower your voice, nor does your commentary drown out the background audio.
Syncing Challenges Addressed
Addressing syncing challenges during simultaneous audio recording can substantially improve the coherence of your screen recordings. When you capture both system sounds and microphone input together, it enhances the quality and context. However, ensuring these audio sources are perfectly synchronized is essential. Tools like Descript and Camtasia let you select specific audio sources, which helps in maintaining clear and synchronized sound.
To nail this synchronization, you should conduct a test recording first. This step verifies that the audio levels are balanced and any lag between video and audio is minimized. It’s a quick way to catch issues before you commit to the final recording.
You might encounter common problems such as low sound quality from your microphone or system sounds. These can be mitigated by investing in higher-quality audio equipment and tweaking your sound settings within the recording software.
Furthermore, always check that your audio permissions are enabled. If they aren’t, you could end up with a silent recording, which means redoing the work.
Quality Optimization Techniques
Guarantee you select recording software that supports both microphone input and system audio capture to optimize the quality of your simultaneous audio recordings. This dual capability allows you to narrate your actions while also capturing the sounds from your computer, perfect for tutorials or presentations.
To further enhance your audio quality, consider these three key techniques:
- Invest in Quality Microphone Equipment
- Use a high-quality microphone that’s suitable for the type of recording you’re doing.
- Test different settings to minimize background noise and avoid distortion.
- Clear audio considerably boosts your recording’s overall appeal.
- Balance Your Audio Levels
- Adjust the audio levels to ensure there’s a good balance between your voice and the system sounds.
- Aim for your voice to peak at around -6 dB to prevent clipping while maintaining clarity.
- Conduct Test Recordings
- Before the final take, perform a test recording to catch any issues with echo, volume, or clarity.
- Use this opportunity to tweak your setup or software settings.
- Familiarize yourself with your software’s audio editing features to make post-recording adjustments easier.
Enhancing Audio Quality
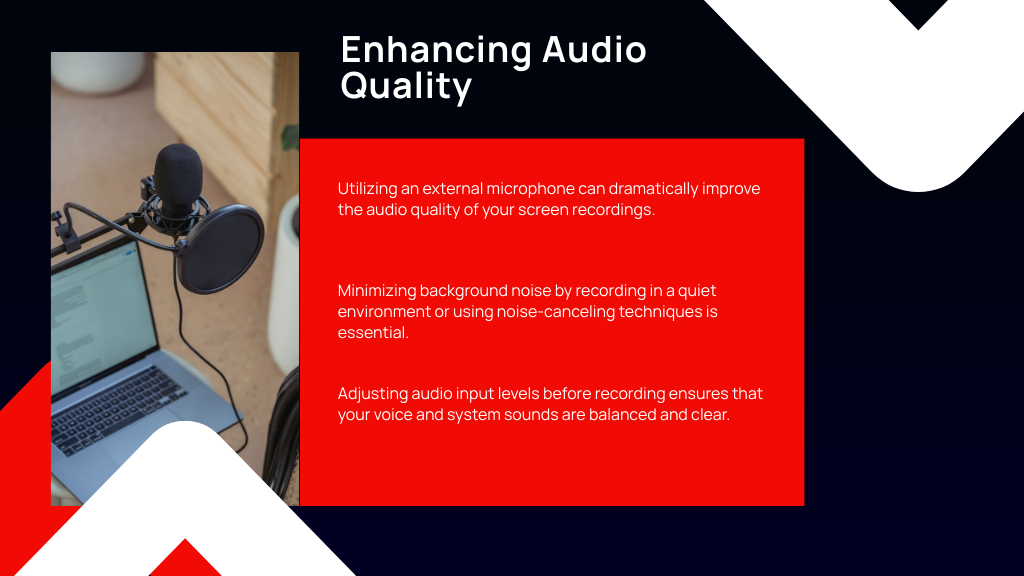
To considerably boost the quality of your audio during screen recording, think about using a high-quality external microphone instead of relying on the built-in mics typically found in laptops or webcams. External microphones offer clearer sound and better noise isolation, giving your recordings a professional edge.
Next, make sure your recording environment is as quiet as possible. Background noise can greatly reduce audio clarity and distract viewers. Search for a calm space, or create one by minimizing noise sources around you.
Before hitting record, adjust your audio input levels. You’ll want to keep the levels peaking between -6 dB and -12 dB on the audio meter. This range helps avoid distortion and prevents audio clipping, making certain your sound stays clear throughout the recording.
After you’ve captured your audio, don’t shy away from a bit of post-production. Use audio editing software to apply noise reduction, equalization, and normalization. These tools can polish your audio, enhancing overall quality.
Lastly, think about adding pop filters or windshields to your microphone setup. They’re great for reducing plosive sounds and minimizing wind noise, which can otherwise disrupt the clarity of your audio.
Audio Privacy Considerations
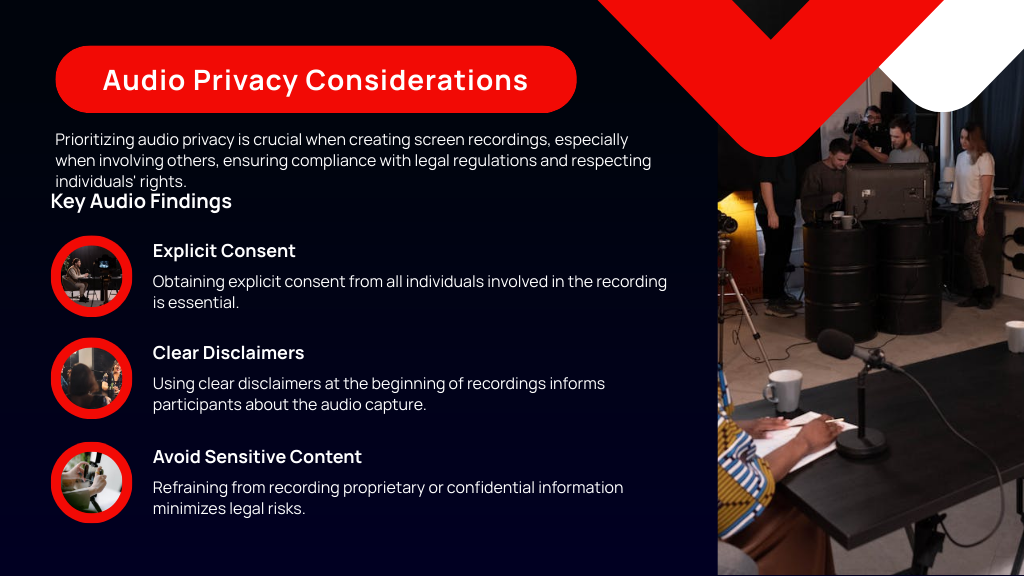
While enhancing the audio quality of your screen recordings is important, you also need to contemplate the privacy implications of capturing audio. Privacy laws differ markedly across regions, making it vital to understand and adhere to local regulations to avoid legal issues.
Here are three essential steps you should always follow when recording audio:
- Obtain Explicit Consent: Before you hit the record button, make sure you’ve got explicit permission from everyone involved. This isn’t just courteous; it’s often legally required. In work settings or sensitive discussions, this step is critical.
- Use Disclaimers: Start your recording with a clear disclaimer that informs all participants that their audio will be recorded. This not only promotes transparency but also protects you legally.
- Avoid Sensitive Content: Be extremely cautious about recording proprietary or confidential information. If your screen recording captures such discussions, you could face serious legal repercussions.
Always take the time to familiarize yourself with the specific audio recording laws in your area. Ignorance isn’t a defense in legal terms, and the penalties can be severe, including fines or even civil lawsuits.
Troubleshooting Common Issues
When you encounter issues with your screen recordings, it’s crucial to know how to address them swiftly. If your recording lacks audio, first check the microphone settings. Make certain the correct input device is selected and enabled in your software’s audio settings. This simple step can often resolve the issue.
Experiencing laggy recordings? Lower the recording resolution or frame rate, and close any unnecessary applications that might be using up system resources. This should help smooth out your recordings.
If your recording won’t start, verify that the screen recording software has the necessary permissions to access your screen and microphone. Also, check that your software is up to date. Outdated software can lead to various issues, including the inability to start recording.
Encounter a black screen? This might be due to Digital Rights Management (DRM) protections. Try recording non-DRM content or tweak your recording software settings to bypass this issue.
Lastly, if your video is blurry, confirm the recording resolution matches your screen’s resolution. Consider using higher-quality tools like Camtasia for better clarity.
These steps should help you effectively troubleshoot common screen recording issues.
Frequently Asked Questions
How to Do Screen Recording With Audio?
To record your screen with audio, first enable the microphone in your device’s screen recording settings. Then, choose whether to capture system sounds or external audio through your microphone before starting the recording.
What Do You Understand by Screen Recording?
You understand screen recording as capturing everything on your computer or device screen, including both visual and audio components, to create a video file for tutorials, presentations, or other informational content.
What Level Should Your Audio Stay Under for Clear Sound While Recording?
For clear sound during screen recording, your audio levels should generally peak between -6 dB and -3 dB. This avoids distortion while ensuring clarity. Keep average levels around -12 dB for balance.
How Do I Make Sure My Screen Recording Records Sound?
To guarantee your screen recording captures sound, check your software’s audio settings and select both the microphone and system audio. Always perform a test recording to confirm that sound is being properly recorded.
Conclusion
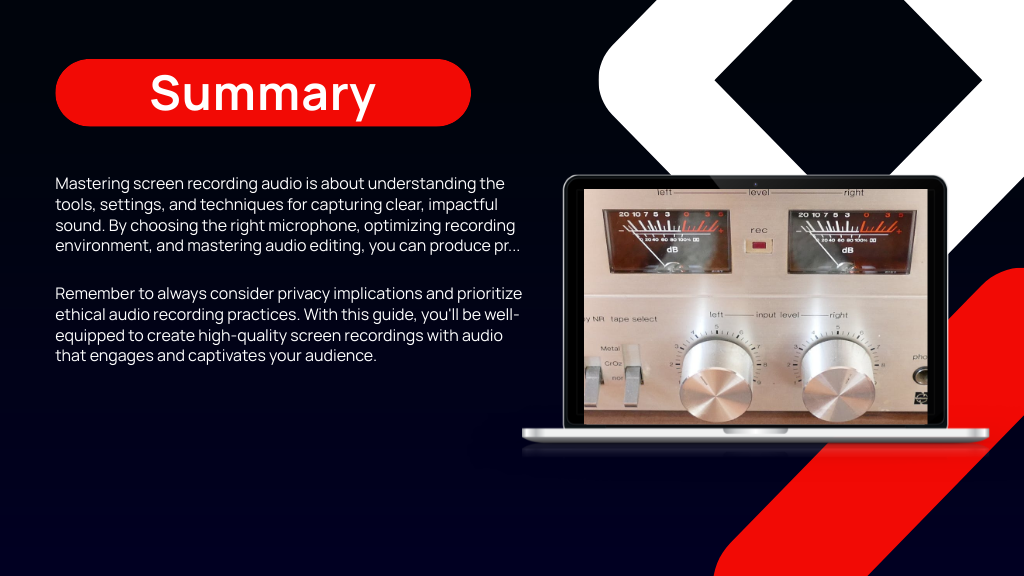
Now you’re equipped with the knowledge to master audio in your screen recordings. You can confidently select the best audio sources, enhance sound quality, and tackle any issues that come your way. Remember, balancing the system sounds with the microphone input is key, and always keep privacy in mind. With these tips and tricks, you’re ready to create impactful, clear audio that will elevate your videos. Immerse yourself and let your content shine!

