Crafting Stunning Outdoor Stairs for Your Home
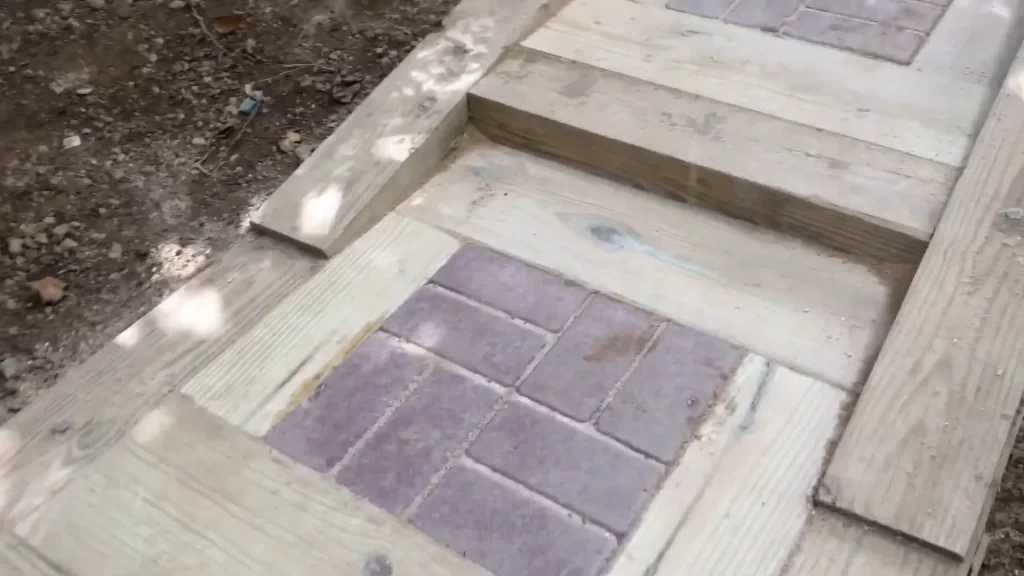
Building outdoor stairs can transform your garden or backyard into a more accessible and beautiful space. In this guide, we’ll walk you through the entire process, detailing how to build outdoor stairs using precast tread stones, pressure-treated lumber, and rebar for stability. Let’s dive into the details of how to build outdoor stairs that are not only functional but also aesthetically pleasing!
Step 1: Planning and Preparation 📝
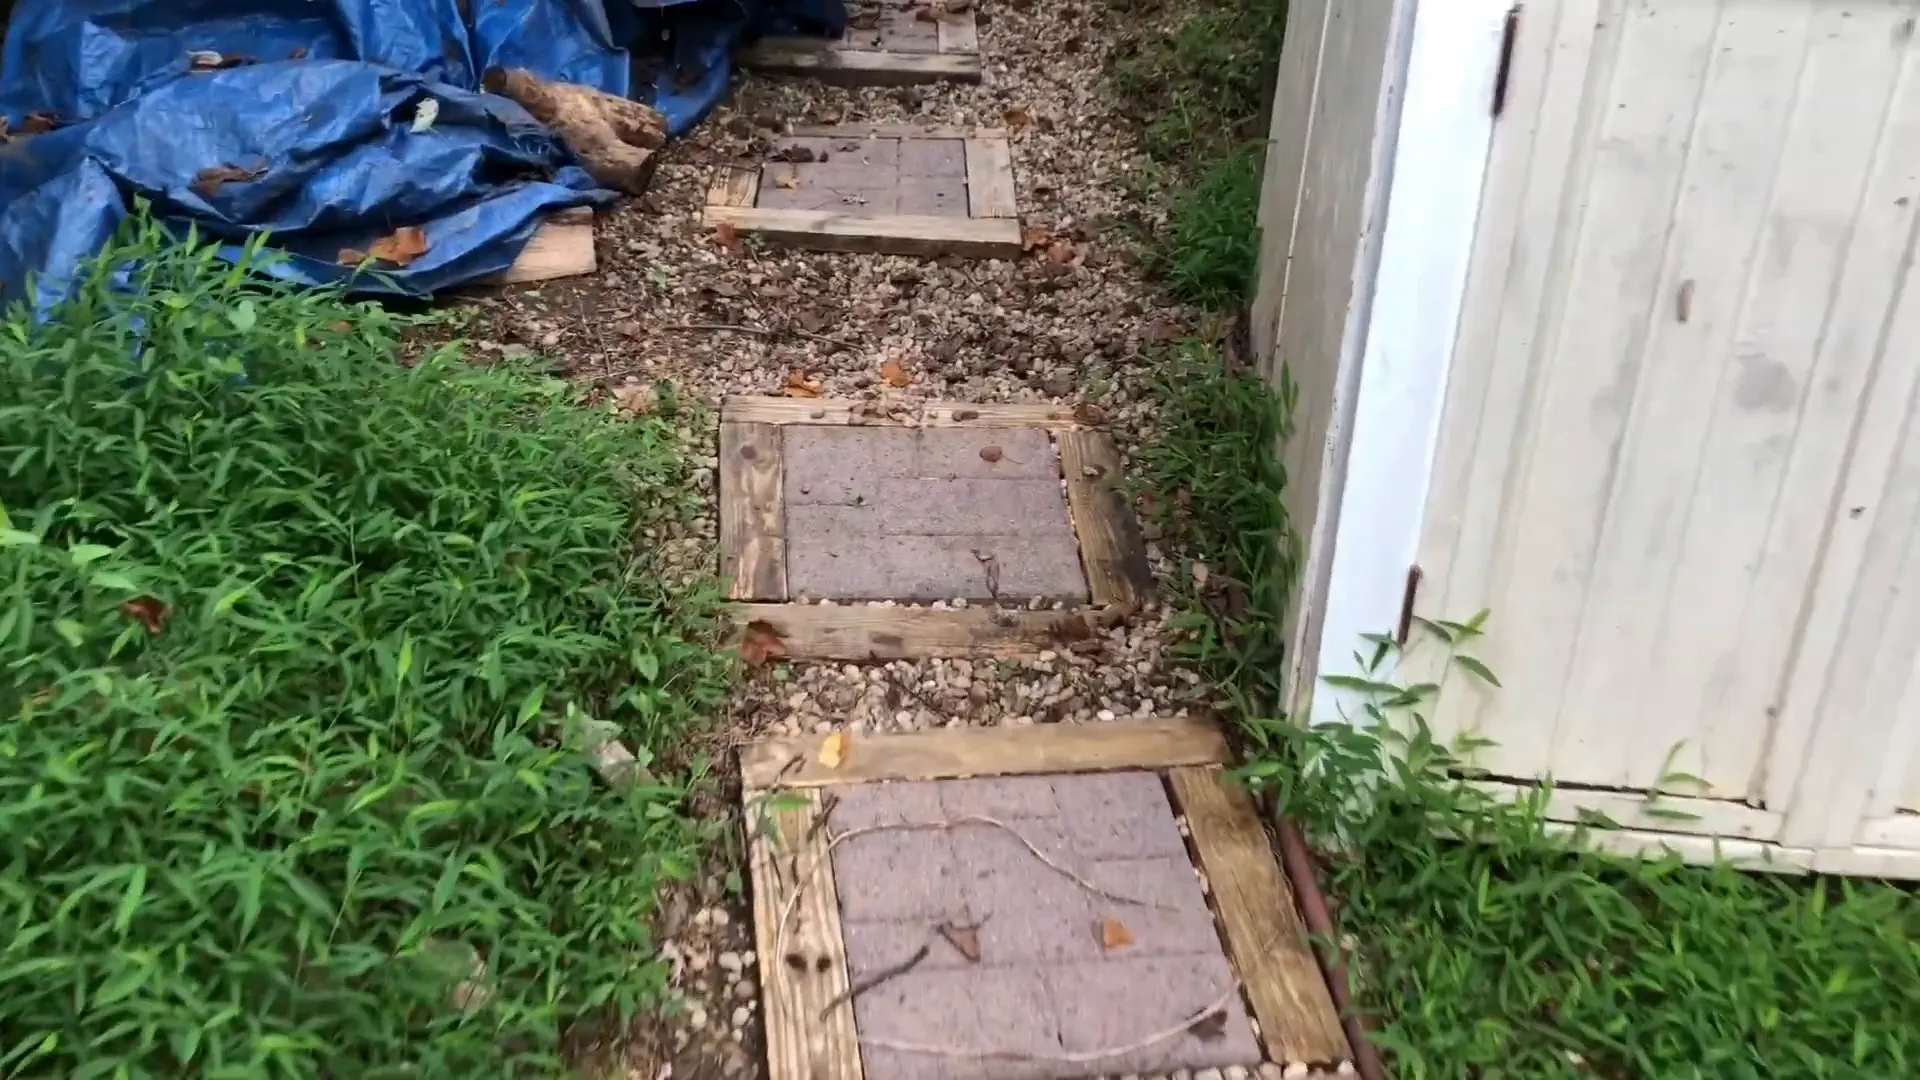
The first step in building outdoor stairs is to plan and prepare your area. You need to assess the existing structure and determine what materials you will need. In this case, we’re replacing an old set of stairs that were not secure, using a combination of precast tread stones and pressure-treated materials.
Step 2: Demolition of Old Stairs 🔨

Next, it’s time to demo the old stairs. Remove all the existing materials carefully. This might involve lifting stones and treated wood. Be cautious, as some of these materials can be heavy. Make sure to recover as much of the pea gravel as possible, as it can be quite expensive to replace.
Step 3: Digging the Foundation 🌍
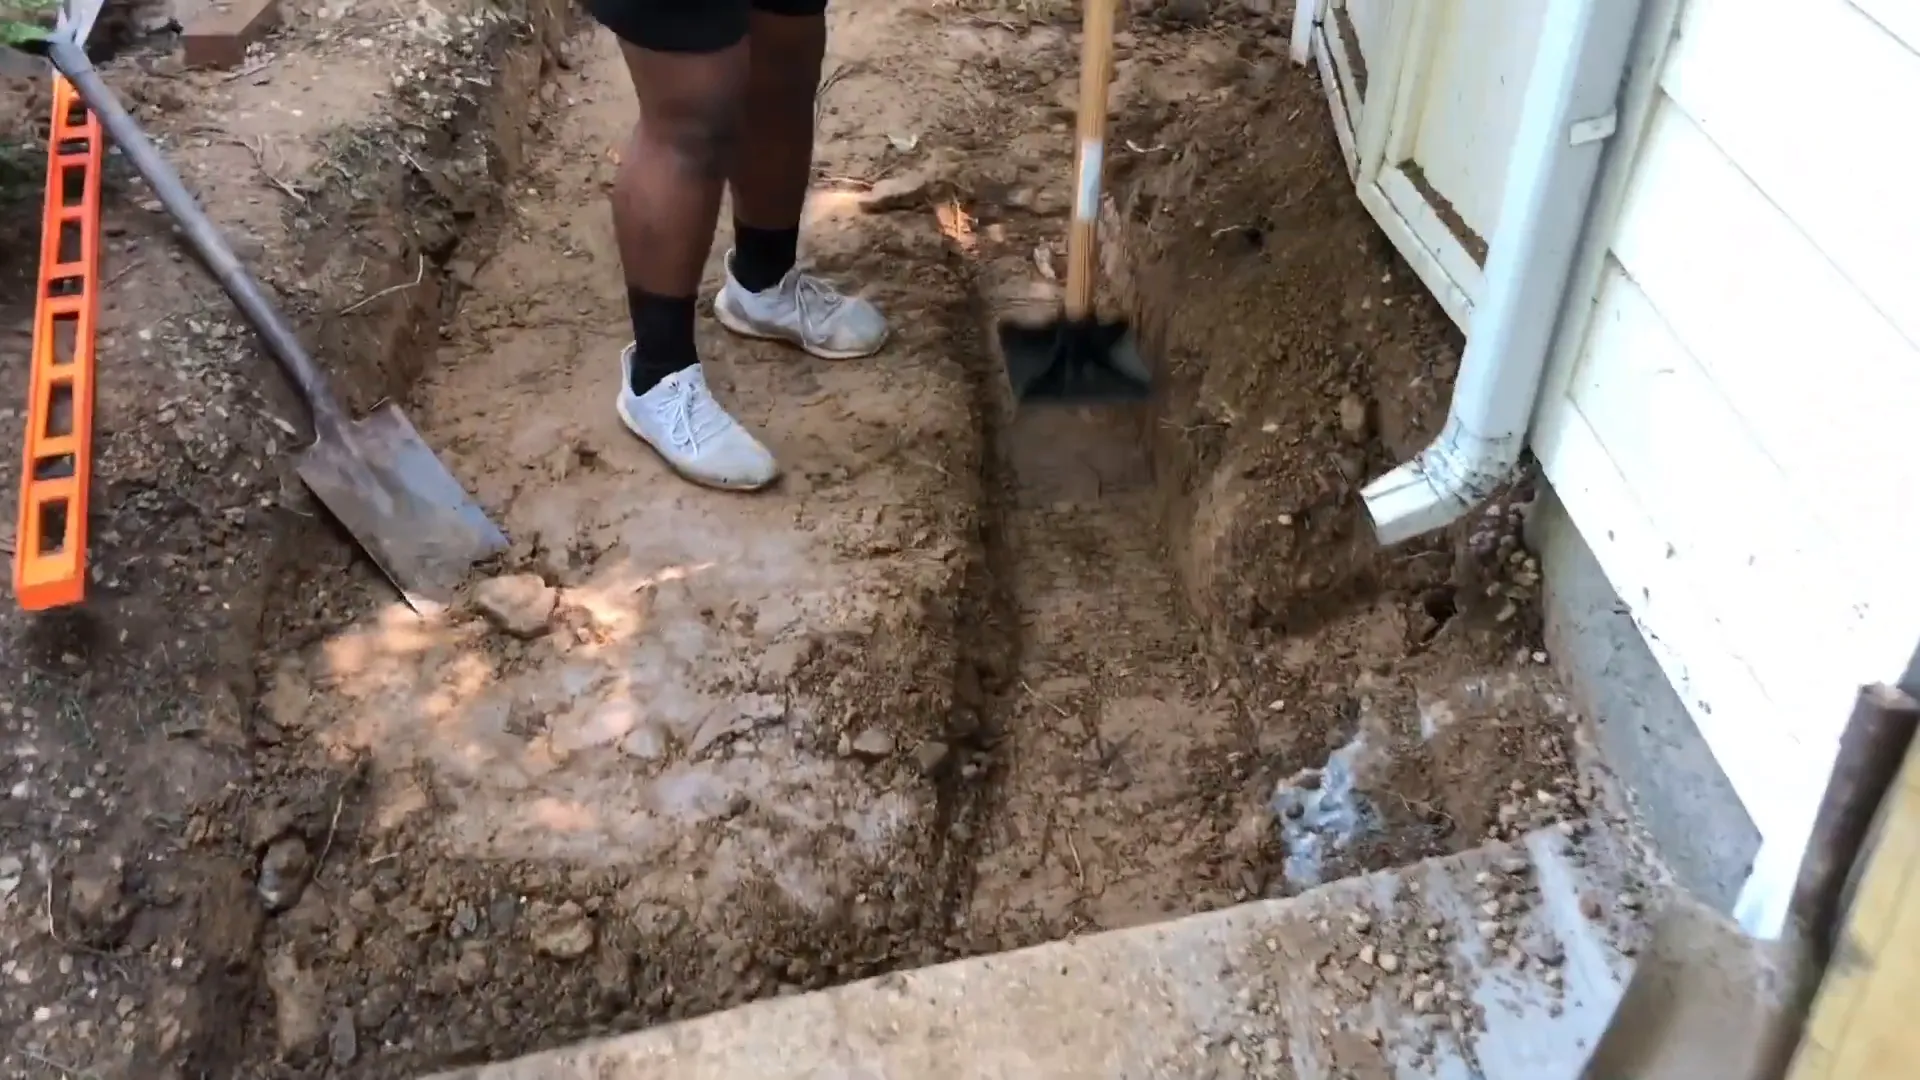
Once the old stairs are removed, the next step is to dig the foundation for your new stairs. You should dig down about two and a half feet, extending about a foot wider than the staircase. This will ensure a solid base. During this process, you may encounter roots or rocks, which you’ll need to cut through with a chainsaw.
Step 4: Compacting the Soil and Adding Gravel 🏗️
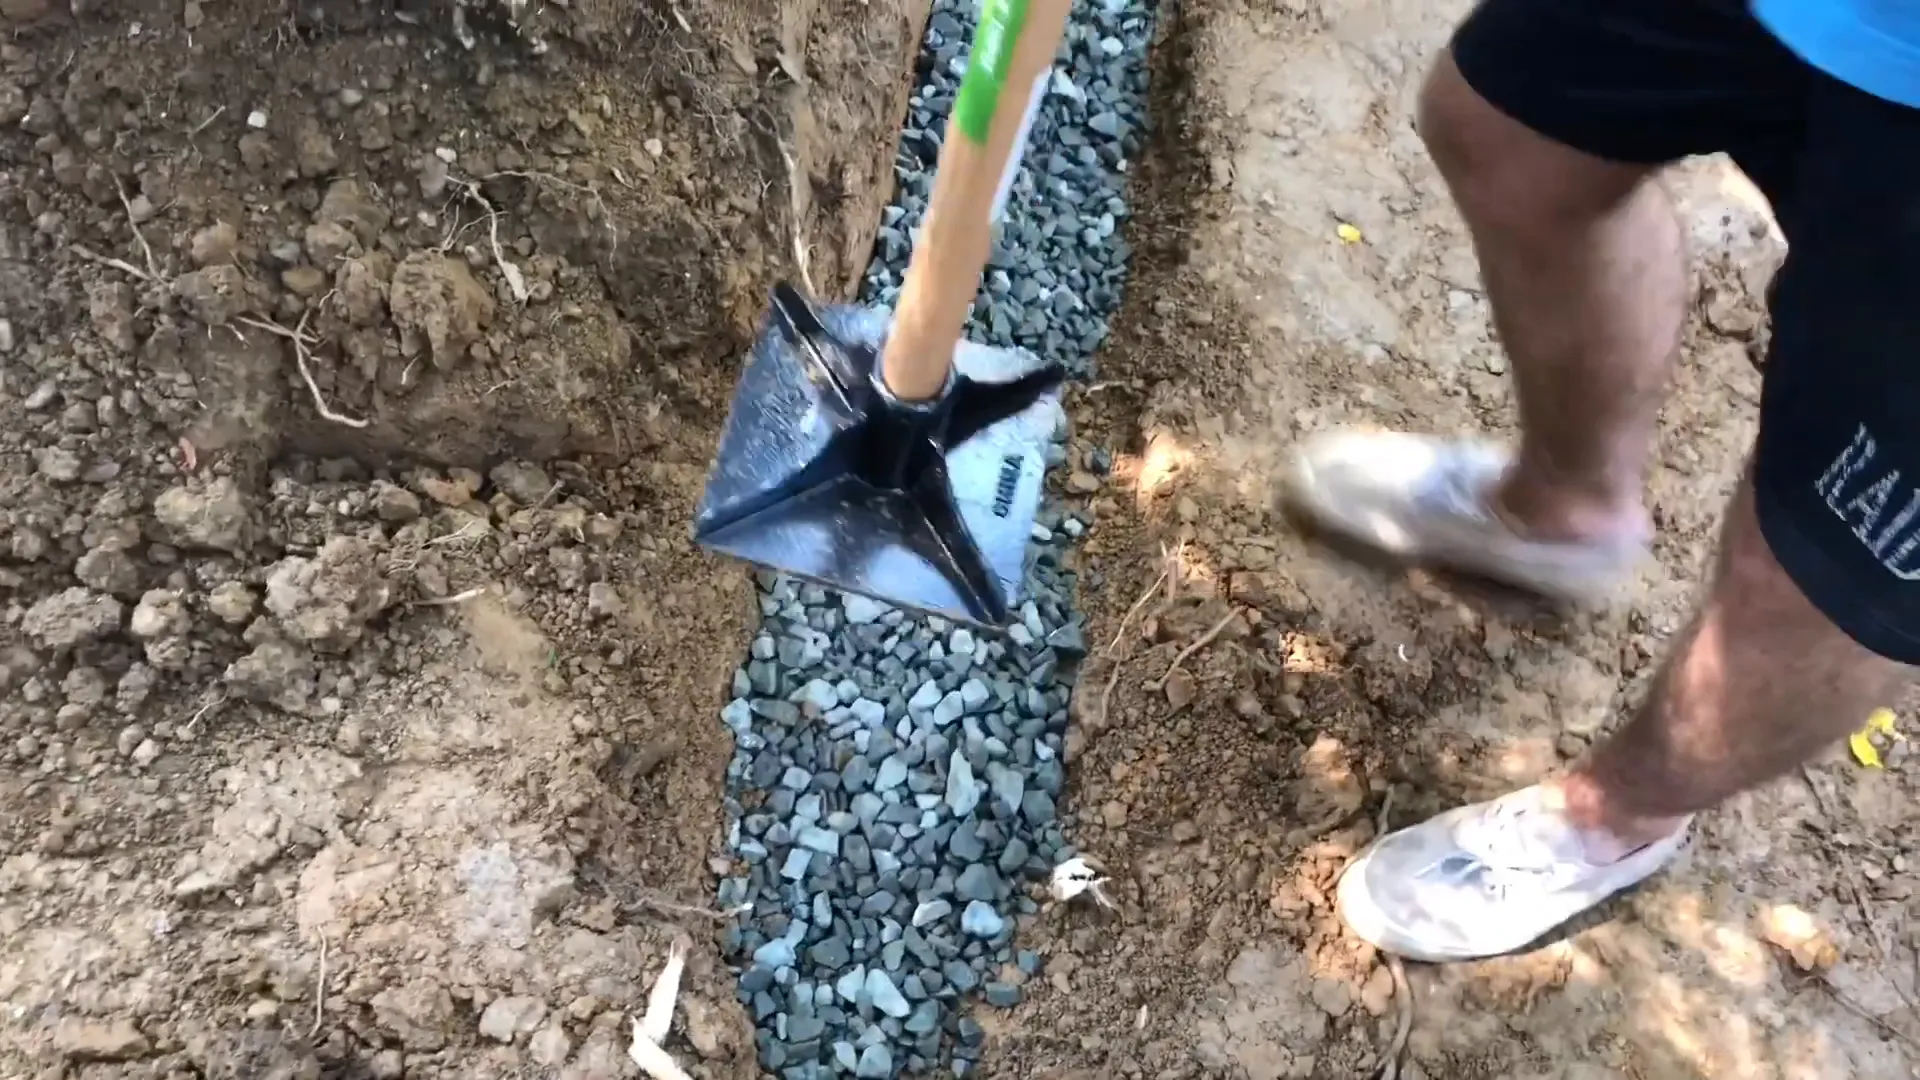
After you’ve dug out the area, the next step is to compact the soil thoroughly. This is crucial to avoid settling in the future, which can misalign your staircase. Once compacted, add gravel in layers of about two and a half to three inches, compacting each layer before adding more.
Step 5: Setting the Timbers in Place 🪵
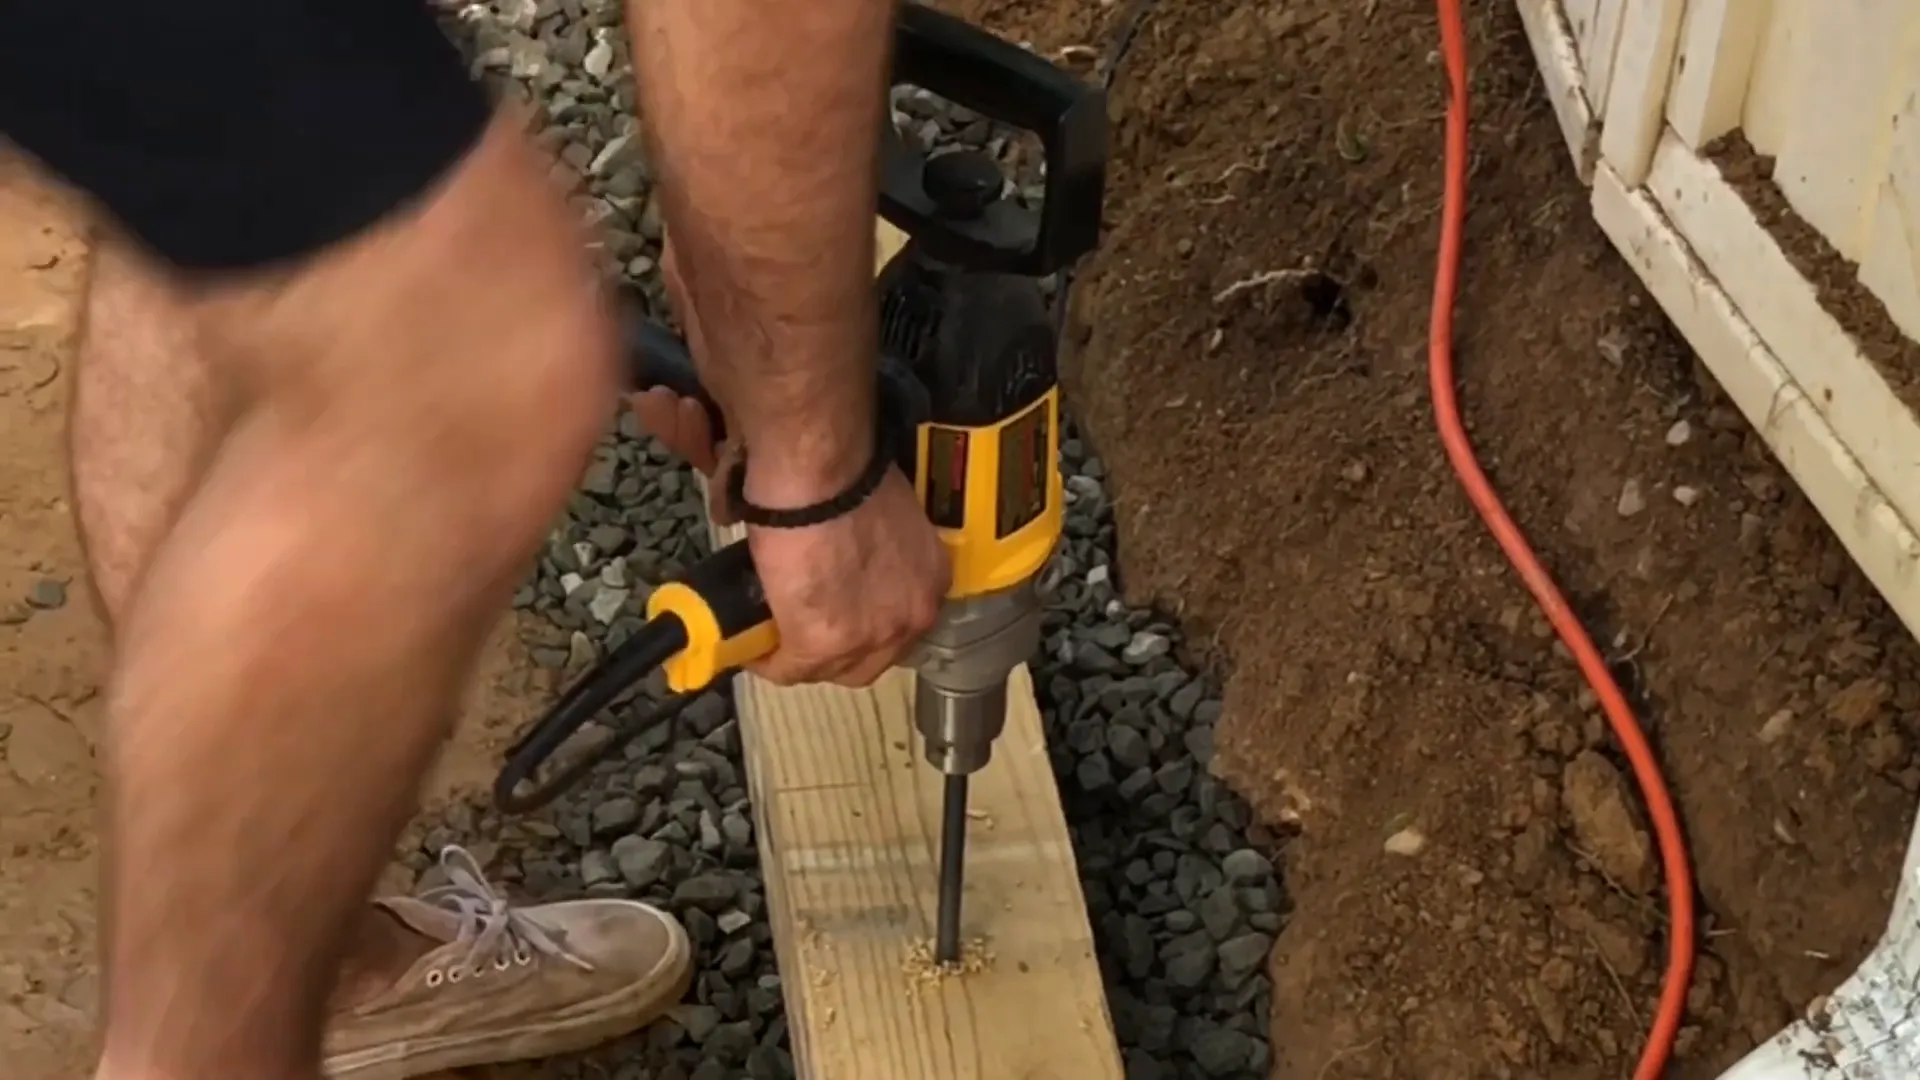
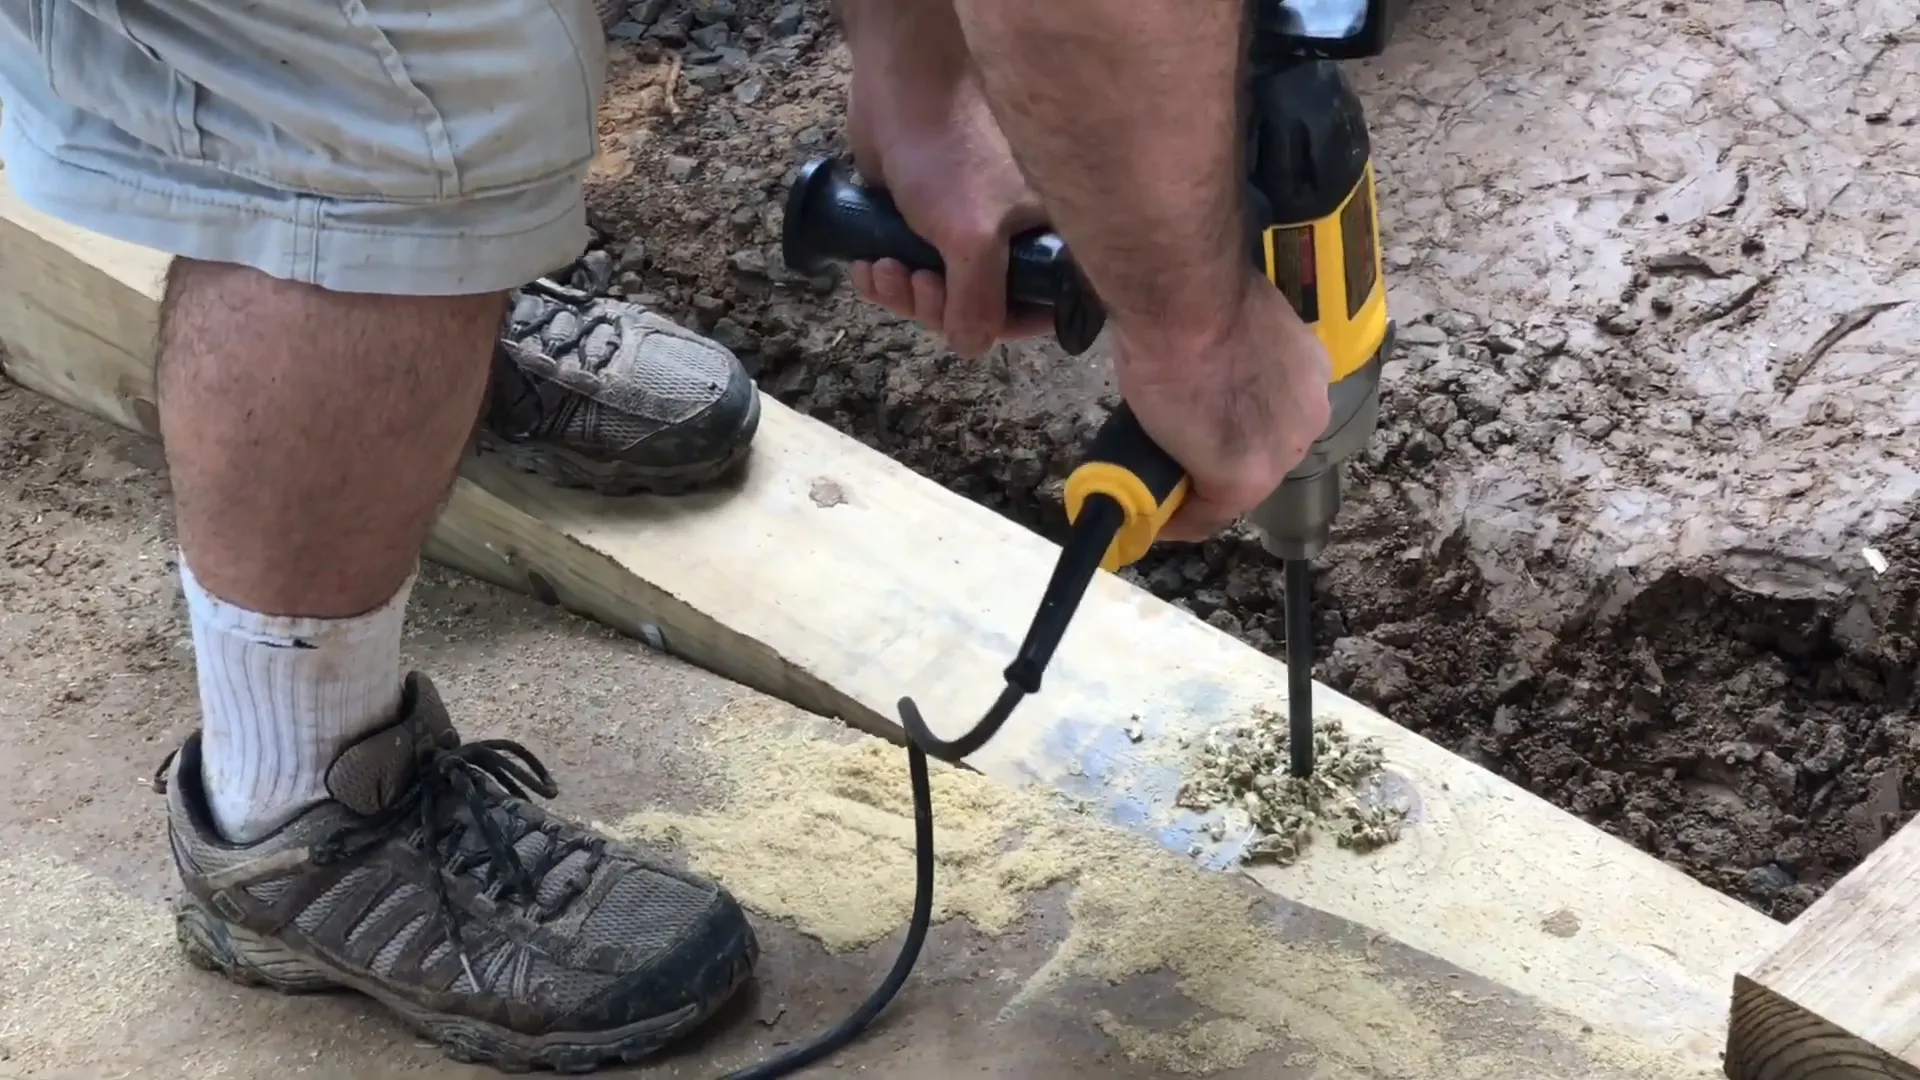
Now it’s time to set the 6×6 treated timbers in place. Drill a half-inch hole into the timber and use rebar to secure it to the ground. This will prevent any movement over time. Make sure the first timber is level before moving on to the next one.
Step 6: Building Up the Staircase 📏
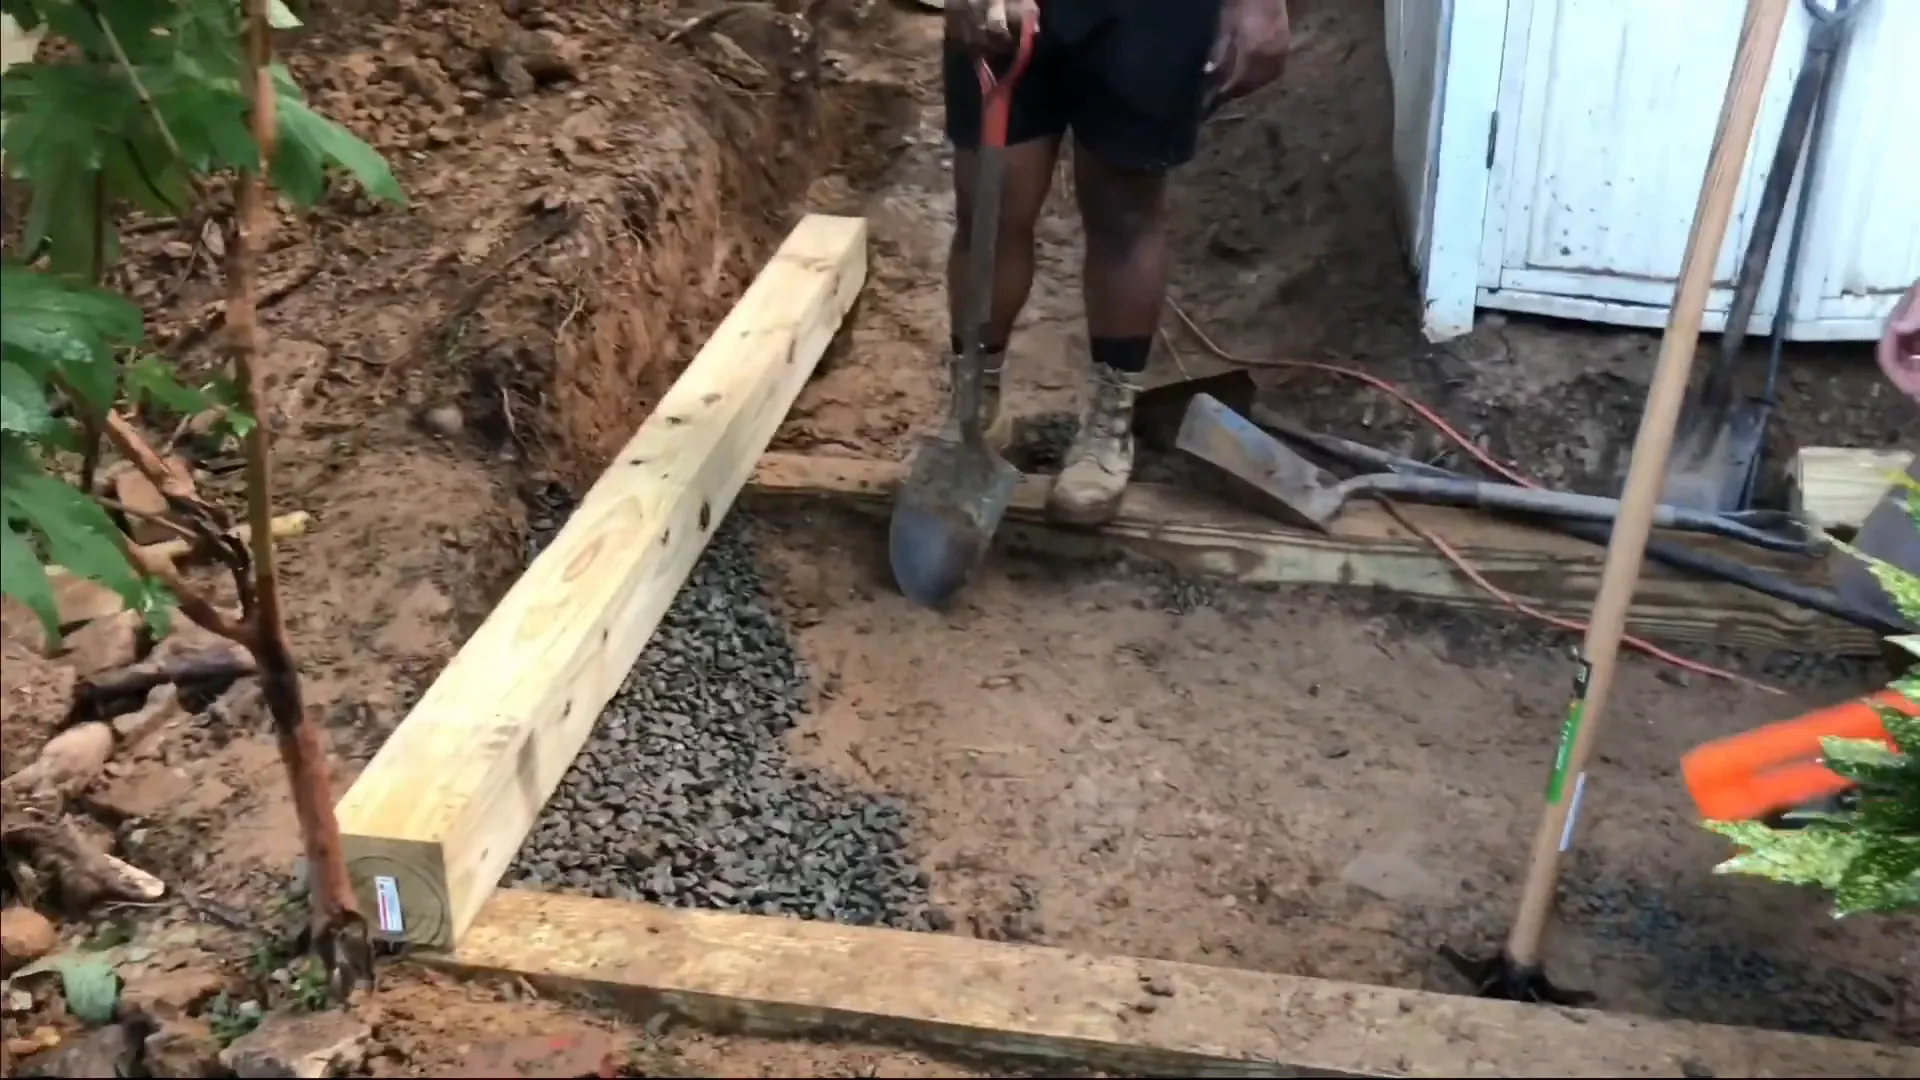
Continue the process of adding timbers, ensuring each one is level and secured properly. Each timber should be anchored with a lag screw at one end and secured with rebar at the other. This will create a sturdy framework for your staircase.
Step 7: Creating the Steps ⬆️
With the framework in place, you can start building the steps. Use tread stones for the treads and secure them with additional timber at the back. Make sure everything is level as you go. Backfill with soil and compact it well to create a solid step base.
Step 8: Adding the Paver Base and Sand 🧱
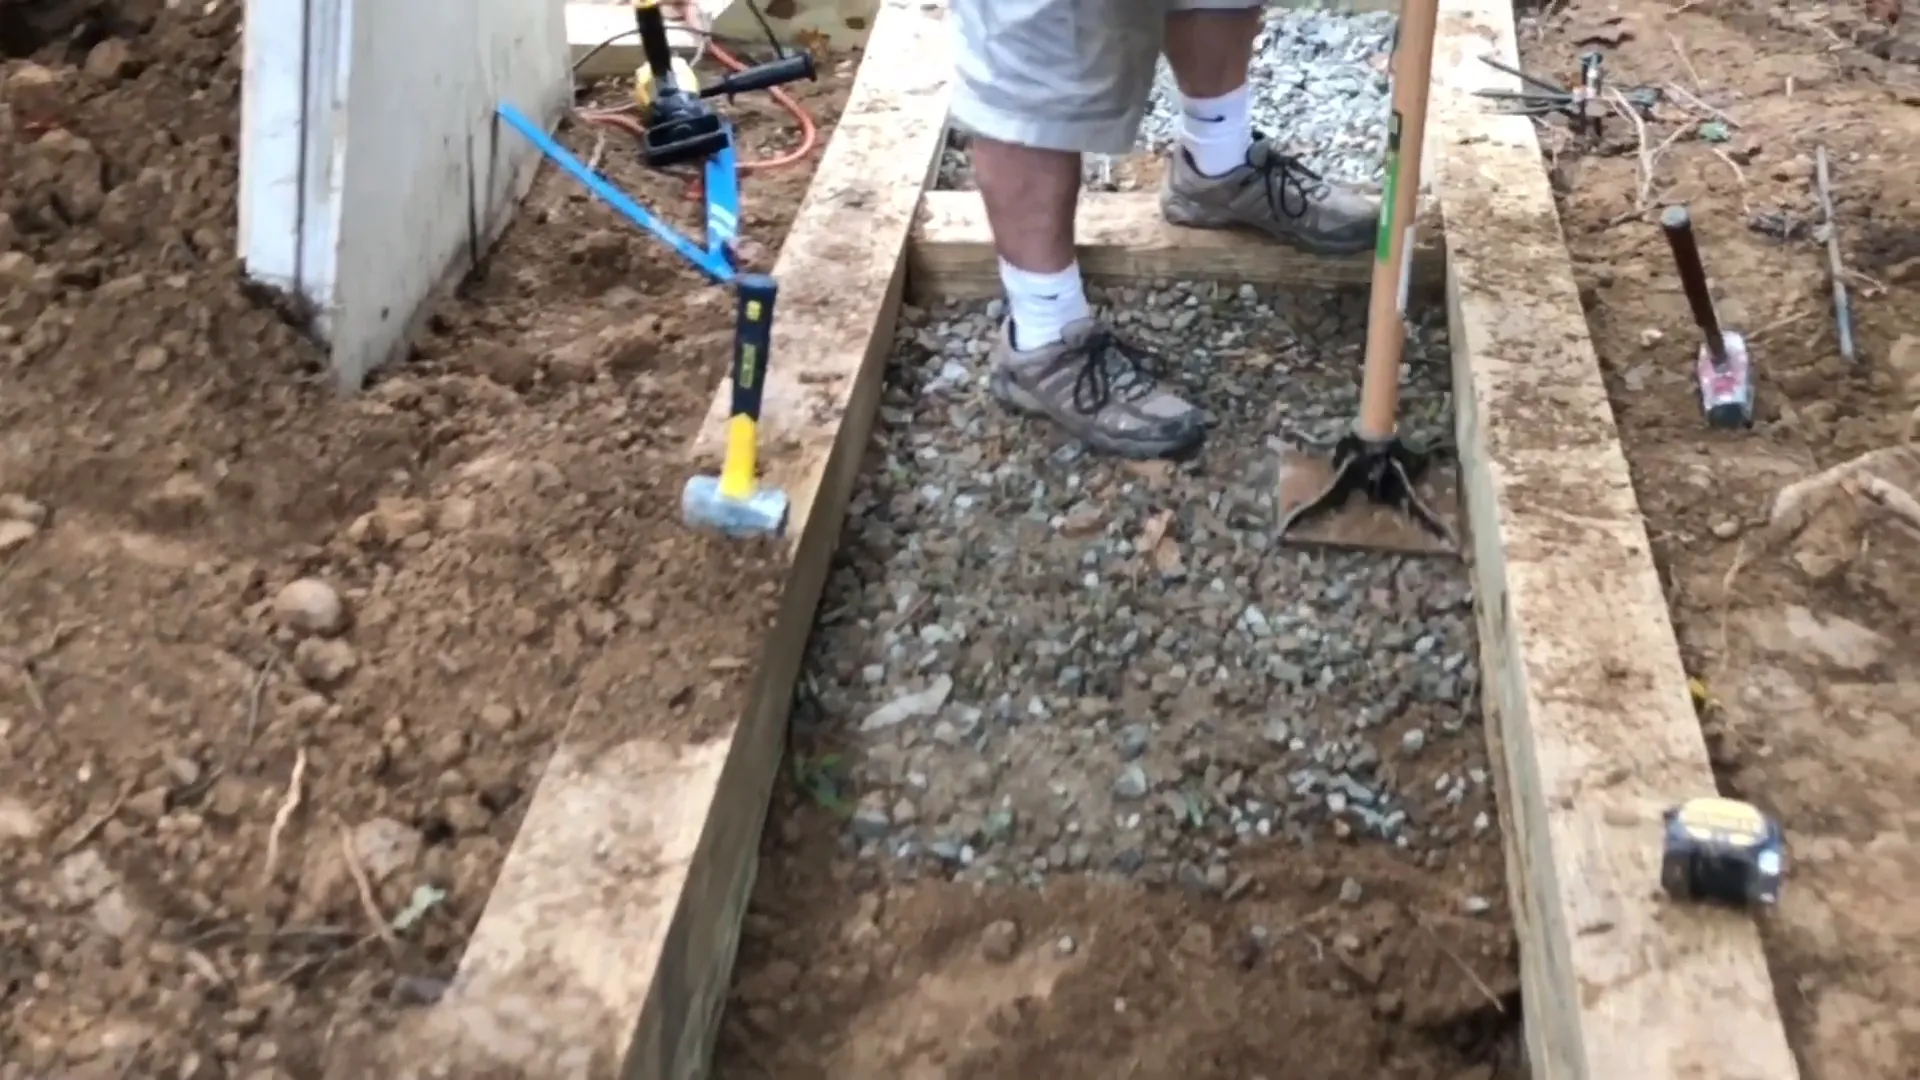
After building the steps, the next step is to add a paver base and sand. The paver base is crucial for providing stability. Spread it evenly and ensure it is level before placing the tread stones. Afterward, add paver sand, which helps lock everything in place and prevent movement.
Step 9: Final Touches and Sand Application 🌟
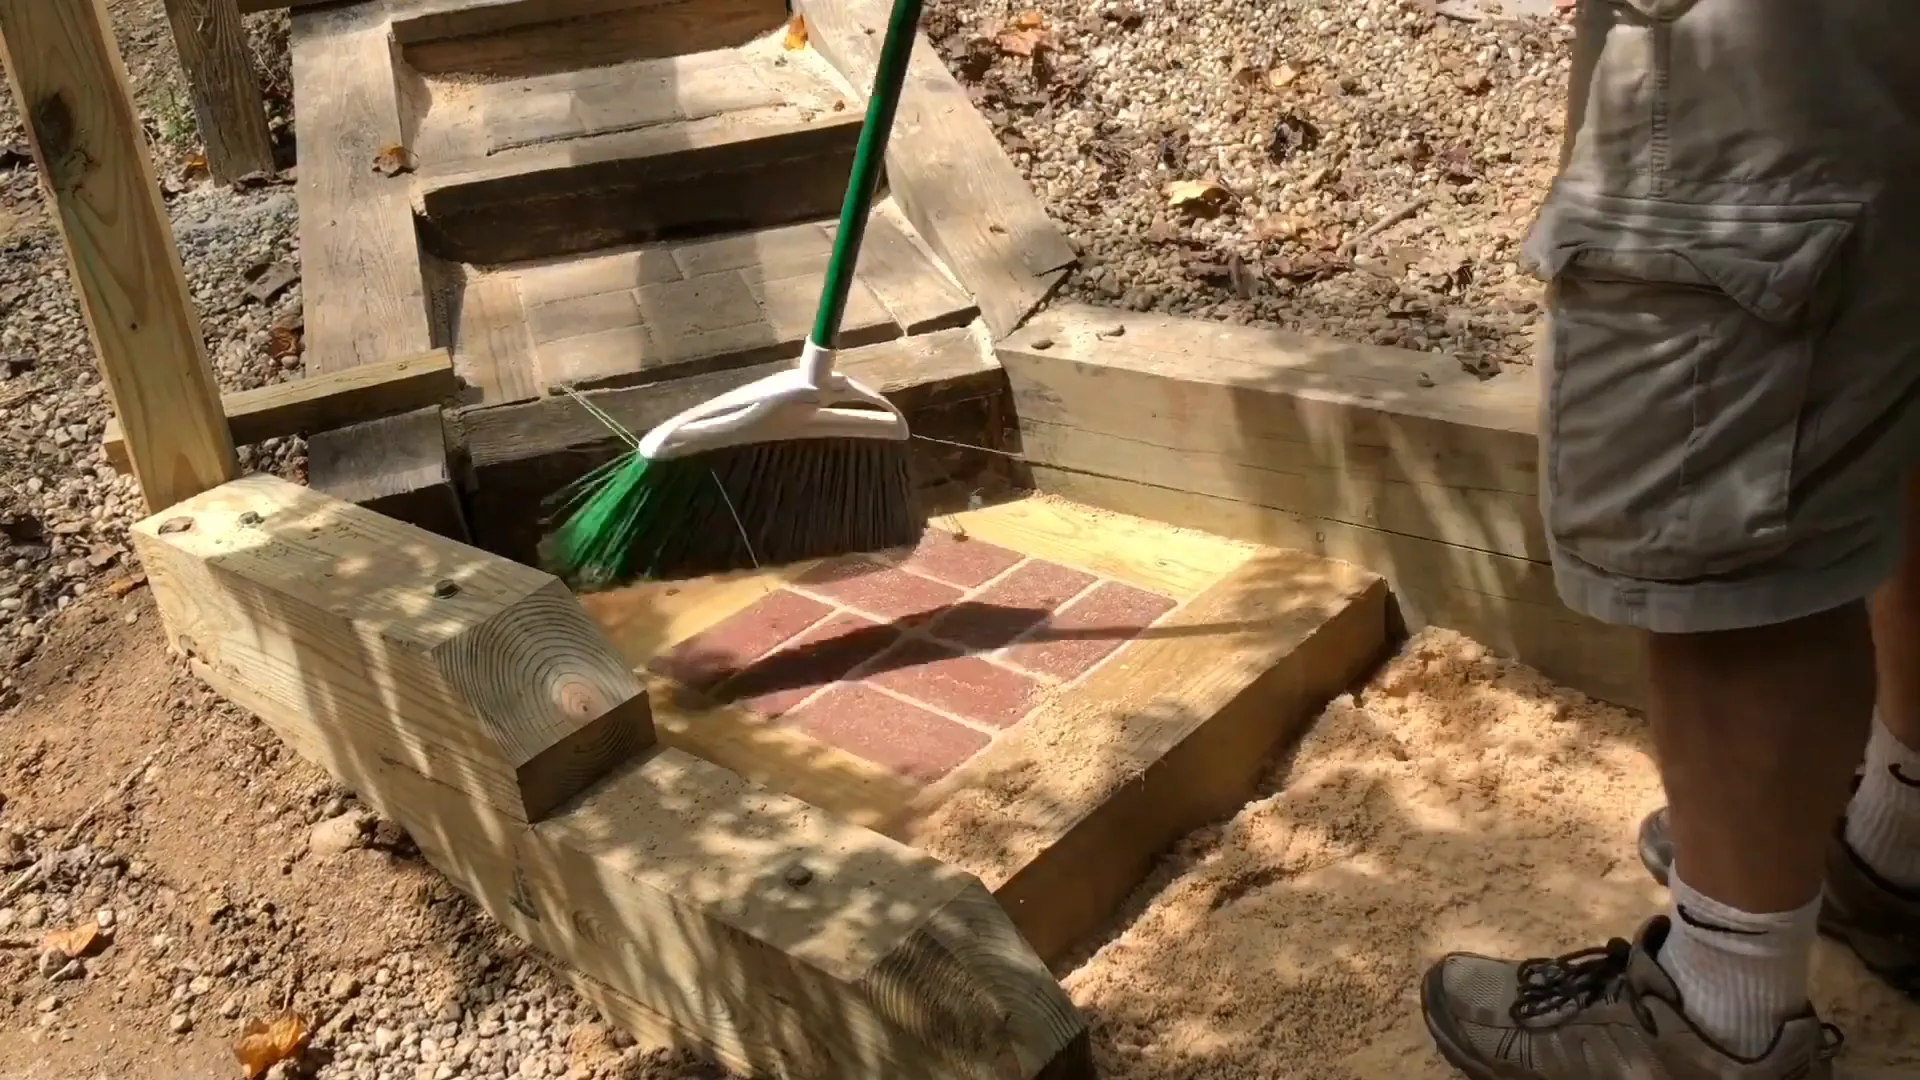
Finally, add the finishing touches. This includes sweeping in the sand between the pavers to fill in gaps and enhance stability. Allow some time for the sand to settle and fill any cracks. This not only helps with aesthetics but also locks the stones in place.
Step 10: Enjoy Your New Stairs 🎉
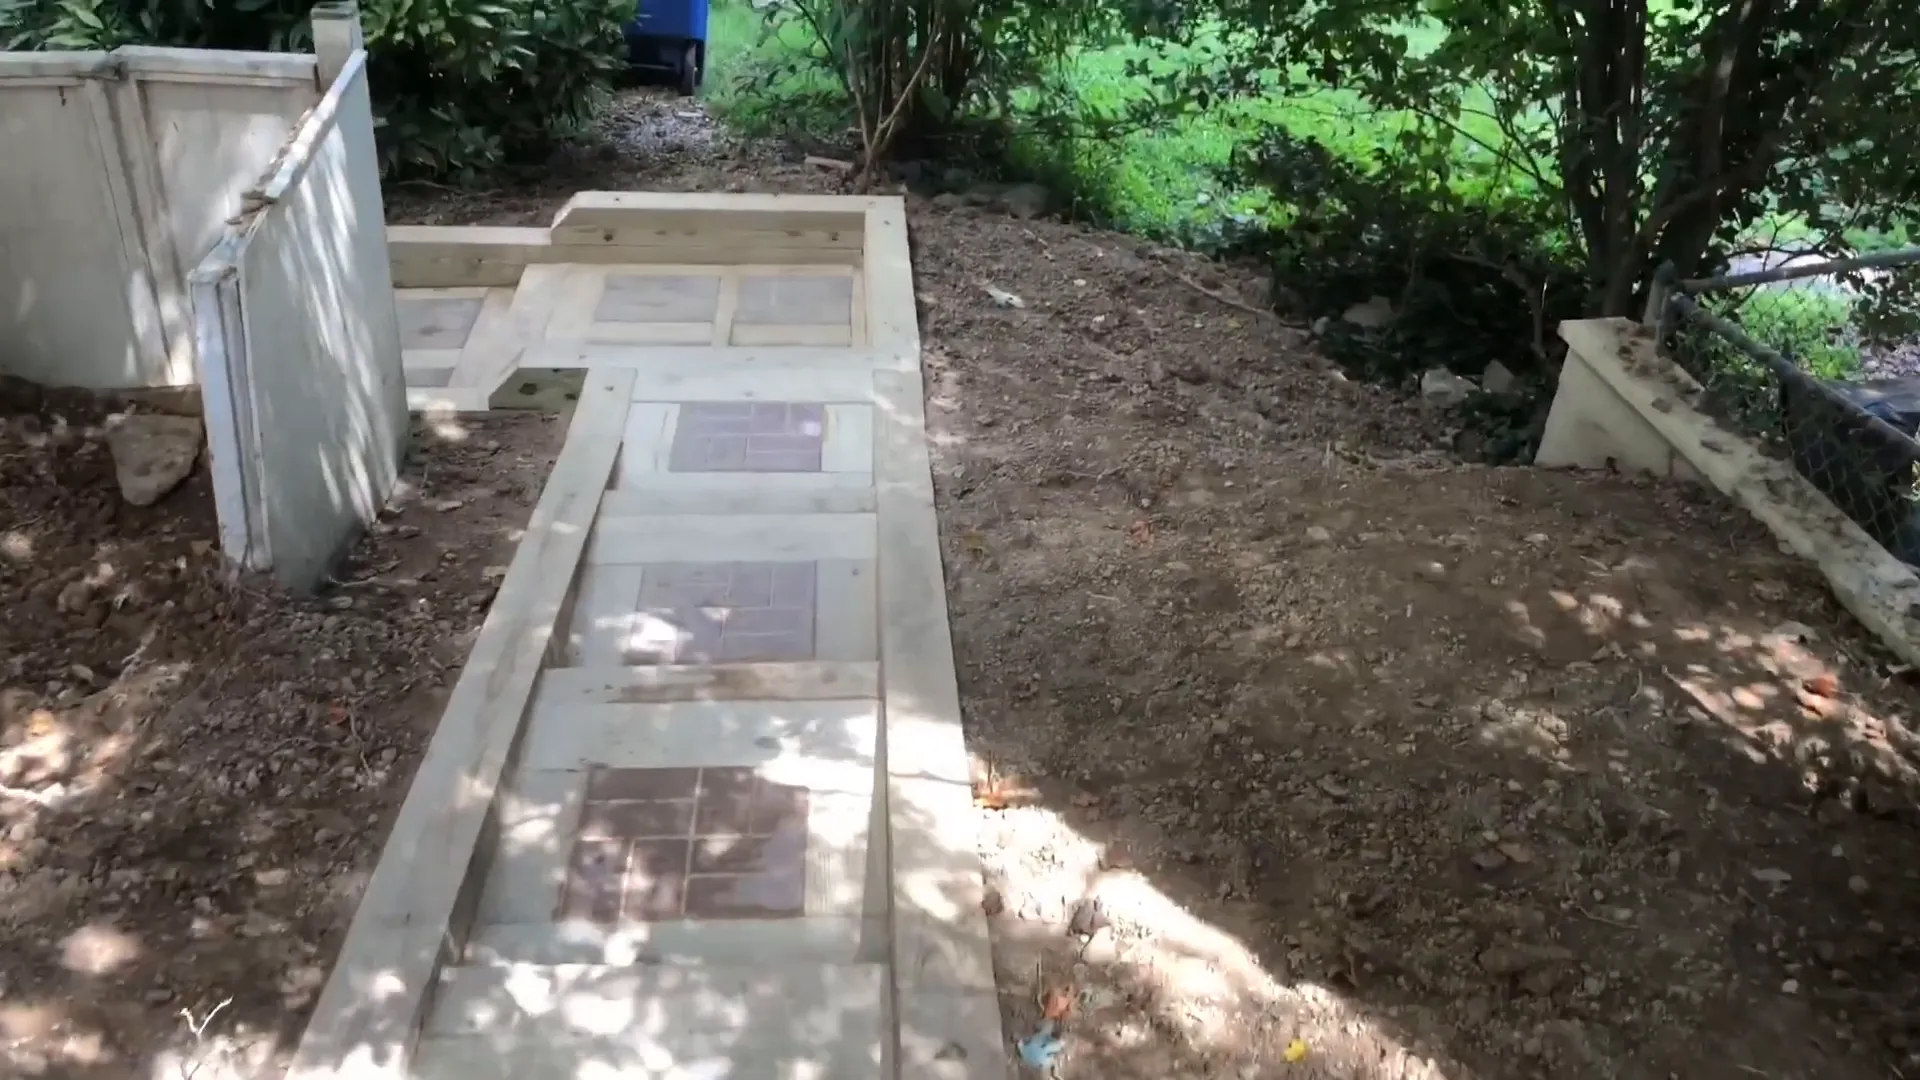
With the stairs completed, take a moment to appreciate your hard work! Your new outdoor stairs are not only functional but also a beautiful addition to your outdoor space. Enjoy the journey and the new access to your garden or backyard!
Conclusion
Building outdoor stairs can truly elevate the beauty and accessibility of your garden or backyard. With a little planning and the right materials like precast tread stones, pressure-treated lumber, and rebar, you can create a sturdy, attractive staircase that stands the test of time. By following each step in this guide—from demolition to the final touches—you’ll achieve a professional-looking result that you can be proud of. So, roll up your sleeves, gather your tools, and transform your outdoor space with a set of stairs that’s not only functional but also adds a touch of style. Enjoy your new addition!
FAQ About Building Outdoor Stairs ❓
What materials do I need to build outdoor stairs?
You will need precast tread stones, pressure-treated lumber, gravel, sand, rebar, and tools like a drill, tamper, and level.
How deep should I dig for the foundation?
It’s advisable to dig down about two and a half feet and about a foot wider than the staircase itself to ensure stability.
How do I ensure my stairs are level?
Use a level while placing each timber and adjust as necessary. Compaction of the base materials also helps maintain the level.
Can I build outdoor stairs on a slope?
Yes! Just ensure that each step is securely anchored and that the slope is manageable for walking.
How long will my outdoor stairs last?
With proper materials and installation, outdoor stairs can last for many years. Regular maintenance can also help extend their lifespan.
