Essential Tips: How to Clean a Keyboard 🧼
Keeping your keyboard clean is essential for maintaining its performance and longevity. In this guide, we’ll walk you through the entire process of cleaning your keyboard properly, ensuring that you know exactly how to clean a keyboard without damaging it. So, let’s dive in and get your keyboard looking fresh and new again!
- Essential Tips: How to Clean a Keyboard 🧼
- Step 1: Prepare Your Workspace 🔧
- Step 2: Remove the Keycaps 🔍
- Step 3: Soak the Keycaps 🛁
- Step 4: Rinse the Keycaps 🚿
- Step 5: Clean the Keyboard Base 🧽
- Step 6: Address Sticky Keys 🔑
- Step 7: Final Cleaning Touches ✨
- Step 8: Reassemble the Keyboard 🛠️
- Step 9: Enjoy Your Fresh Keyboard! 🎉
- Conclusion
- FAQ: Common Questions About Cleaning Keyboards ❓
- How to Clean a Keyboard
Step 1: Prepare Your Workspace 🔧
Before you start cleaning, the first thing you need to do is prepare your workspace and the keyboard itself. Here’s how:
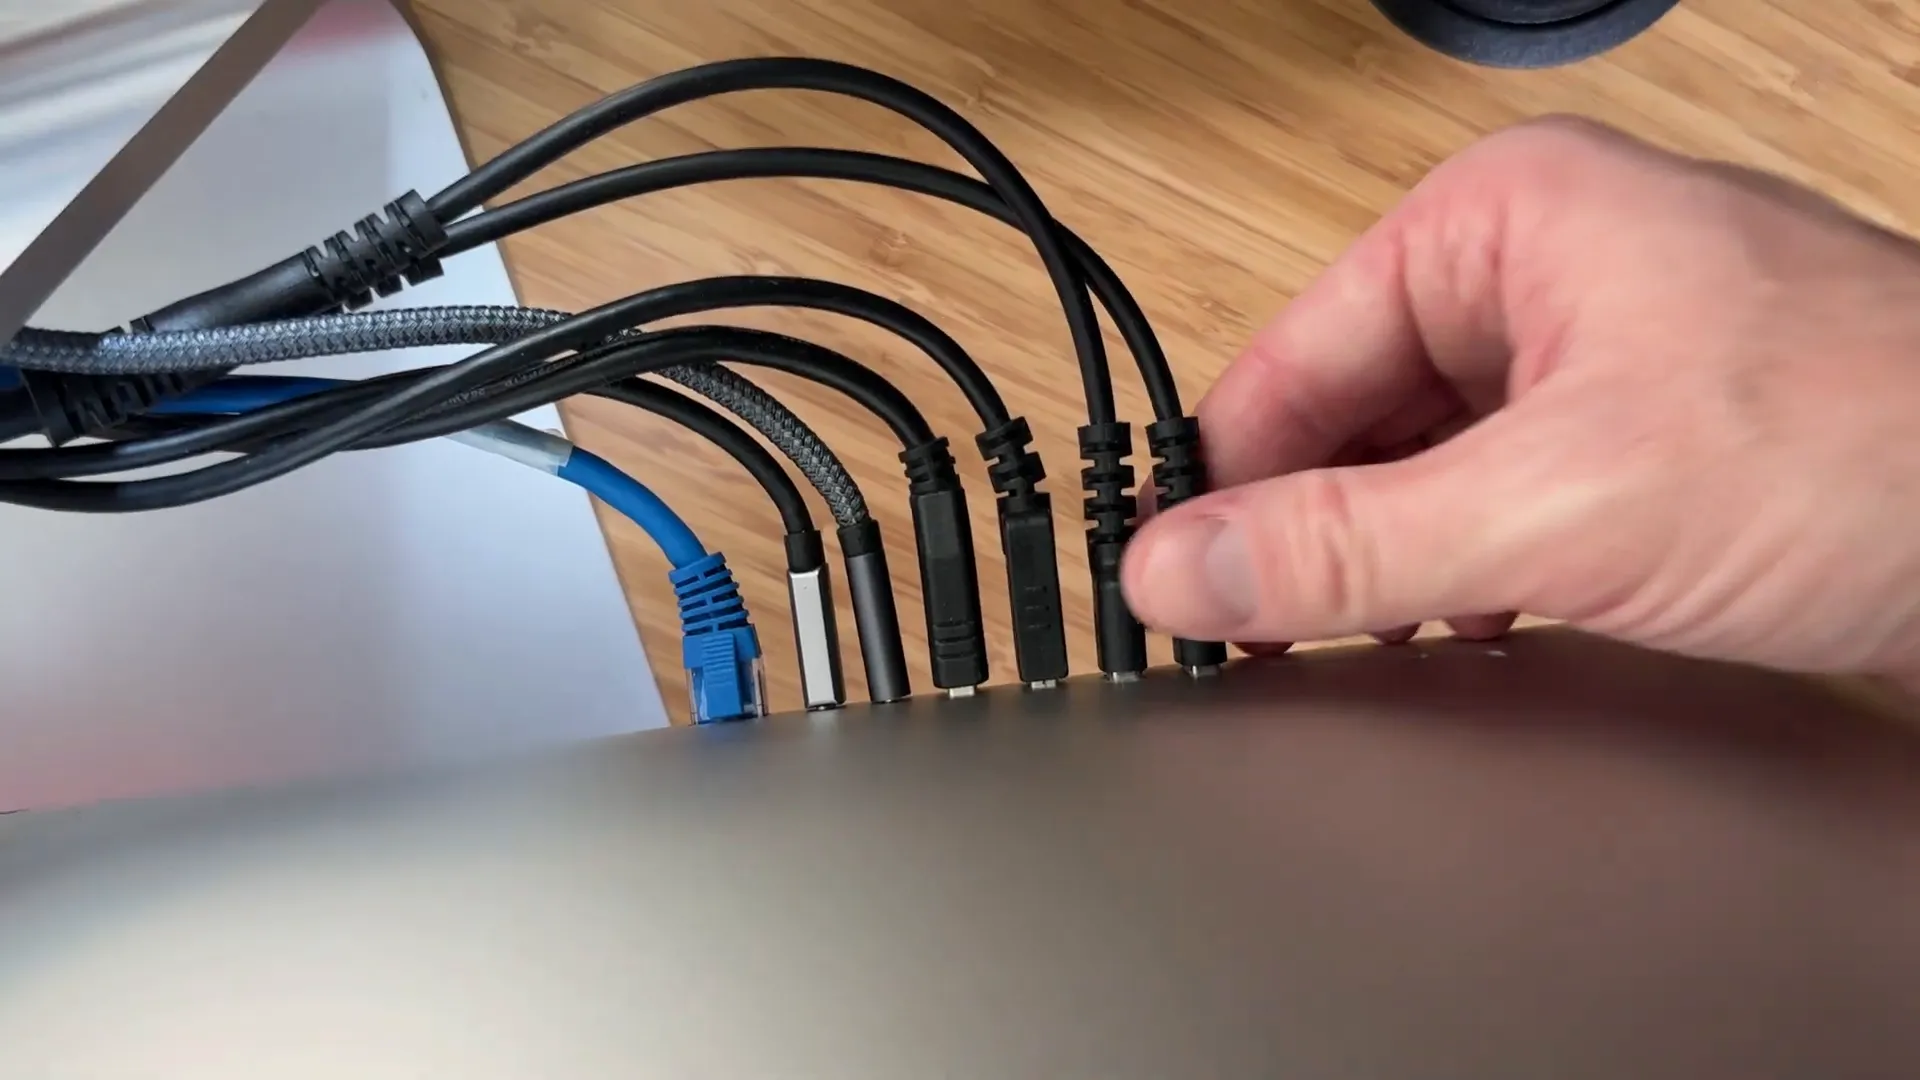
- First, unplug the keyboard from your computer or remove its batteries if it’s wireless. This is crucial for safety.
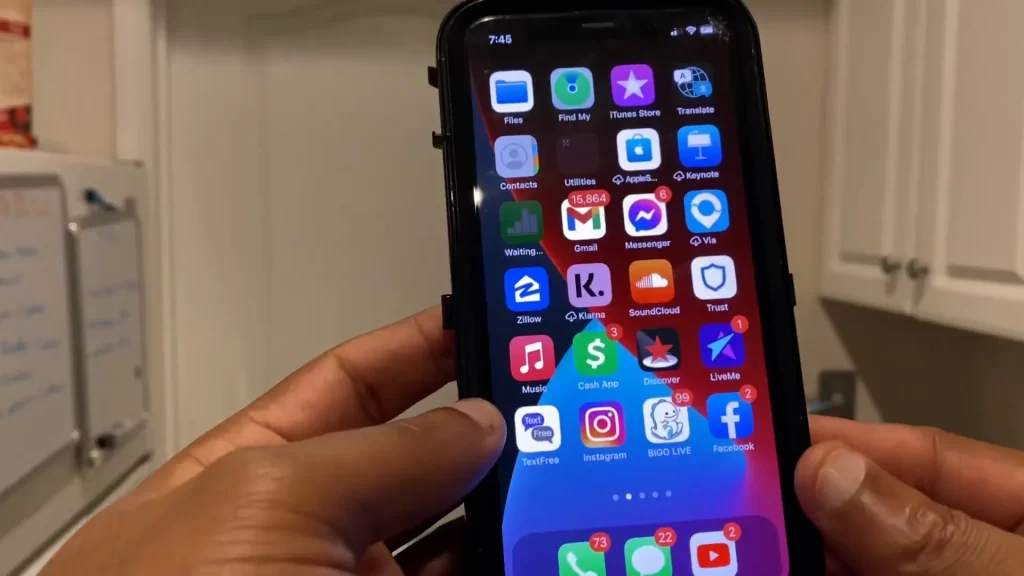
- Next, grab your smartphone and take a full picture of your keyboard from the top. This will help you remember where each key goes when it’s time to put them back.
- Be aware that your keyboard will be out of commission for a while, possibly up to twelve hours for the keycaps to dry. Consider using a spare keyboard during this time.
Step 2: Remove the Keycaps 🔍
Now that your keyboard is prepared, it’s time to remove the keycaps. Follow these steps carefully:
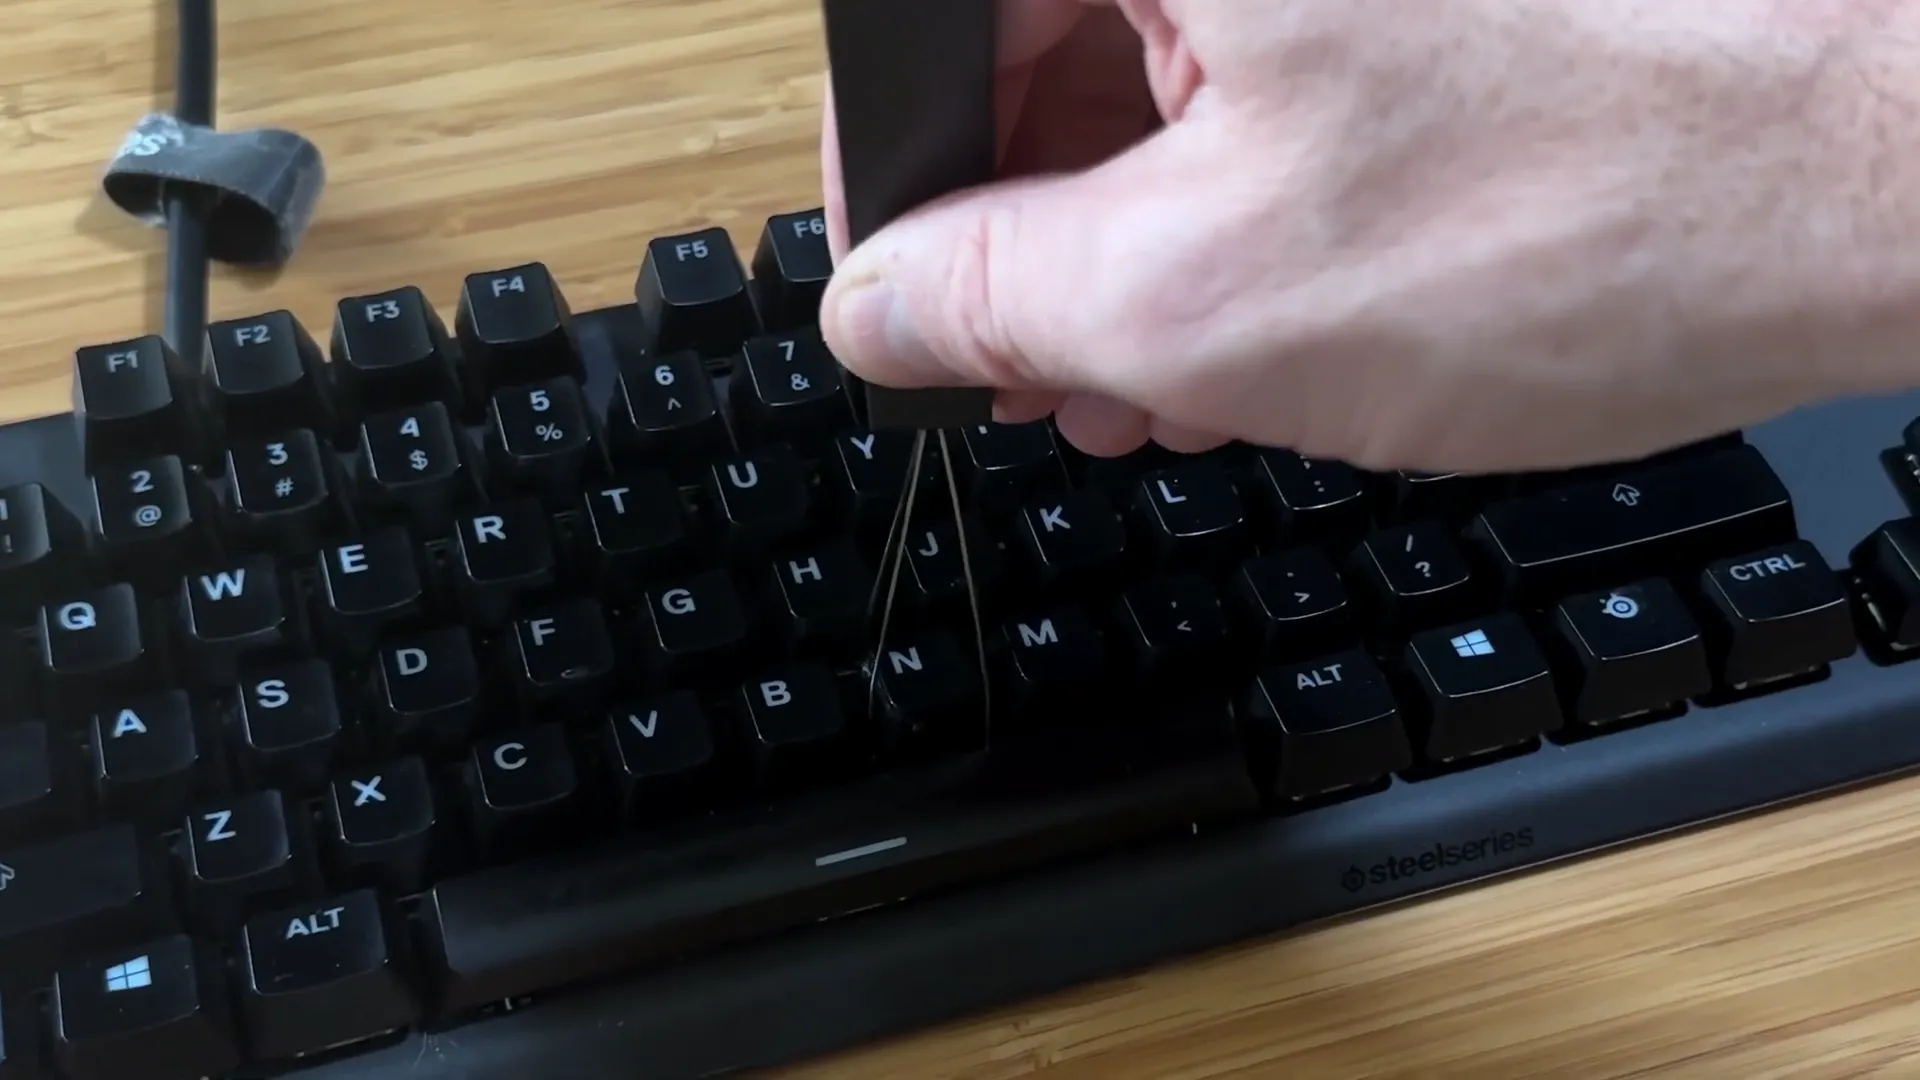
- Use a keycap remover or your bare hands to remove the keycaps. Get a good grip and pull straight up to avoid damaging them.
- If you feel resistance when pulling a key, try repositioning the keycap puller for a better angle.
- Pay special attention to larger keys like Shift, Caps Lock, Tab, and Enter, as they may be attached by wires.
- If there’s any visible debris on the keys, remove it at this stage.
Step 3: Soak the Keycaps 🛁
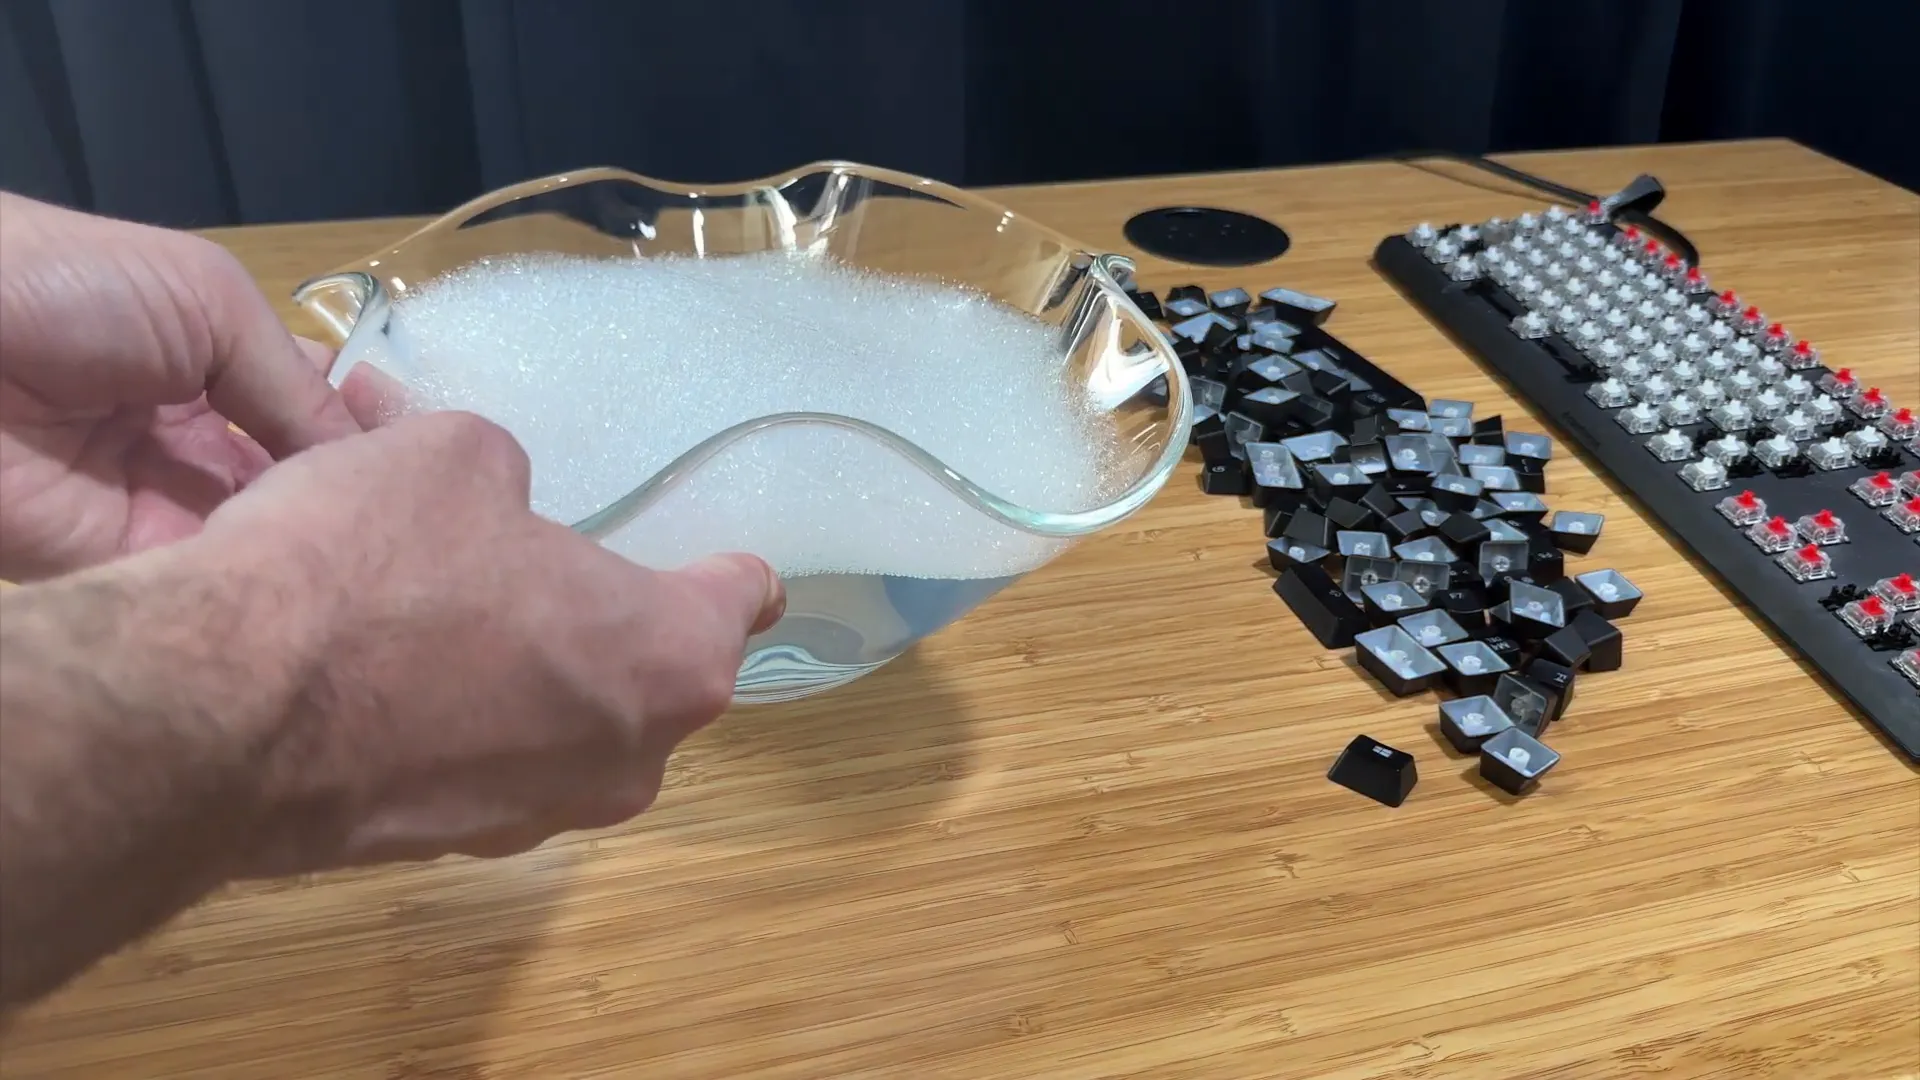
Once all the keycaps are removed, it’s time to give them a good cleaning:
- Prepare a bowl of warm water mixed with dish soap.
- Add the keycaps to the bowl and gently scrub them with your hands to remove grime.
- Let them soak for about half an hour. While they soak, you can start cleaning the keyboard base.
Step 4: Rinse the Keycaps 🚿
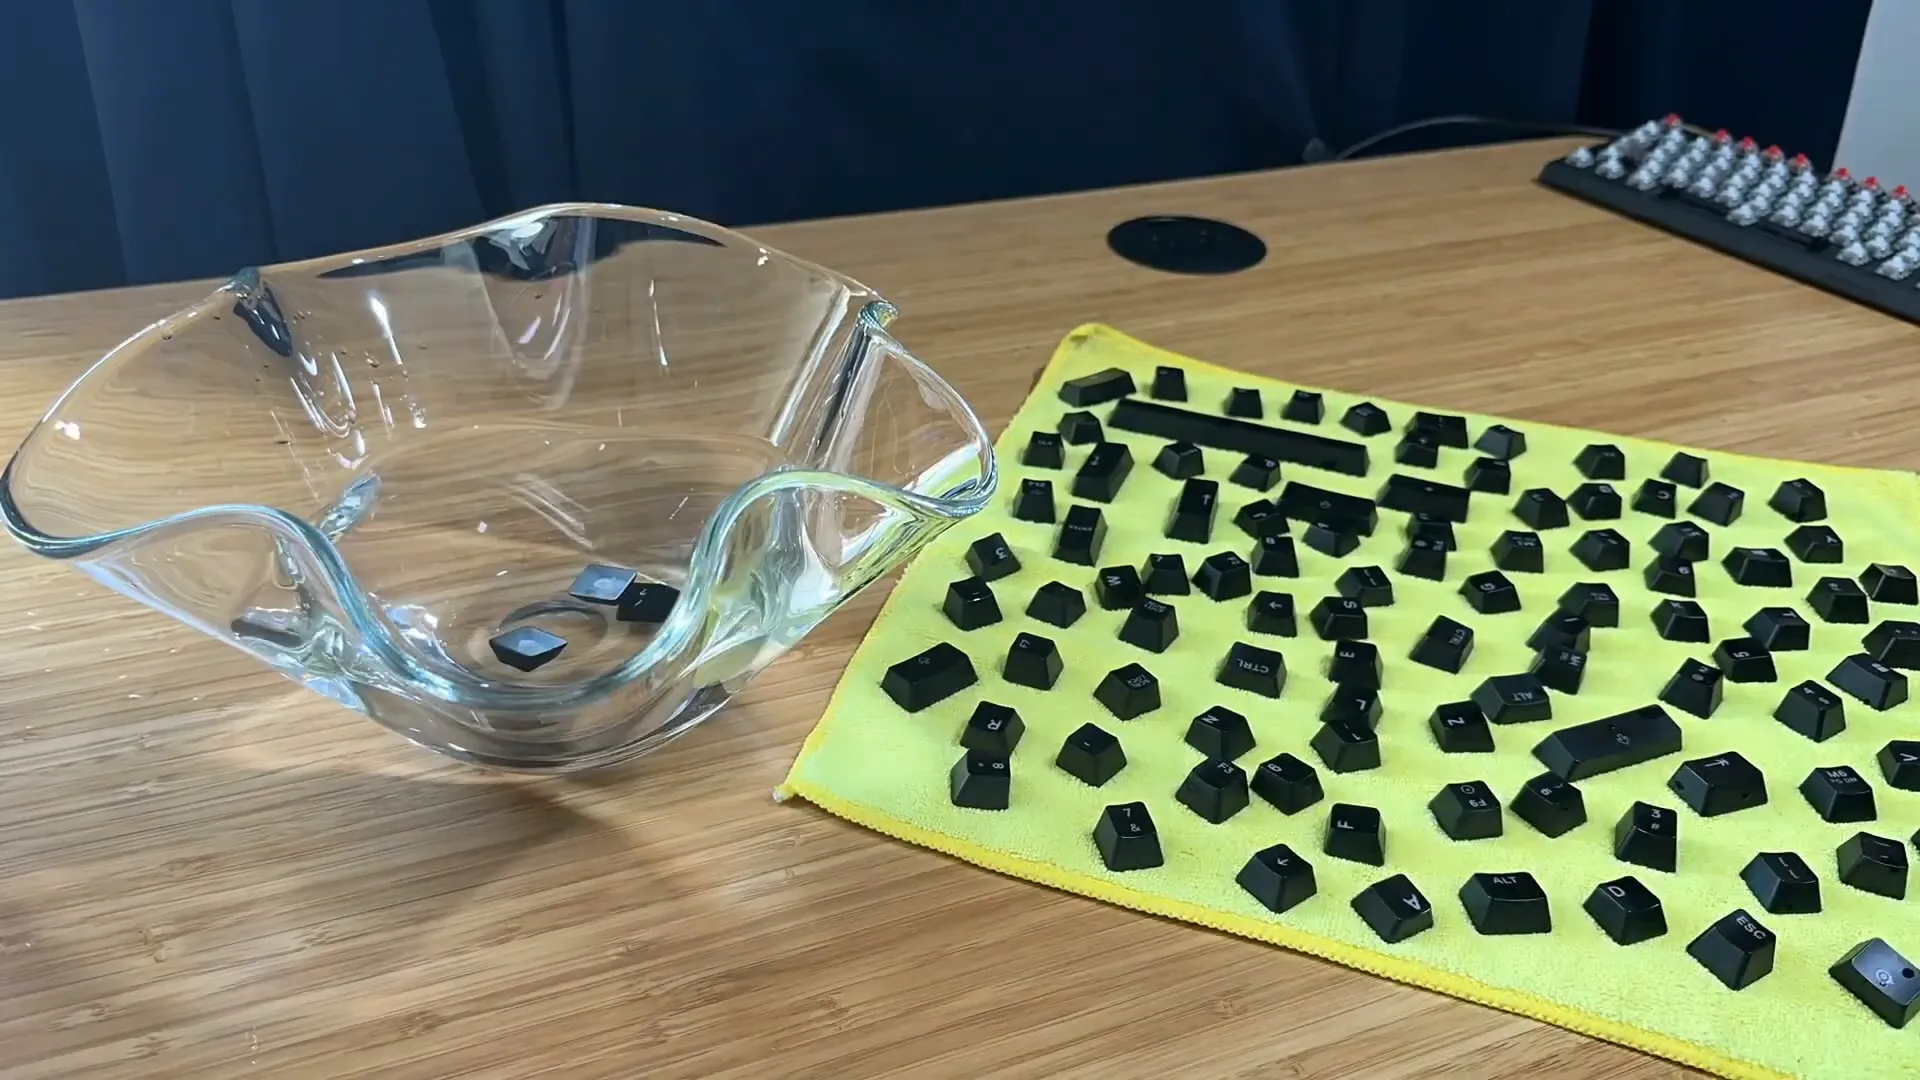
After soaking, it’s important to rinse the keycaps properly:
- Go to the sink and overflow the bowl with water while removing all the dish soap. Ensure your drain is small enough to prevent any keycaps from slipping through.
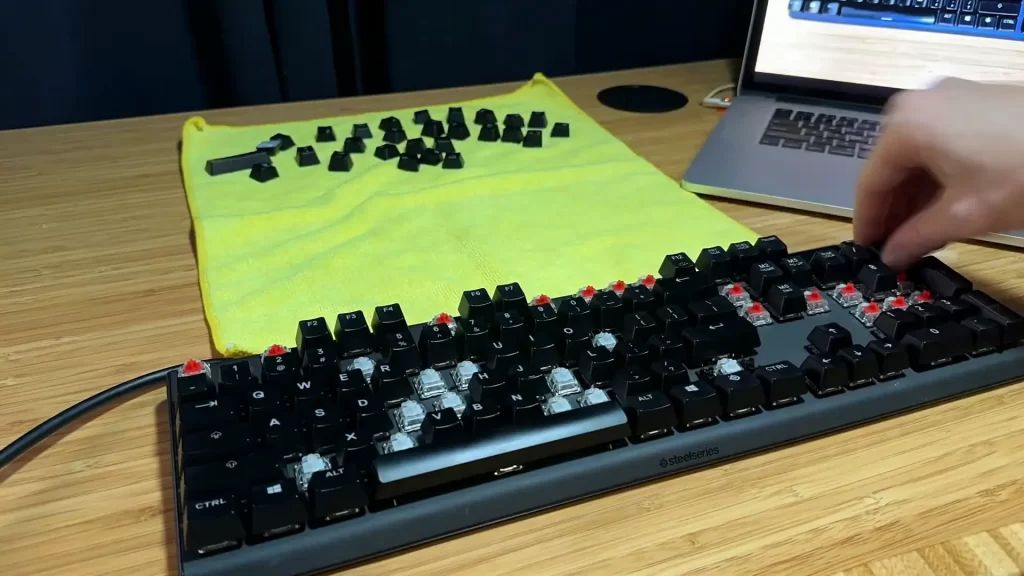
- After rinsing, lay out a microfiber towel to set the keys on and use another towel to gently dry them.
- Shake out the keycaps to remove excess water, then let them dry on the towel. This drying process may take from one hour to several hours.
Step 5: Clean the Keyboard Base 🧽
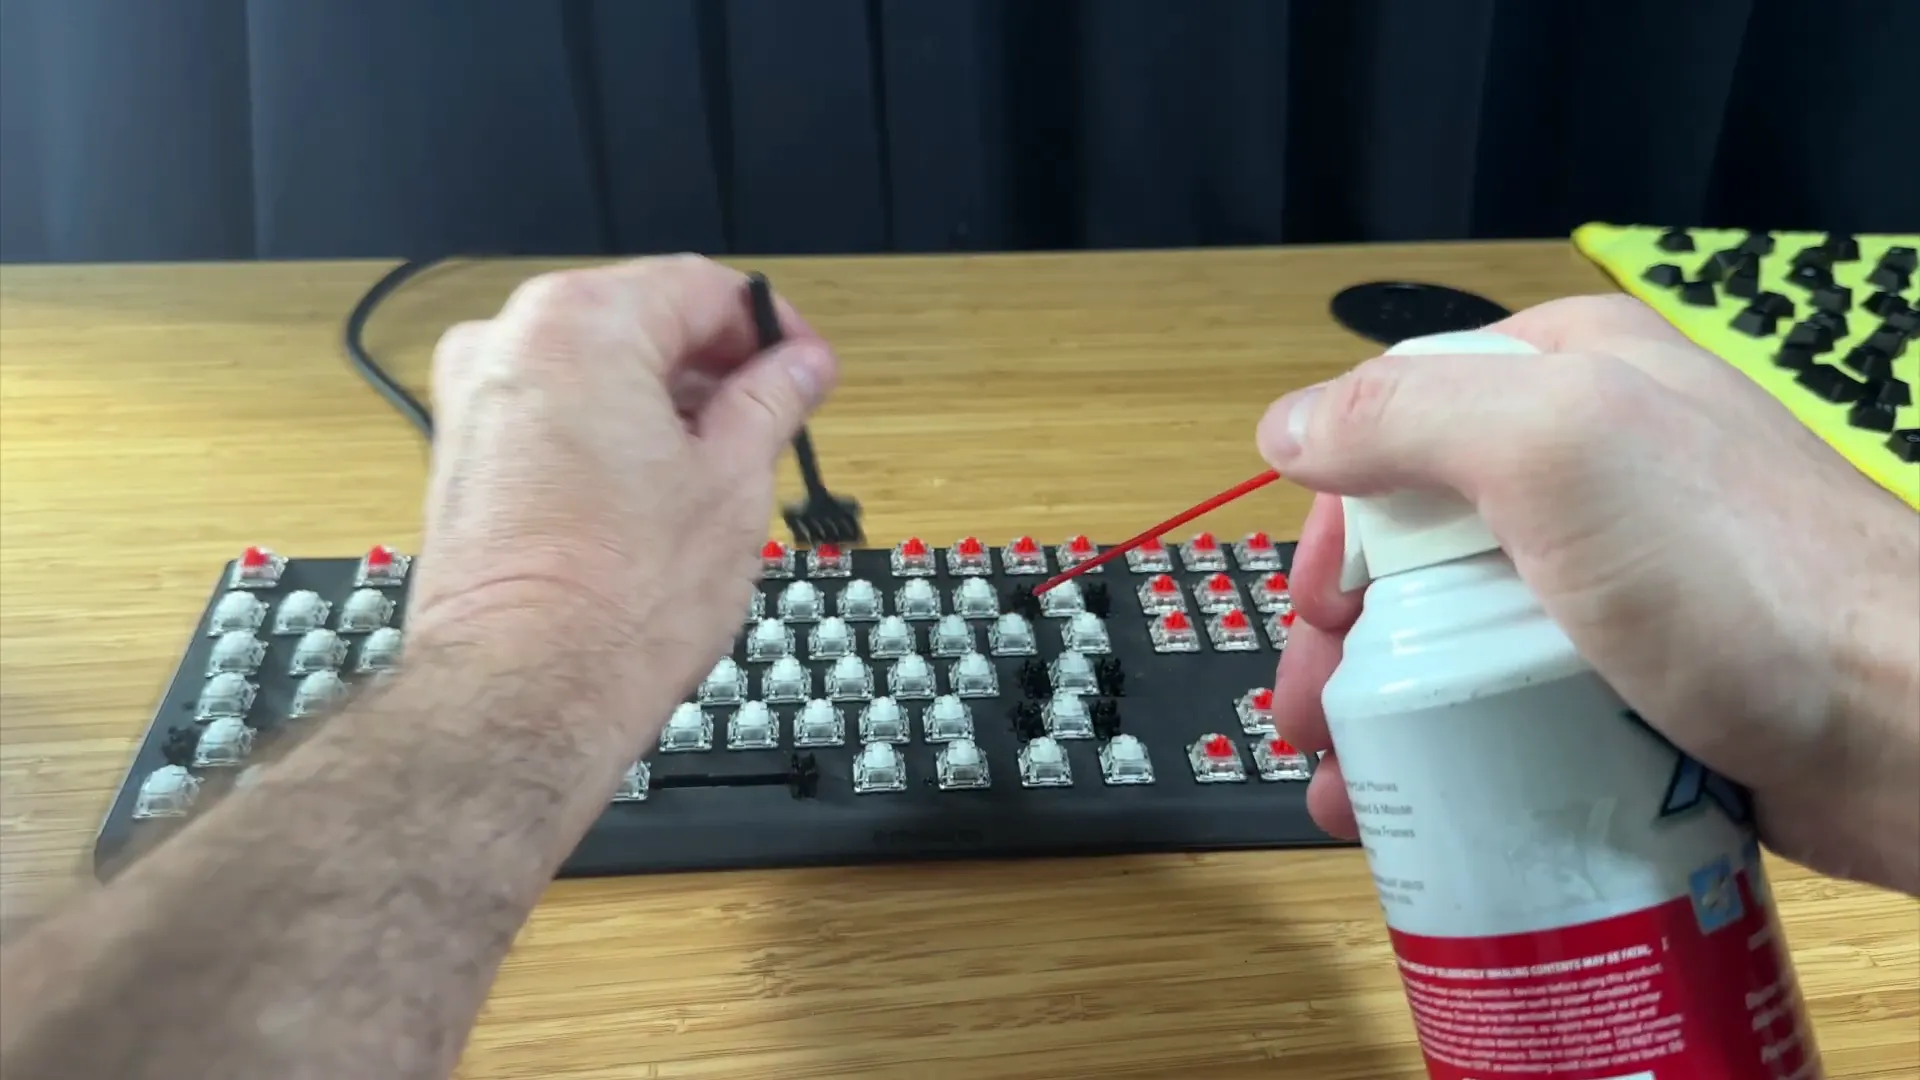
While the keycaps are drying, it’s time to clean the actual keyboard:
- First, flip the keyboard over and give it a good pat to dislodge any loose debris.
- Use a brush or air duster to remove any remaining debris. Adjust your cleaning methods based on what you find underneath the keys.
- If you notice sticky areas, use Q-tips dipped in rubbing alcohol to scrub the keyboard clean. This is effective for removing old drink stains.
Step 6: Address Sticky Keys 🔑
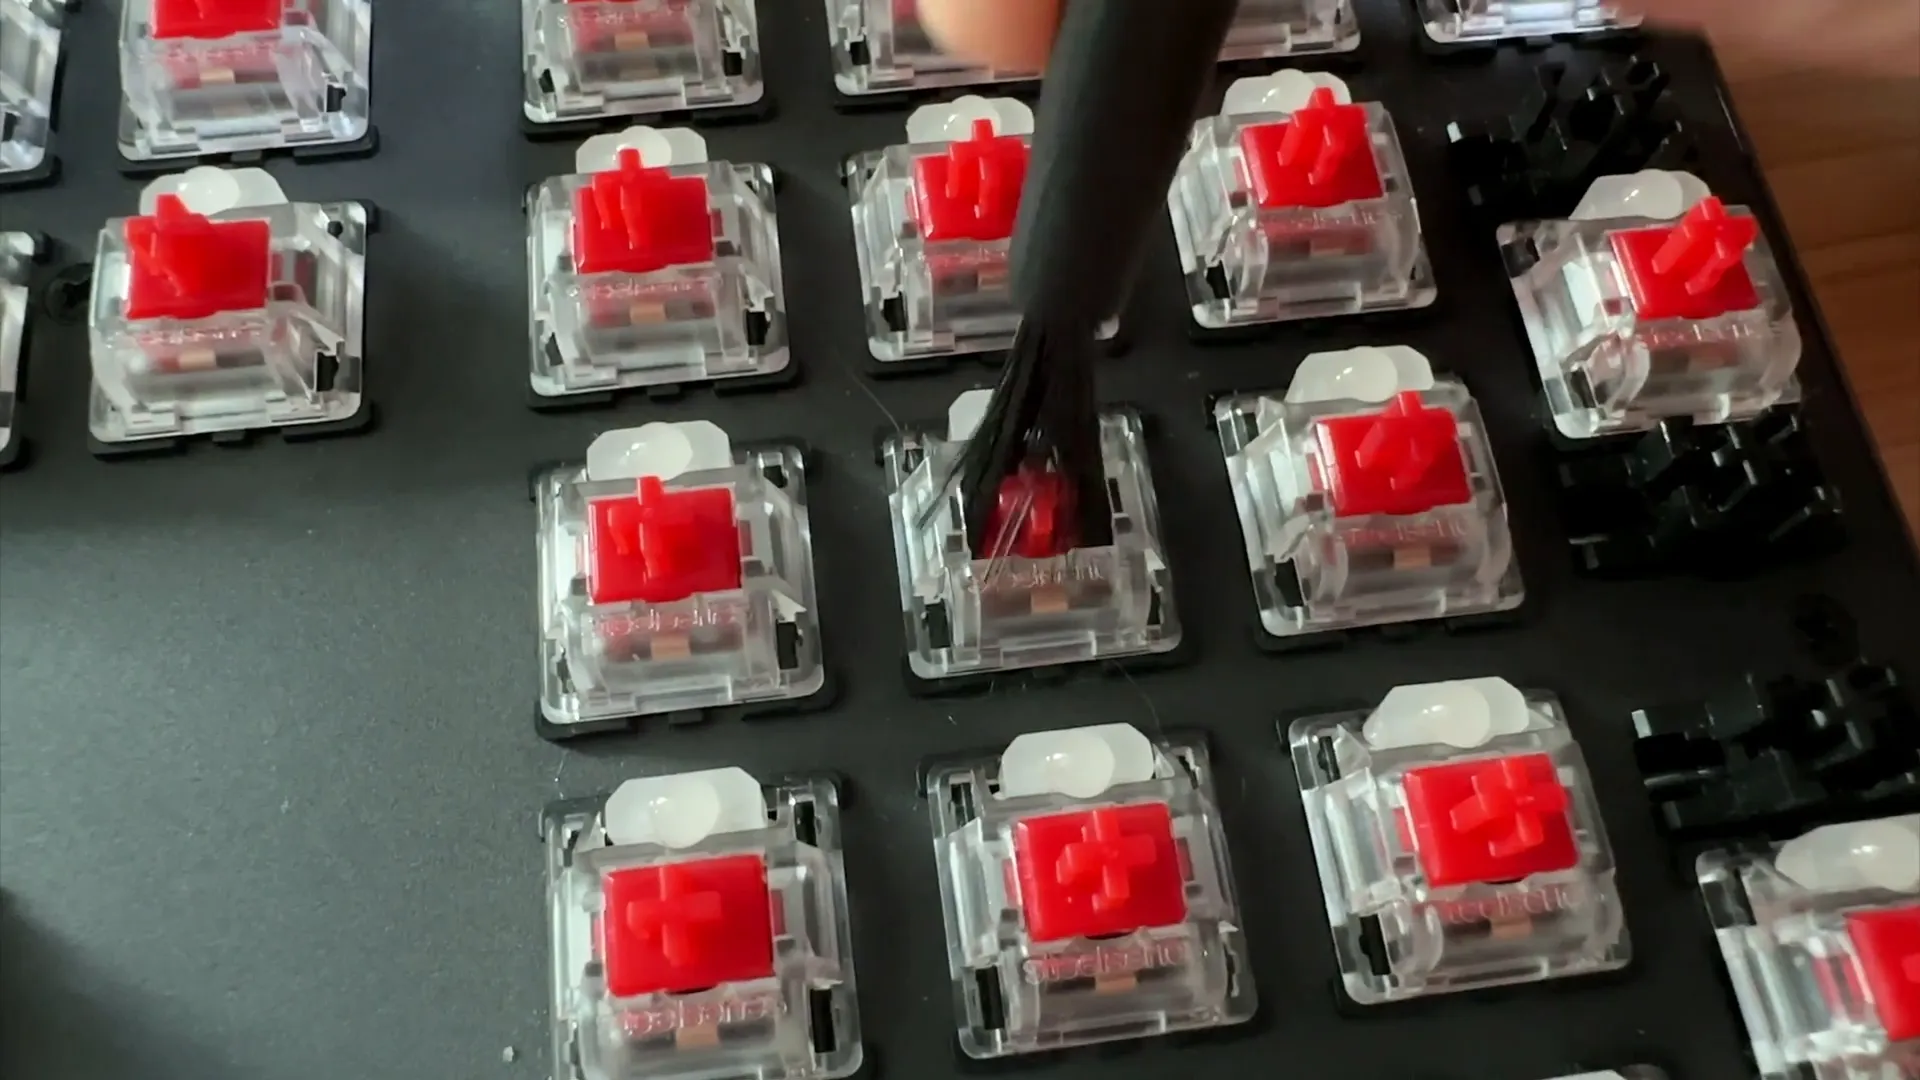
If you have sticky keys, here’s how to fix them:
- Brush inside the switches with a Q-tip to clean them. This method can often resolve sticky keys caused by spills.
- If keys remain sticky, you may need to remove the screws around the keyboard and take off the front plate for a deeper clean.
- Use tweezers to pull out any hairs or debris stuck around the switches.
Step 7: Final Cleaning Touches ✨
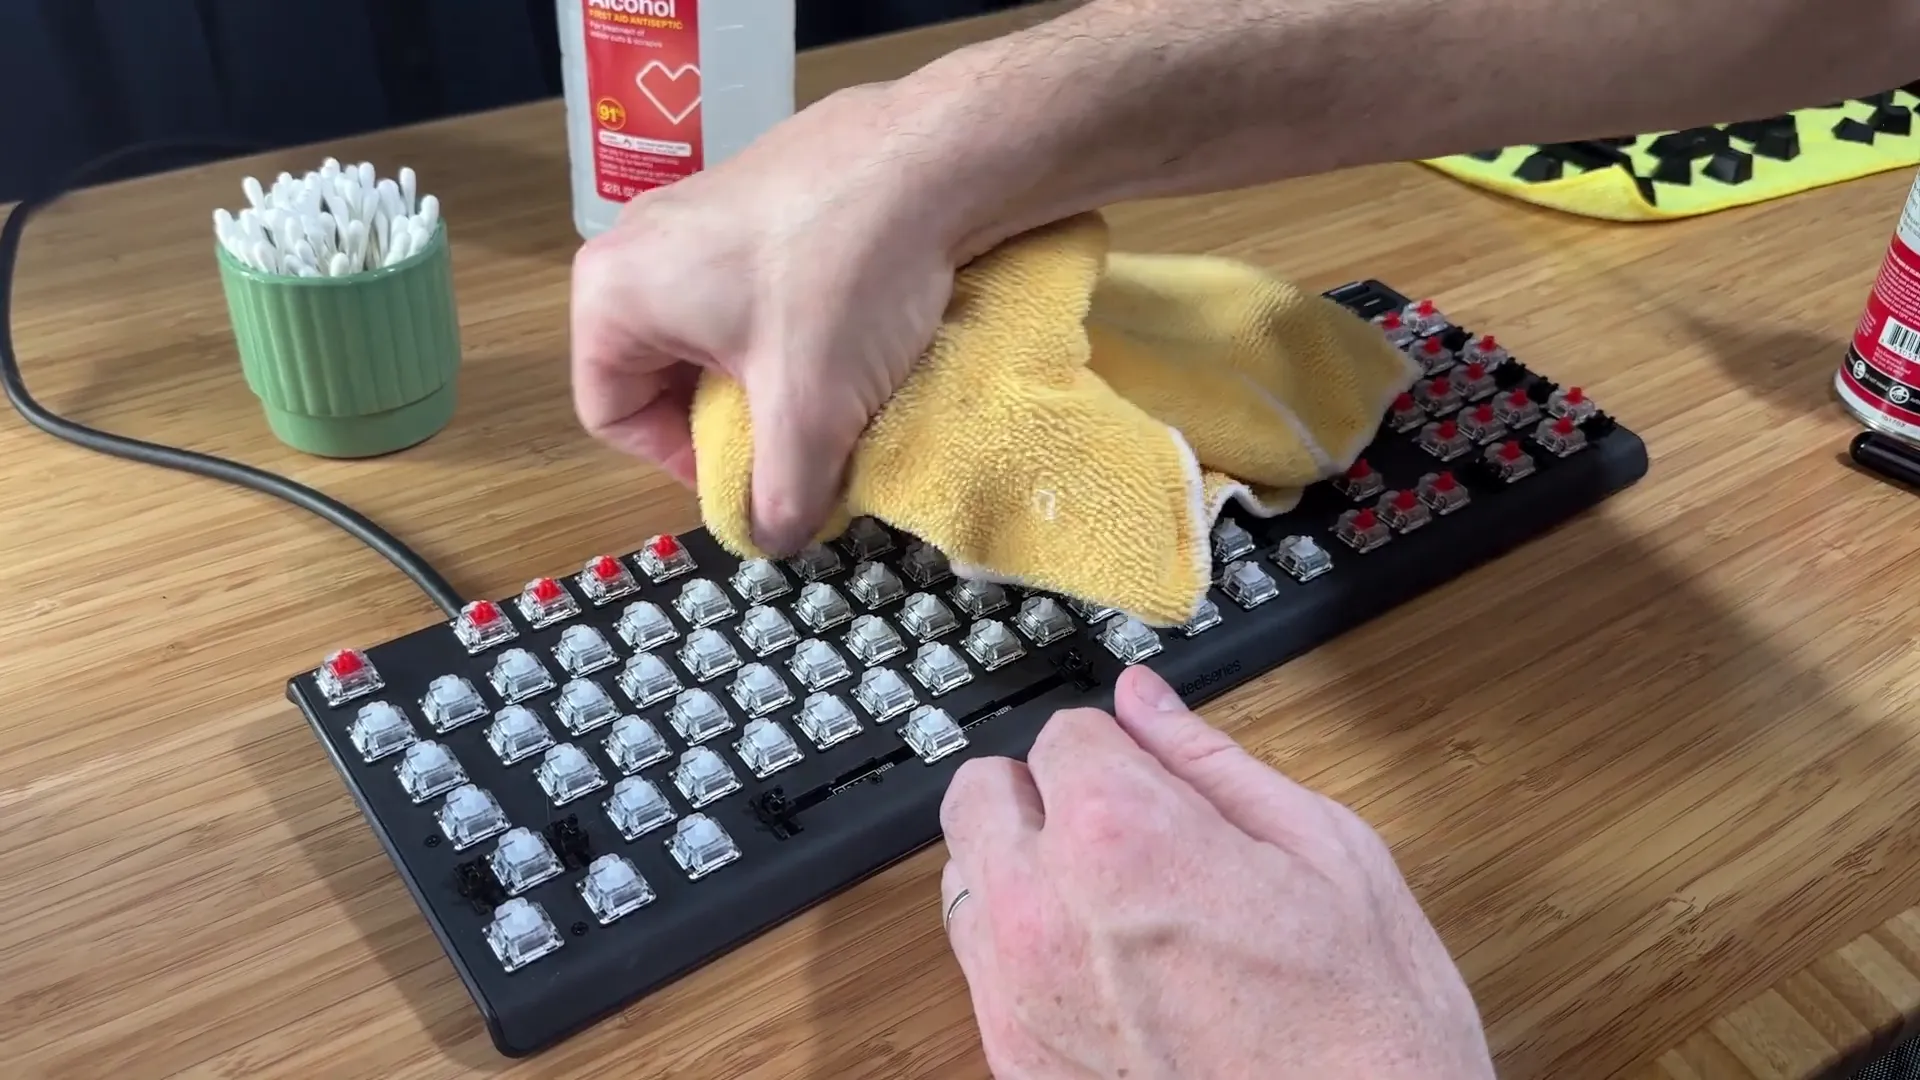
Now that most of the gunk is gone, it’s time for some final touches:
- Use an air duster or a microfiber towel to remove any excess alcohol from the keyboard.
- Take another microfiber towel, add a bit of rubbing alcohol or water, and clean the bottom and sides of the keyboard.
- Don’t forget to clean the cord if applicable!
Step 8: Reassemble the Keyboard 🛠️
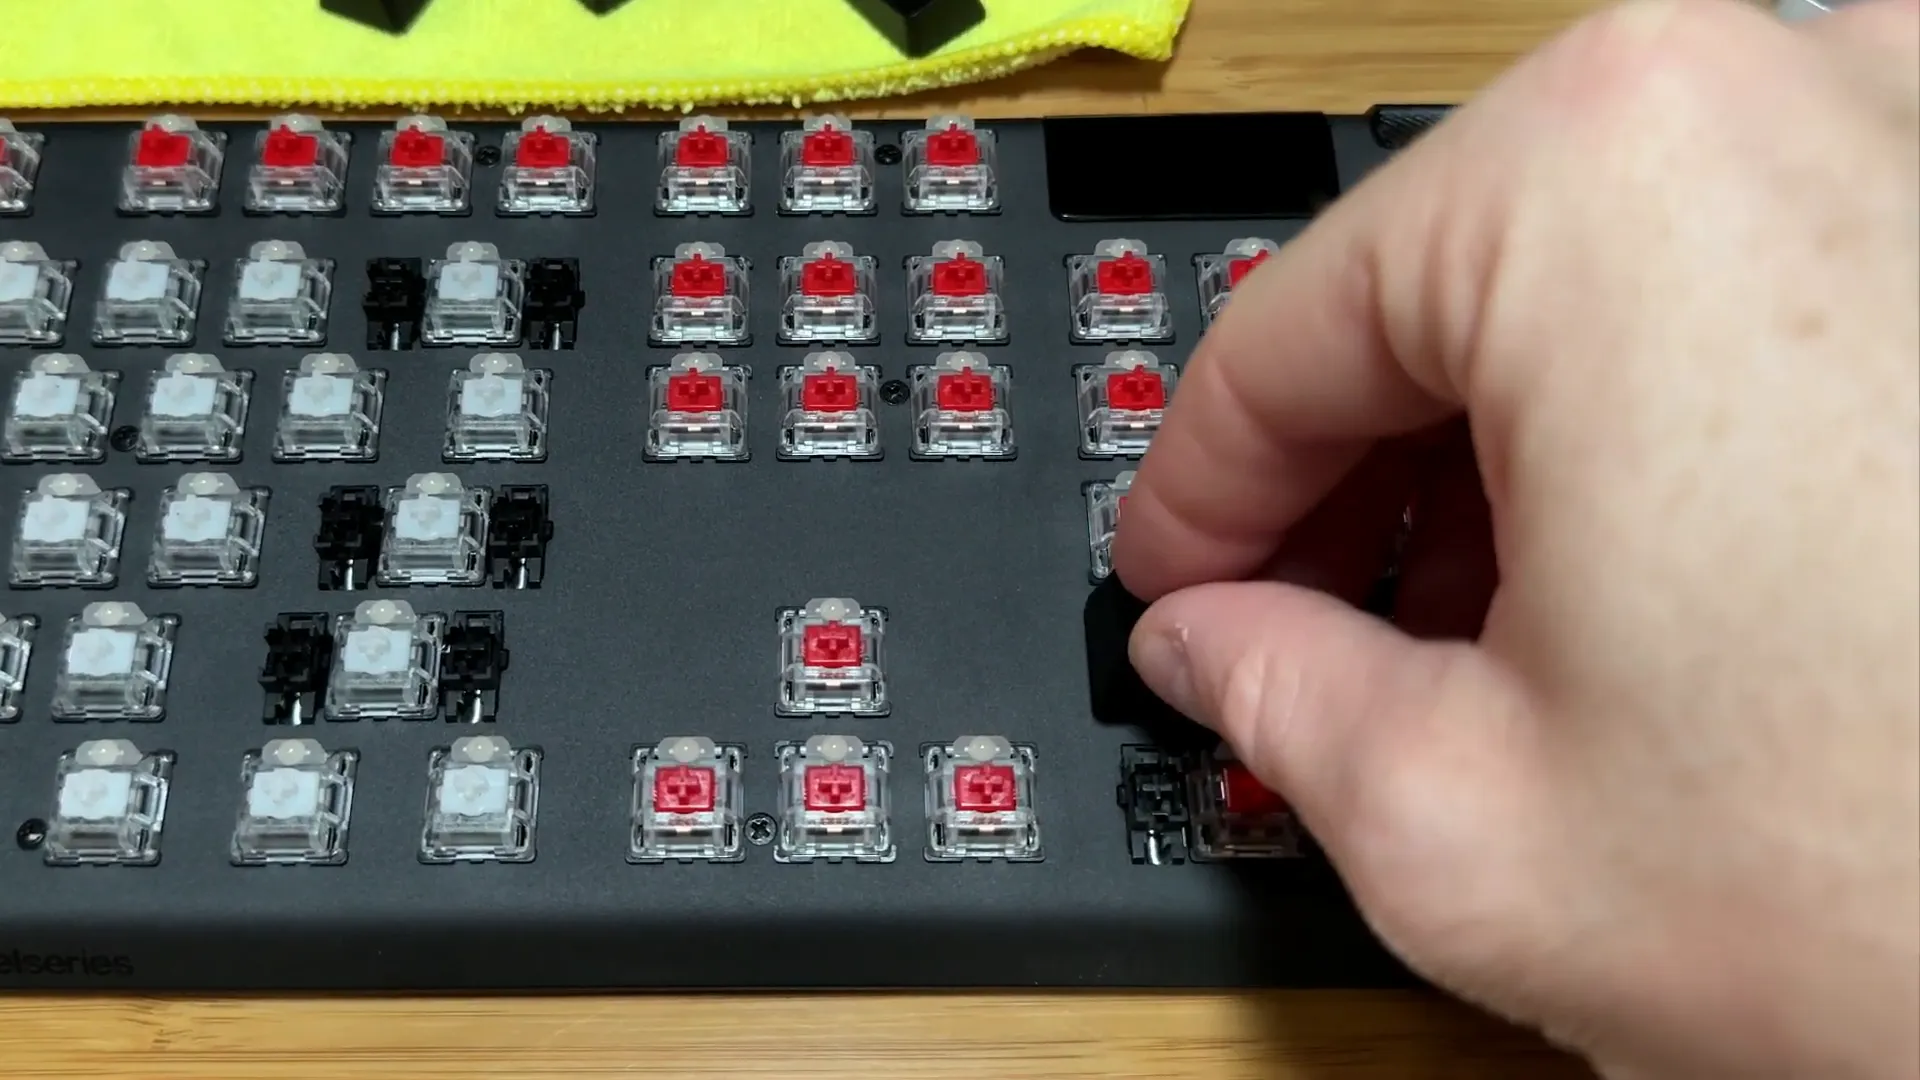
With everything clean and dry, it’s time to put your keyboard back together:
- Ensure that the keycaps are completely dry before starting this step.
- Refer to the photo you took earlier to see where each key goes.
- Press each keycap straight down from the top. If you feel resistance, reposition the keycap for a better angle.
Step 9: Enjoy Your Fresh Keyboard! 🎉
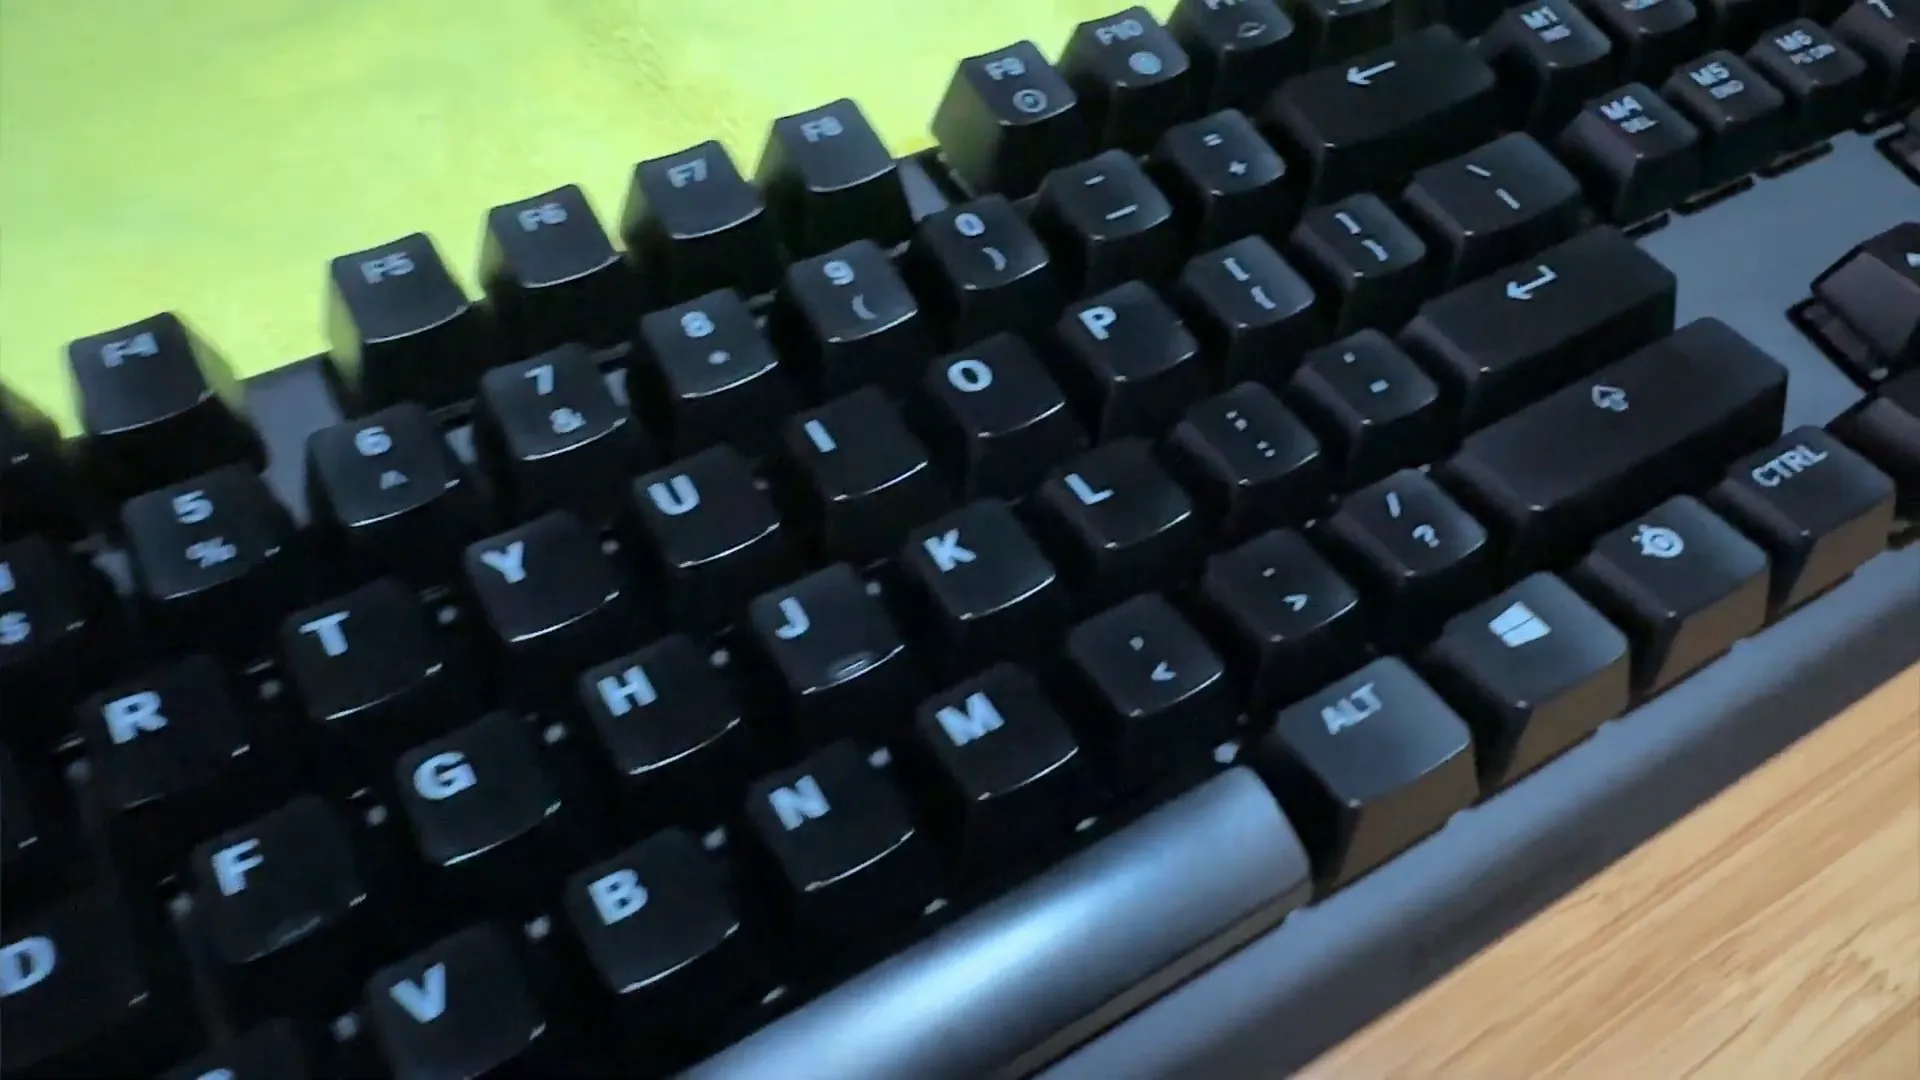
Once all the keys are back in place, plug your keyboard in and give it a try! You should notice that the keys are more responsive and less sticky, effectively extending the lifespan of your keyboard. Congratulations on successfully cleaning your keyboard!
Conclusion
Cleaning your keyboard doesn’t have to be a daunting task. With the right tools and these step-by-step instructions, you can keep your keyboard in top condition for years to come. A clean keyboard not only enhances your typing experience but also helps maintain its performance and longevity. Regular maintenance prevents sticky keys, reduces germs, and ensures your workspace stays fresh and inviting.
Now that your keyboard is clean and good as new, enjoy the improved responsiveness and functionality. Remember, a little care goes a long way. Make it a habit to clean your keyboard every few months or whenever it starts showing signs of wear and tear. Happy typing! 🎉
FAQ: Common Questions About Cleaning Keyboards ❓
How often should I clean my keyboard?
It’s recommended to clean your keyboard every few months, or more often if you eat near it or notice a lot of debris accumulating.
Can I use water to clean my keyboard?
While you can use water to clean keycaps, avoid getting any liquid on the keyboard itself. Use a damp cloth instead of soaking it.
What should I do if I spill something on my keyboard?
If you spill liquid on your keyboard, immediately unplug it and turn it upside down to drain. Follow up with a cleaning as described above.
Are there special tools I need to clean my keyboard?
A keycap remover, microfiber towels, a brush or air duster, and Q-tips are all useful tools for cleaning a keyboard effectively.
Is it safe to remove keycaps from a mechanical keyboard?
Yes, it is safe to remove keycaps from a mechanical keyboard as long as you do it gently and follow the correct procedure.
