Unlock Your Creativity with Easy Giraffe Drawing Techniques
Welcome to this detailed tutorial on how to draw a giraffe. Whether you’re a beginner or looking to refine your skills, this guide will walk you through every step of creating a stunning giraffe illustration. Let’s dive in and unleash your inner artist! 🦒
- Unlock Your Creativity with Easy Giraffe Drawing Techniques
- Step 1: Start with the Basic Shapes 🎨
- Step 2: Define the Head and Neck 🖊️
- Step 3: Add the Ears and Horns 👂
- Step 4: Shape the Face and Features 🦒
- Step 5: Refine the Details ✏️
- Step 6: Add Texture and Shading 🌈
- Step 7: Draw the Mane and Spots ⚫
- Step 8: Final Touches and Details ✨
- Conclusion
- FAQs ❓
- How to Draw a Giraffe
Step 1: Start with the Basic Shapes 🎨
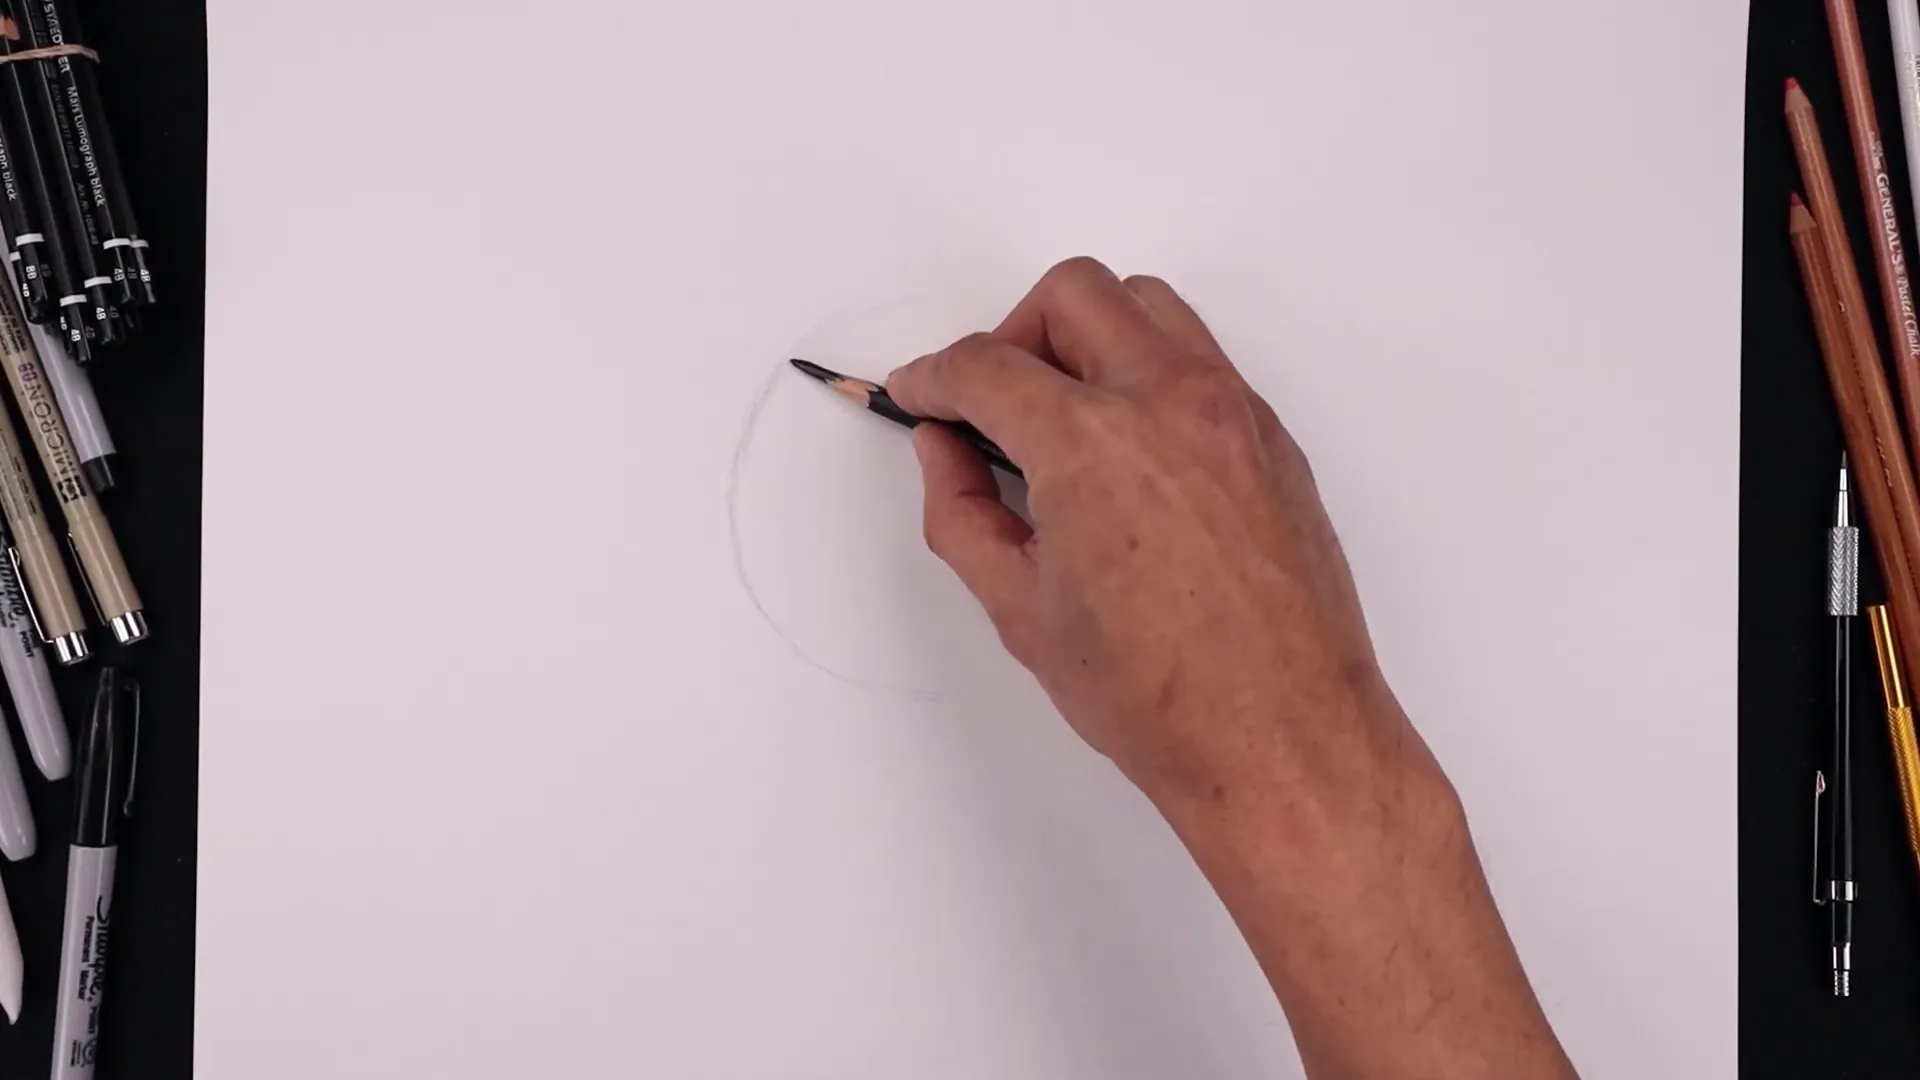
Begin by sketching a simple circle in the center of your page. This will serve as the foundation for the giraffe’s head. Use a side grip on your pencil and sketch lightly with short lines to adjust the circle’s shape as needed.
Next, add guidelines around your circle. Draw a vertical line from top to bottom and a horizontal line from left to right, intersecting at the center. These lines will help you position the giraffe’s features accurately.
Step 2: Define the Head and Neck 🖊️
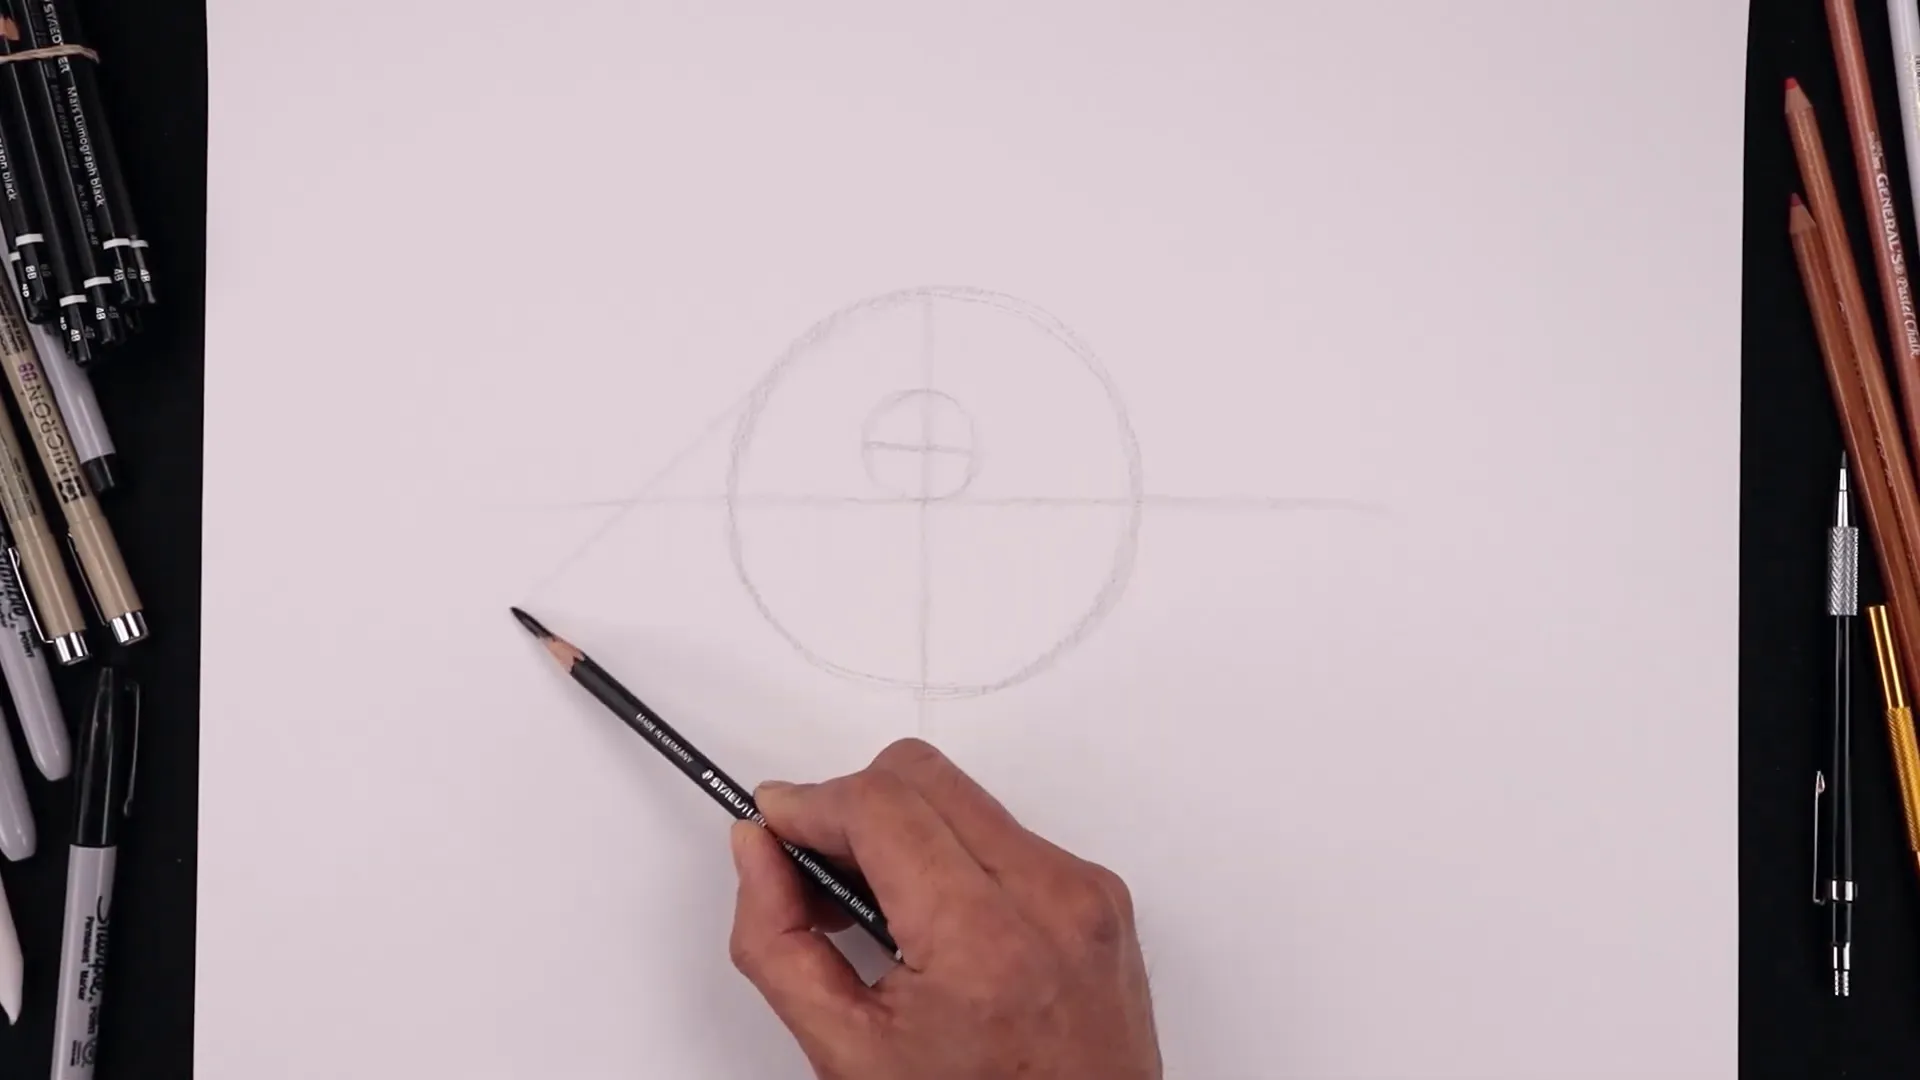
With the basic circle in place, it’s time to shape the giraffe’s head. Begin by placing the eye above the center point of your circle. Sketch a smaller circle for the eye and slope the eyelid downwards.
Draw a straight angled line from the top left side of your circle down to form the front of the giraffe’s head. Bend this line to shape the head’s curve, then sketch the neck by extending lines from the top and bottom of the circle, tapering them as they descend.
Step 3: Add the Ears and Horns 👂
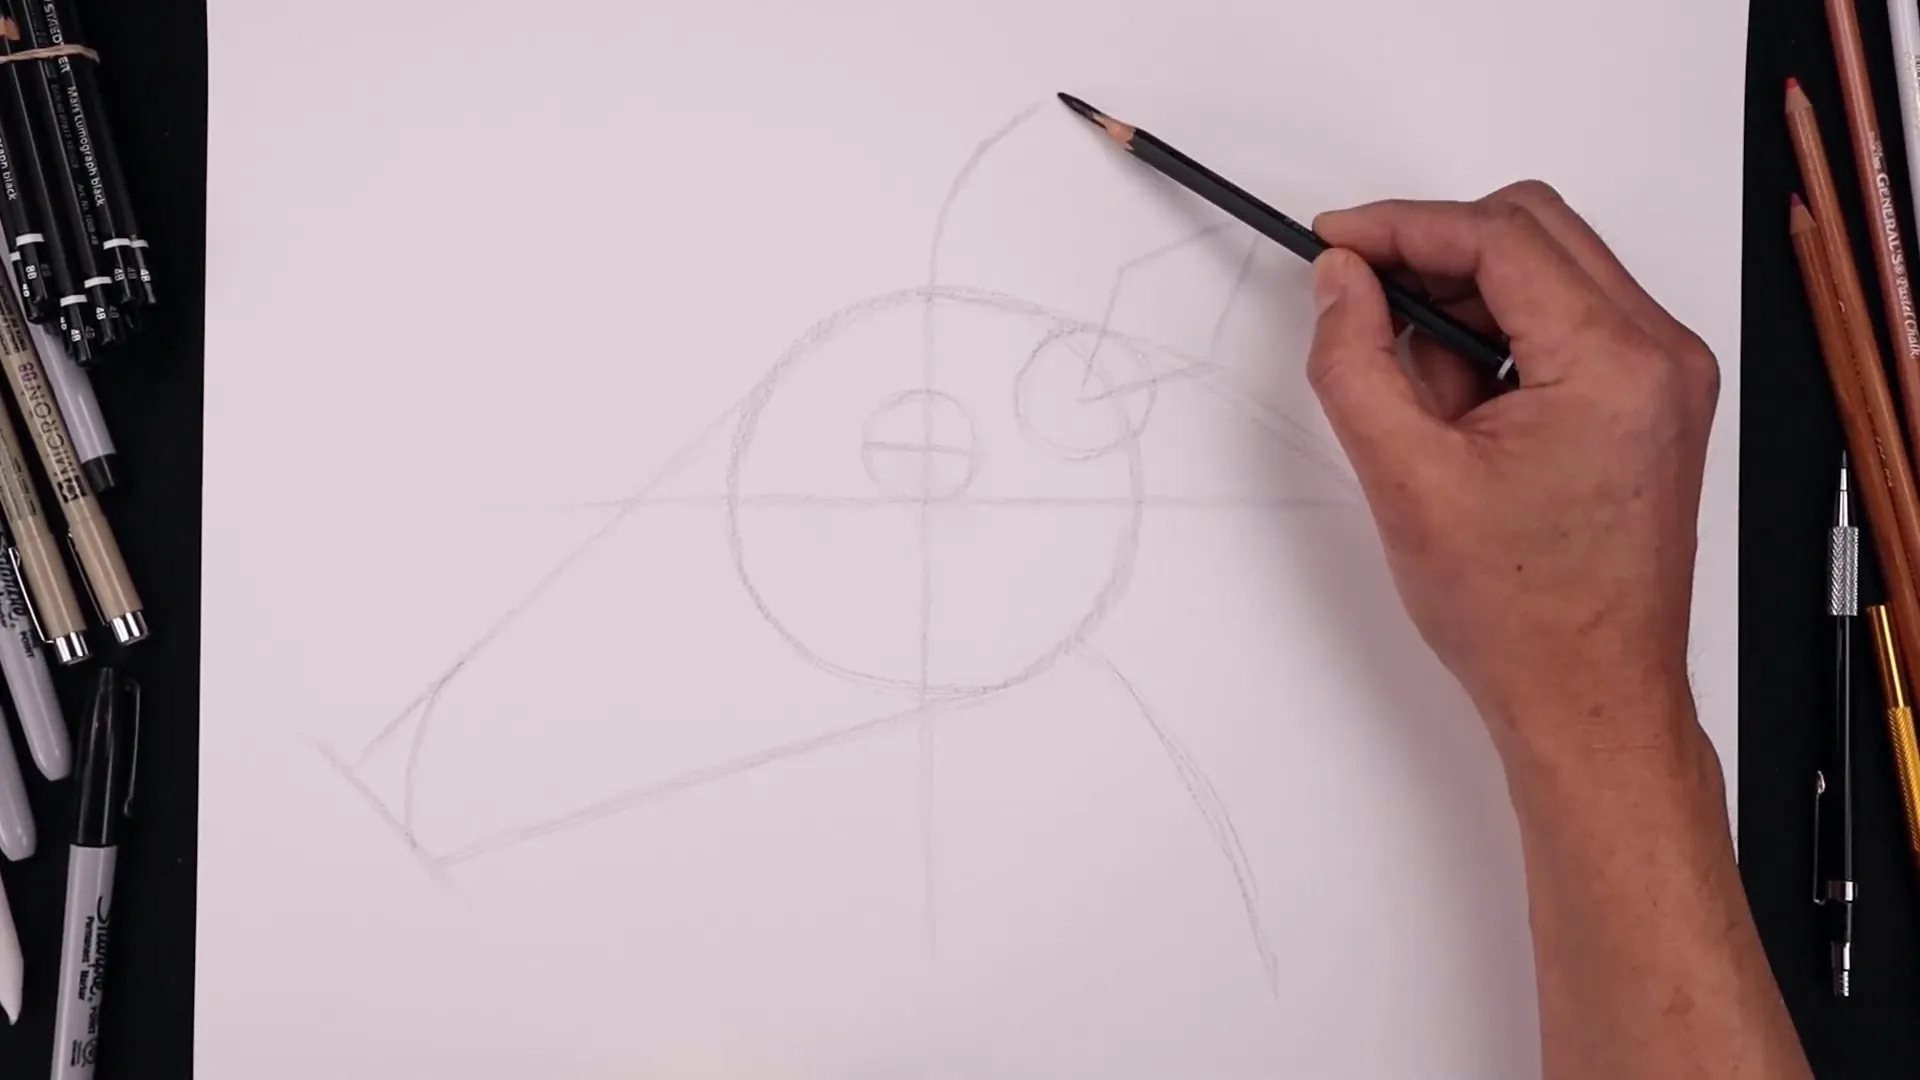
Now, focus on adding the giraffe’s ears and horns. Sketch a circle at the base of where the head meets the neck for the ear’s base. Draw a diamond shape extending from this circle to form the ear.
For the horns, start by drawing a curved line upwards from the top of the head, then flatten it off. Layer the second horn slightly behind the first by stepping to the left and following the same curve.
Step 4: Shape the Face and Features 🦒
Enhance the giraffe’s facial features by rounding the top of the head and defining the nose. Add an oval for the nostril at the top of the head. Round out the mouth and jawline, blending the lines smoothly.
Blend the back of the horn into the head, and add a guideline for the mane, starting from the back of the head and widening as it descends.
Step 5: Refine the Details ✏️
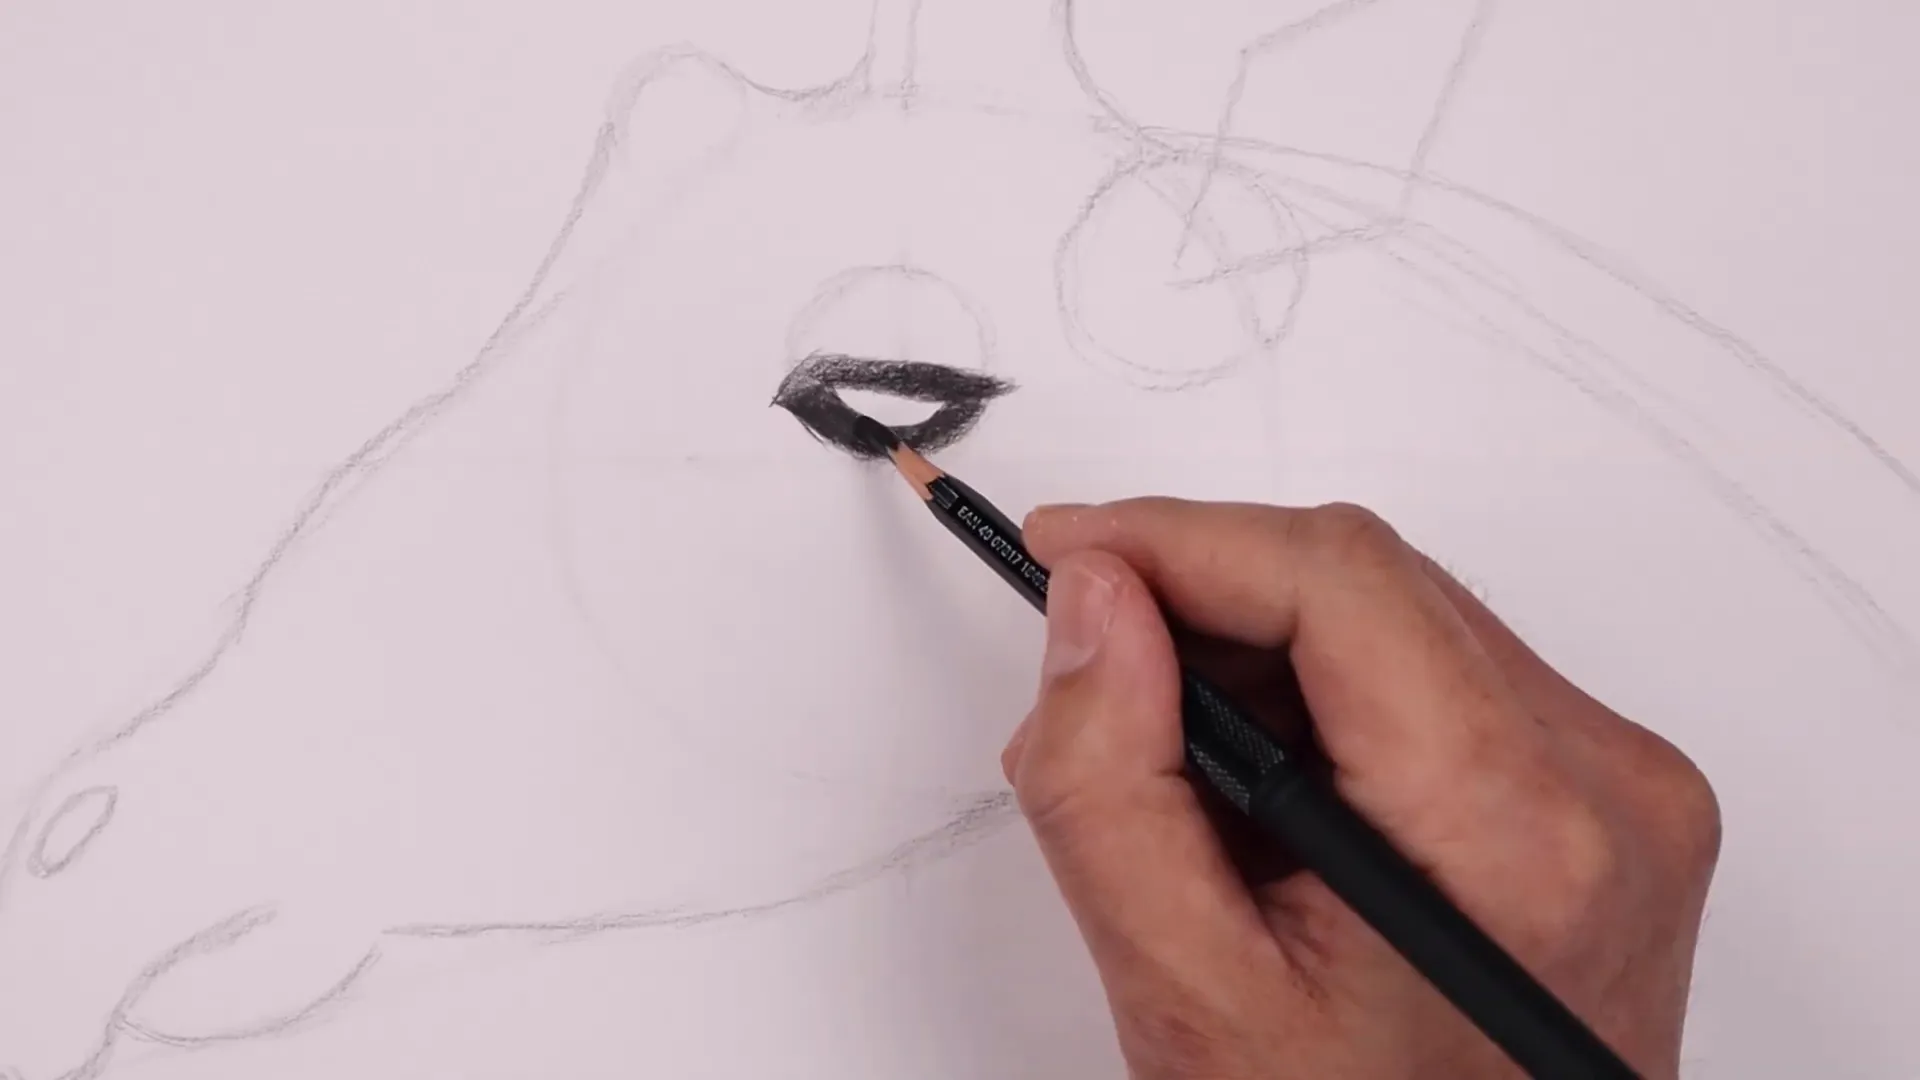
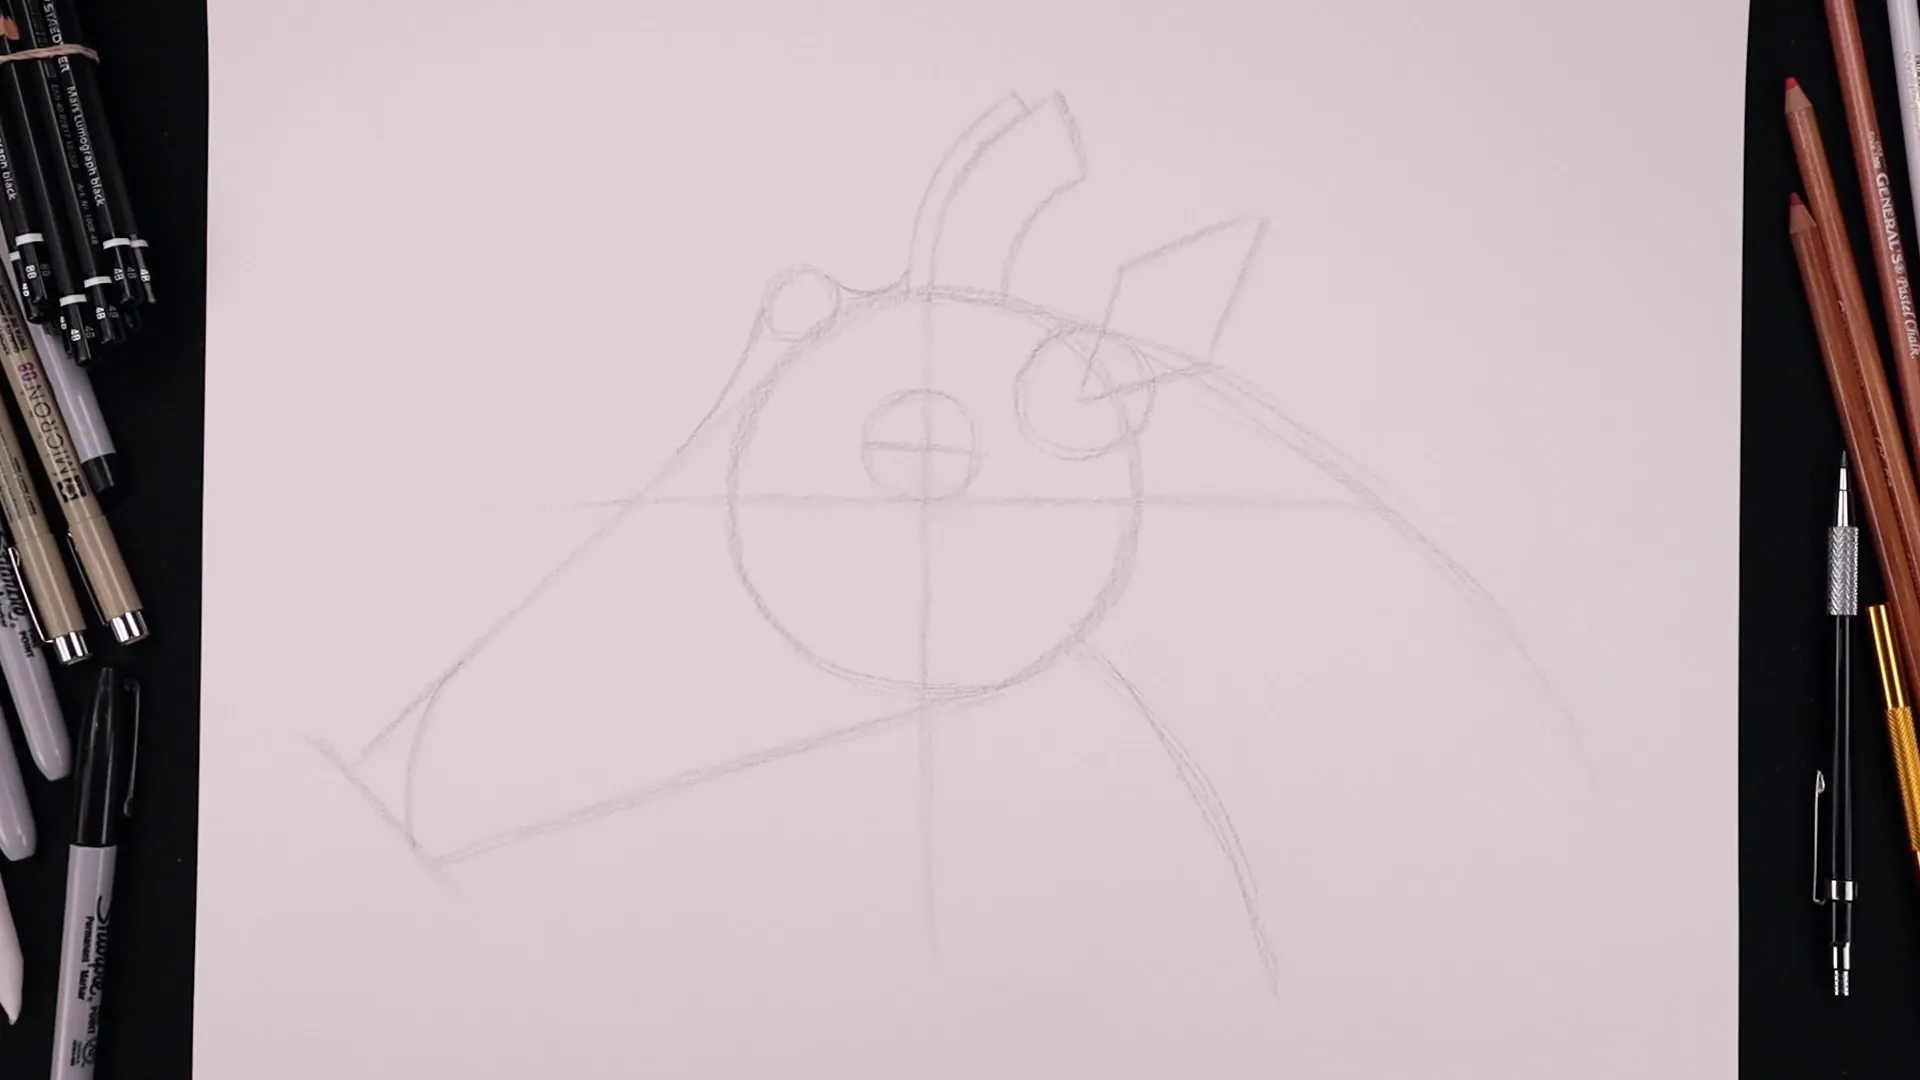
With the basic sketch complete, it’s time to refine the details. Start by adding depth to the eyes with shading and highlights. Darken the eyelid and add thickness to the eyelashes. Shade the eyeball, leaving a highlight for a realistic effect.
Trace the horns, adding shadows and texture to create a realistic look. Work on the ears, adding fur details and shaping the inside.
Step 6: Add Texture and Shading 🌈
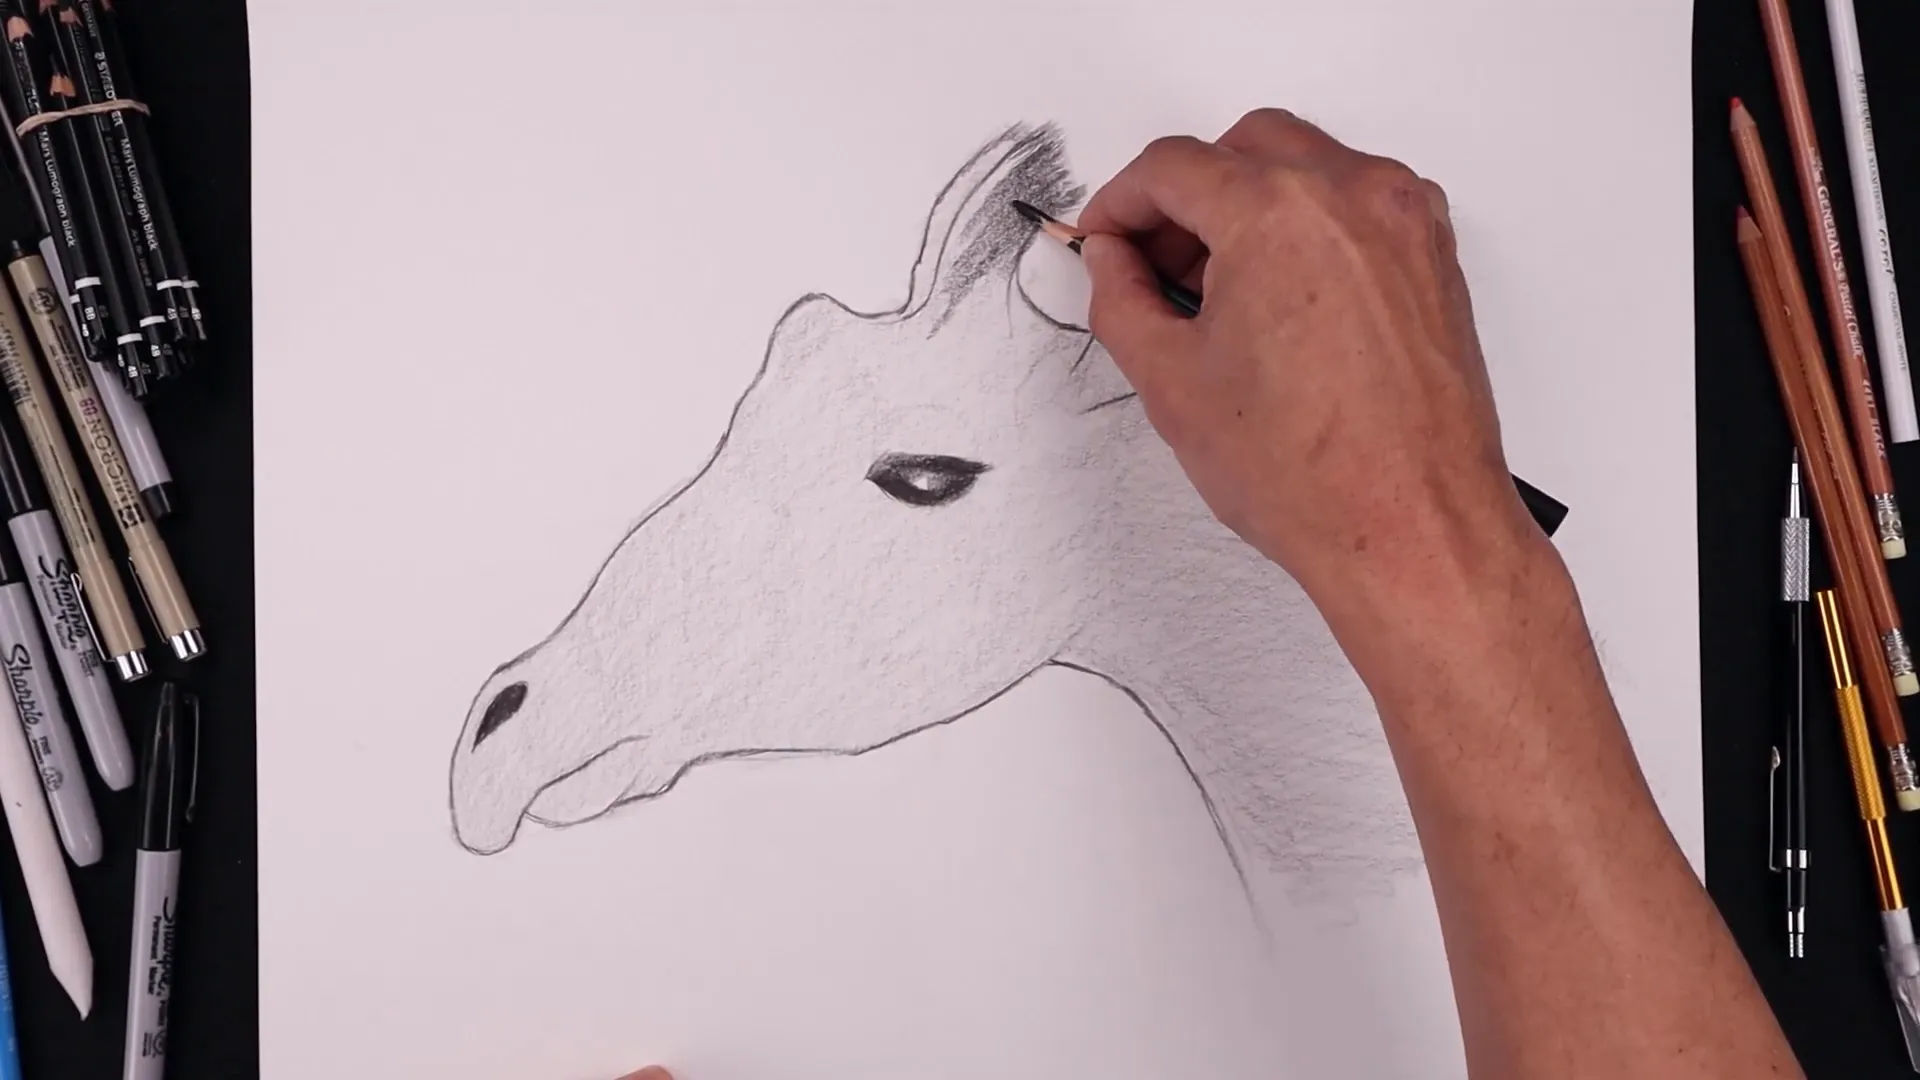
Use the side of your pencil to add a light shade across the giraffe’s head and neck. This will serve as the base for more detailed shading.
Darken the horns, leaving highlights to add dimension. Add texture by varying the pressure on your pencil, and shade the inside of the ears for depth.
Step 7: Draw the Mane and Spots ⚫
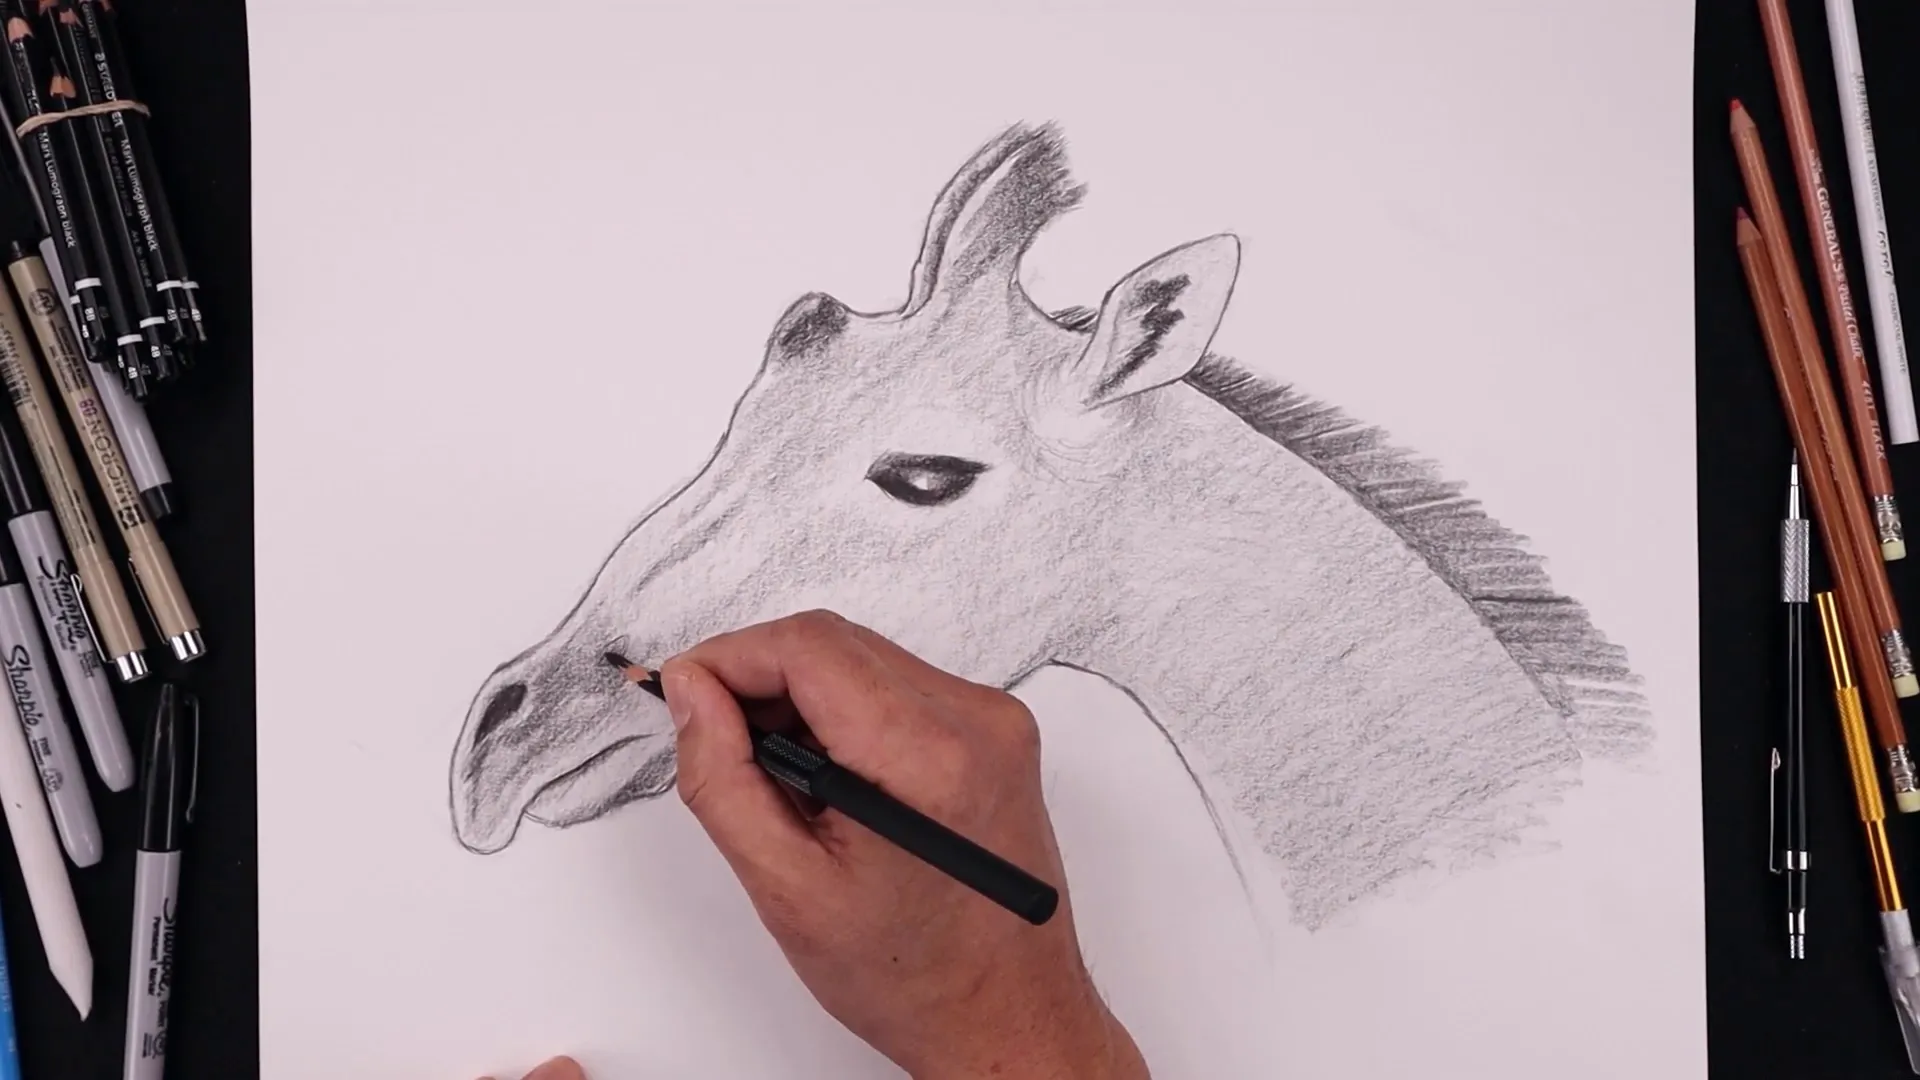
Draw thick lines across the neck to represent the mane, darkening the base for contrast. Add spots to the giraffe’s head, beginning with light shapes and shading them for a natural look.
Work your way around the head, refining the spots and blending them into the shaded areas for a cohesive appearance.
Step 8: Final Touches and Details ✨
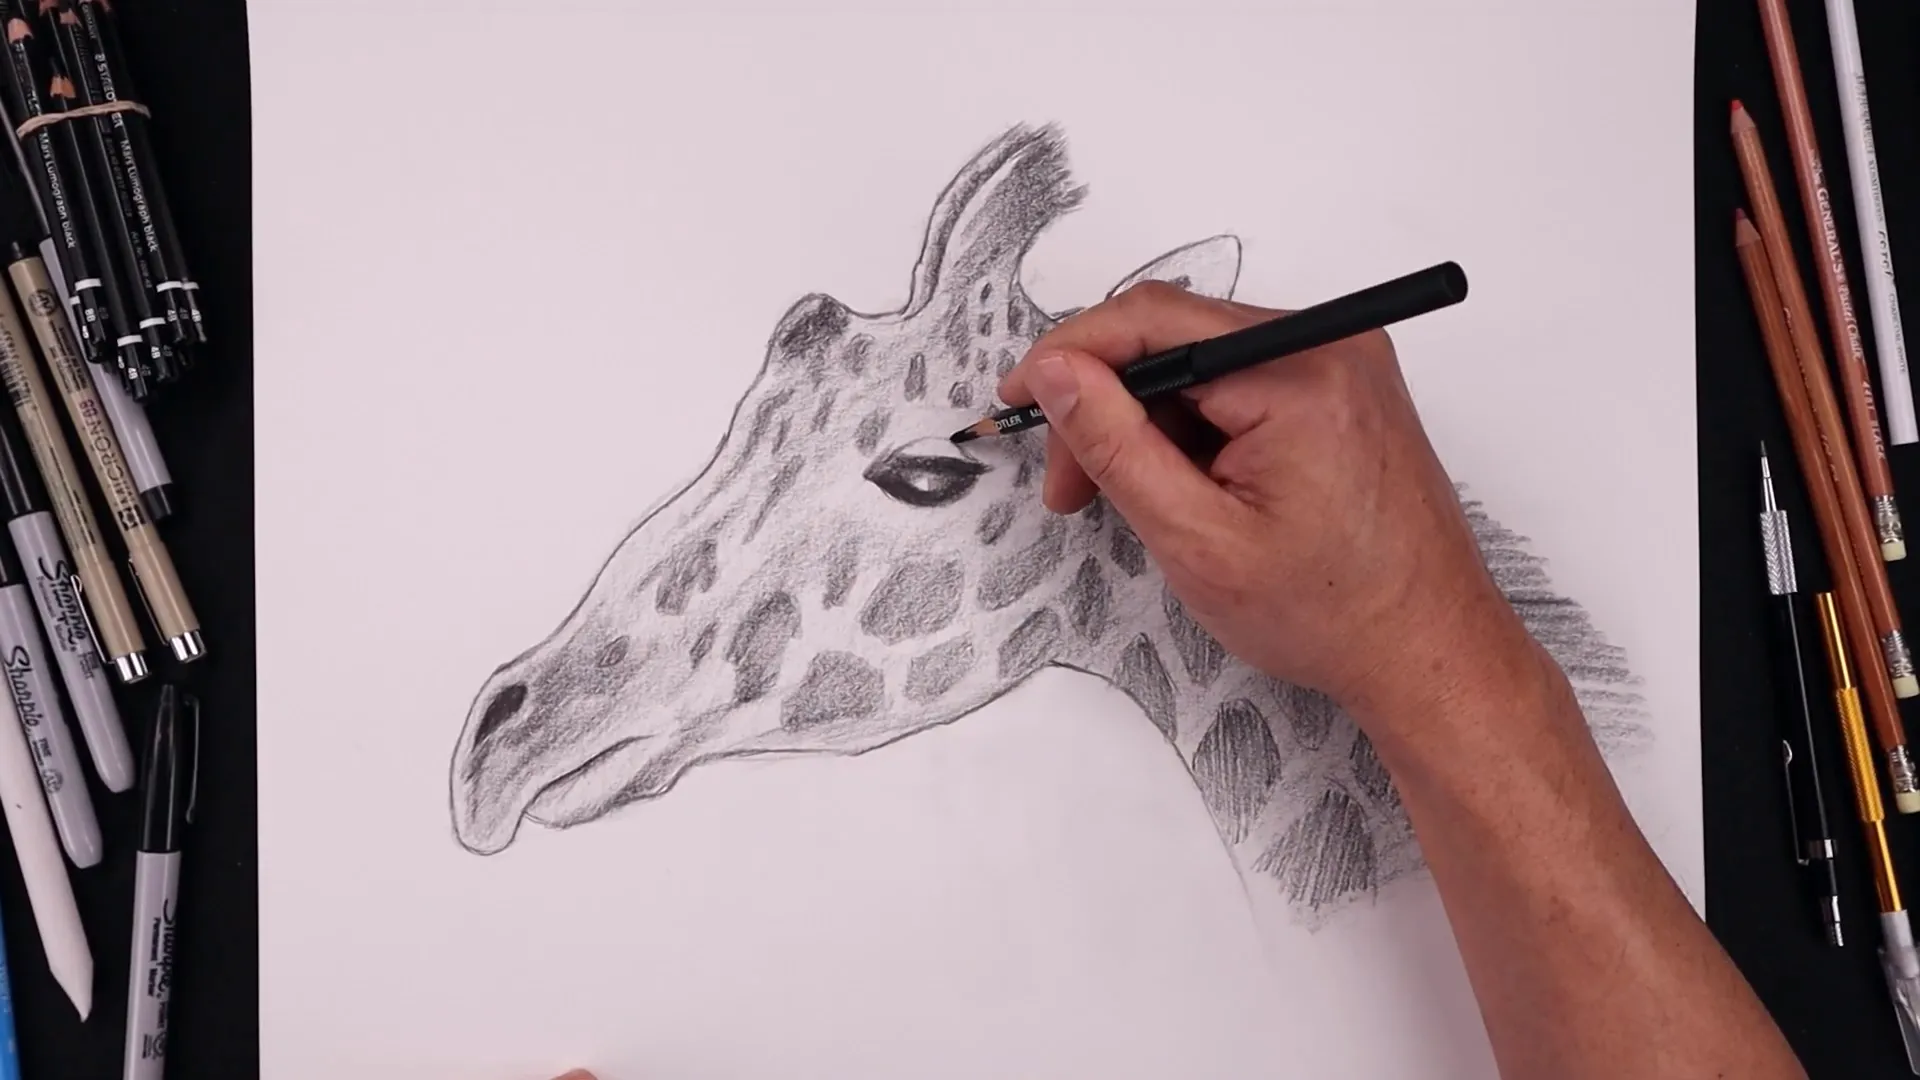
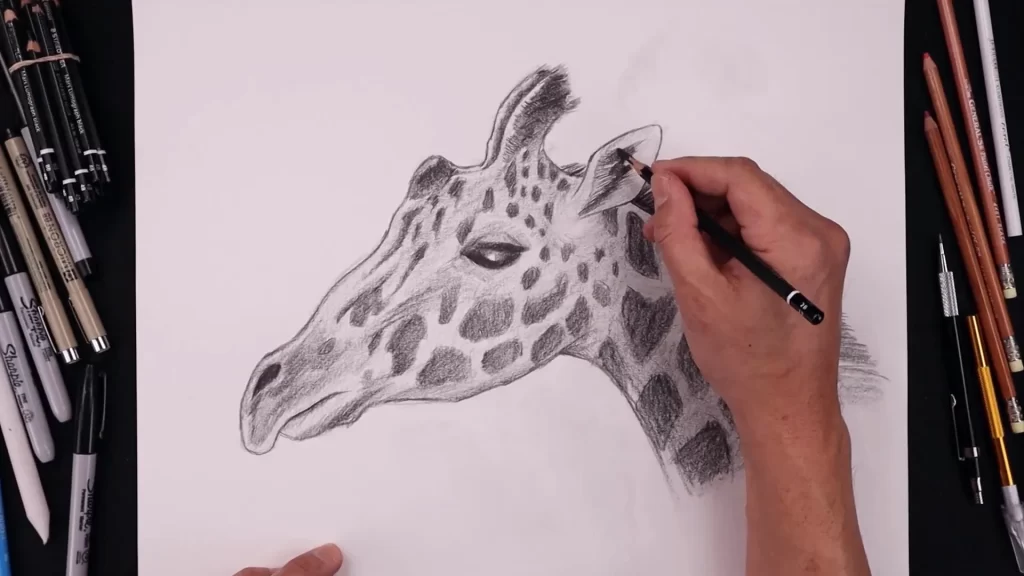
In the final stage, go back and add fine details to enhance the giraffe’s appearance. Refine the fur texture across the mane and add additional shading to spots and facial features.
Tighten up shadows and highlights to bring out the three-dimensional quality of your drawing. This attention to detail will give your giraffe a polished, realistic look.
Conclusion
Drawing a giraffe can be an enjoyable and rewarding experience, whether you’re a seasoned artist or just starting your creative journey. By breaking the process into simple, manageable steps and focusing on foundational shapes, details, and textures, you can create a stunning giraffe illustration that captures the beauty of this magnificent animal.
Remember, practice is key to improving your drawing skills. Don’t be afraid to experiment and add your personal touches to make the giraffe uniquely yours. If you found this guide helpful, be sure to explore more tutorials and keep nurturing your artistic passion. Happy drawing! 🦒✨
FAQs ❓
What materials do I need?
You’ll need a pencil, eraser, and sketch paper. Optional: colored pencils or markers for adding color.
How long does it take to draw a giraffe?
It depends on your pace and experience level. Typically, it can take anywhere from 30 minutes to a couple of hours.
Can I use this method for other animals?
Absolutely! The basic principles of starting with simple shapes and adding details can be applied to drawing any animal.
