Essential Steps: How to Install Outdoor Outlet
If you want to install an outdoor outlet and are wondering how to connect it to an existing indoor outlet, you’re in the right place! This guide will walk you through the process of how to install outdoor outlet, making it easy to add power to your outdoor spaces. Whether you want to power a grill, lights, or other outdoor equipment, you’ll find this tutorial helpful.
🔌 Step 1: Gather Your Tools and Materials
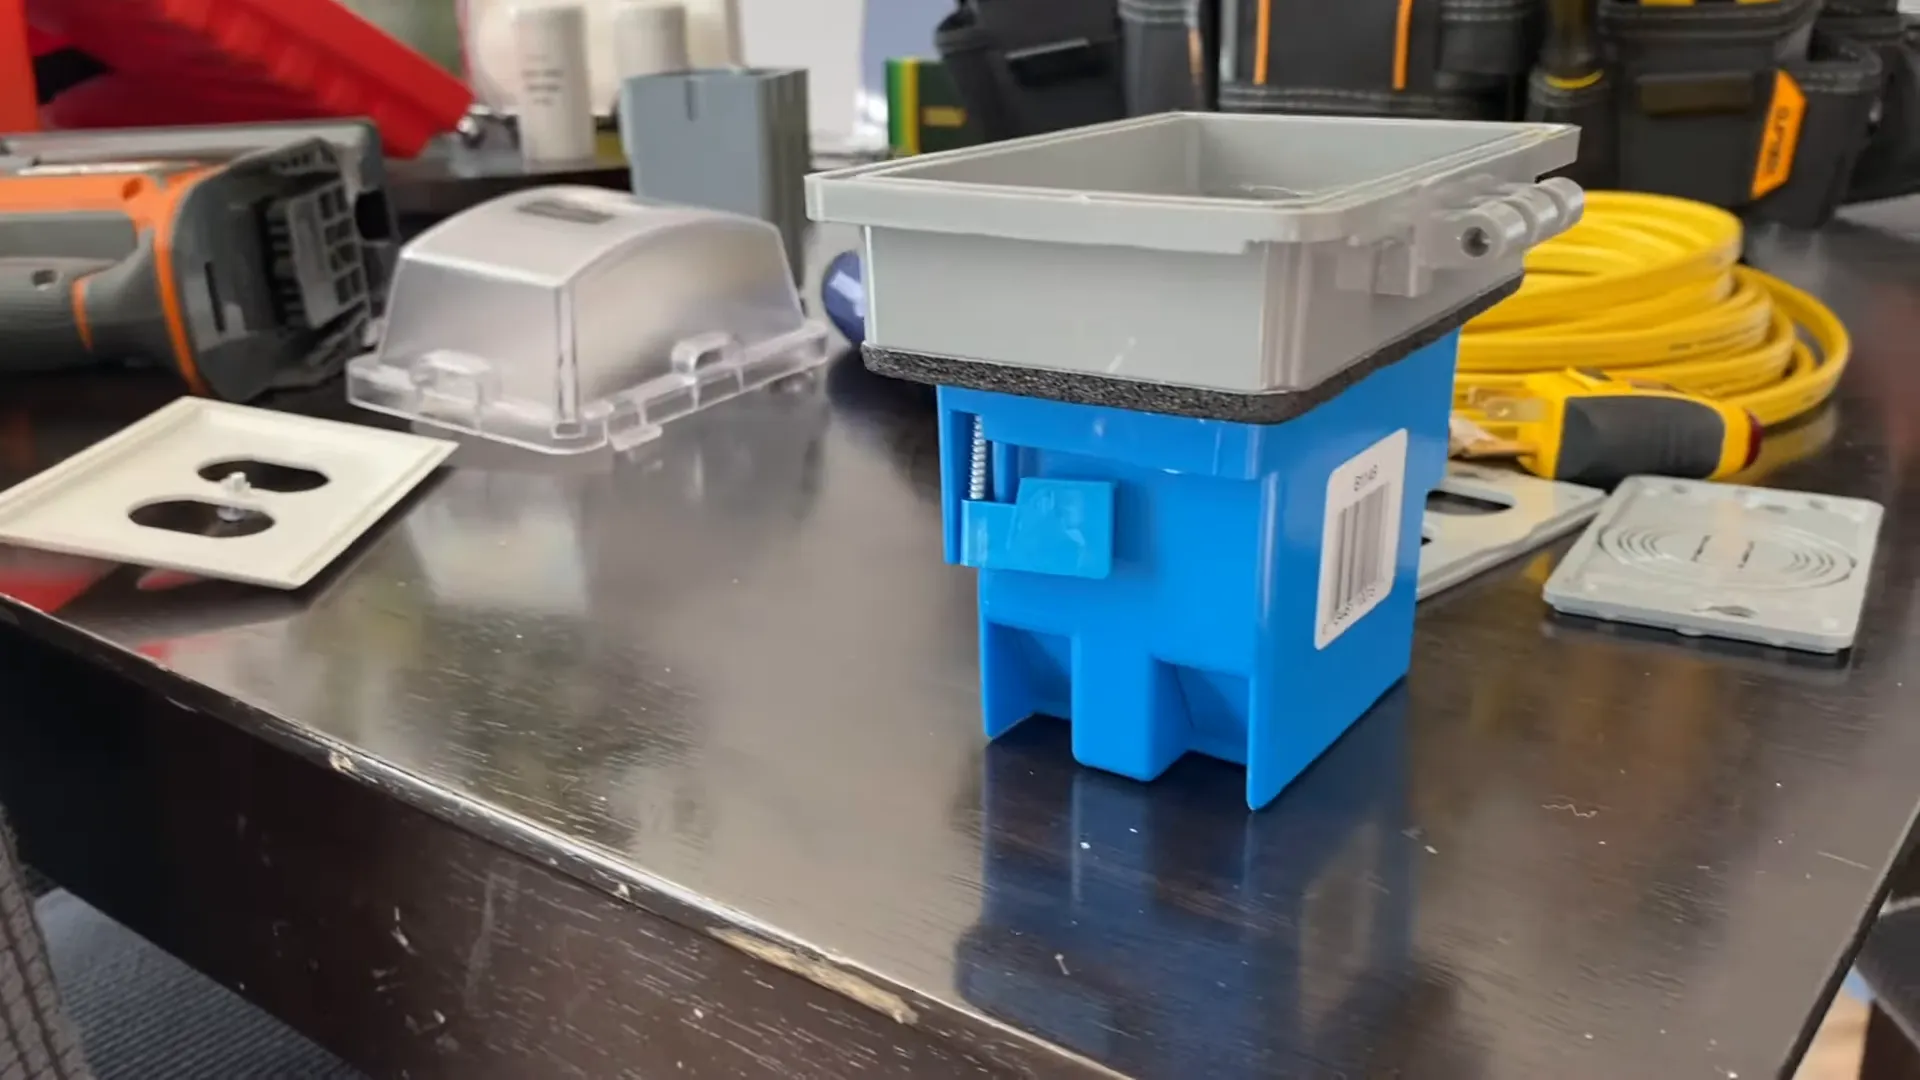
Before starting your project, gather all the necessary tools and materials. Here’s what you’ll need:
- Outdoor GFCI outlet
- Weatherproof outlet cover
- 12/2 Romex wire
- Old work box (or old construction box)
- Wire cutters/strippers
- Drill
- Screwdriver
- Hammer
- Utility knife
- Electrical tape
- Voltage tester
🔧 Step 2: Plan Your Installation Location
Decide where you want to install the outdoor outlet. Ideally, it should be close to an existing indoor outlet. Ensure that the location is accessible and practical for your needs.
For my project, I chose a spot on the deck that would be convenient for outdoor cooking and lighting.
📏 Step 3: Measure and Mark
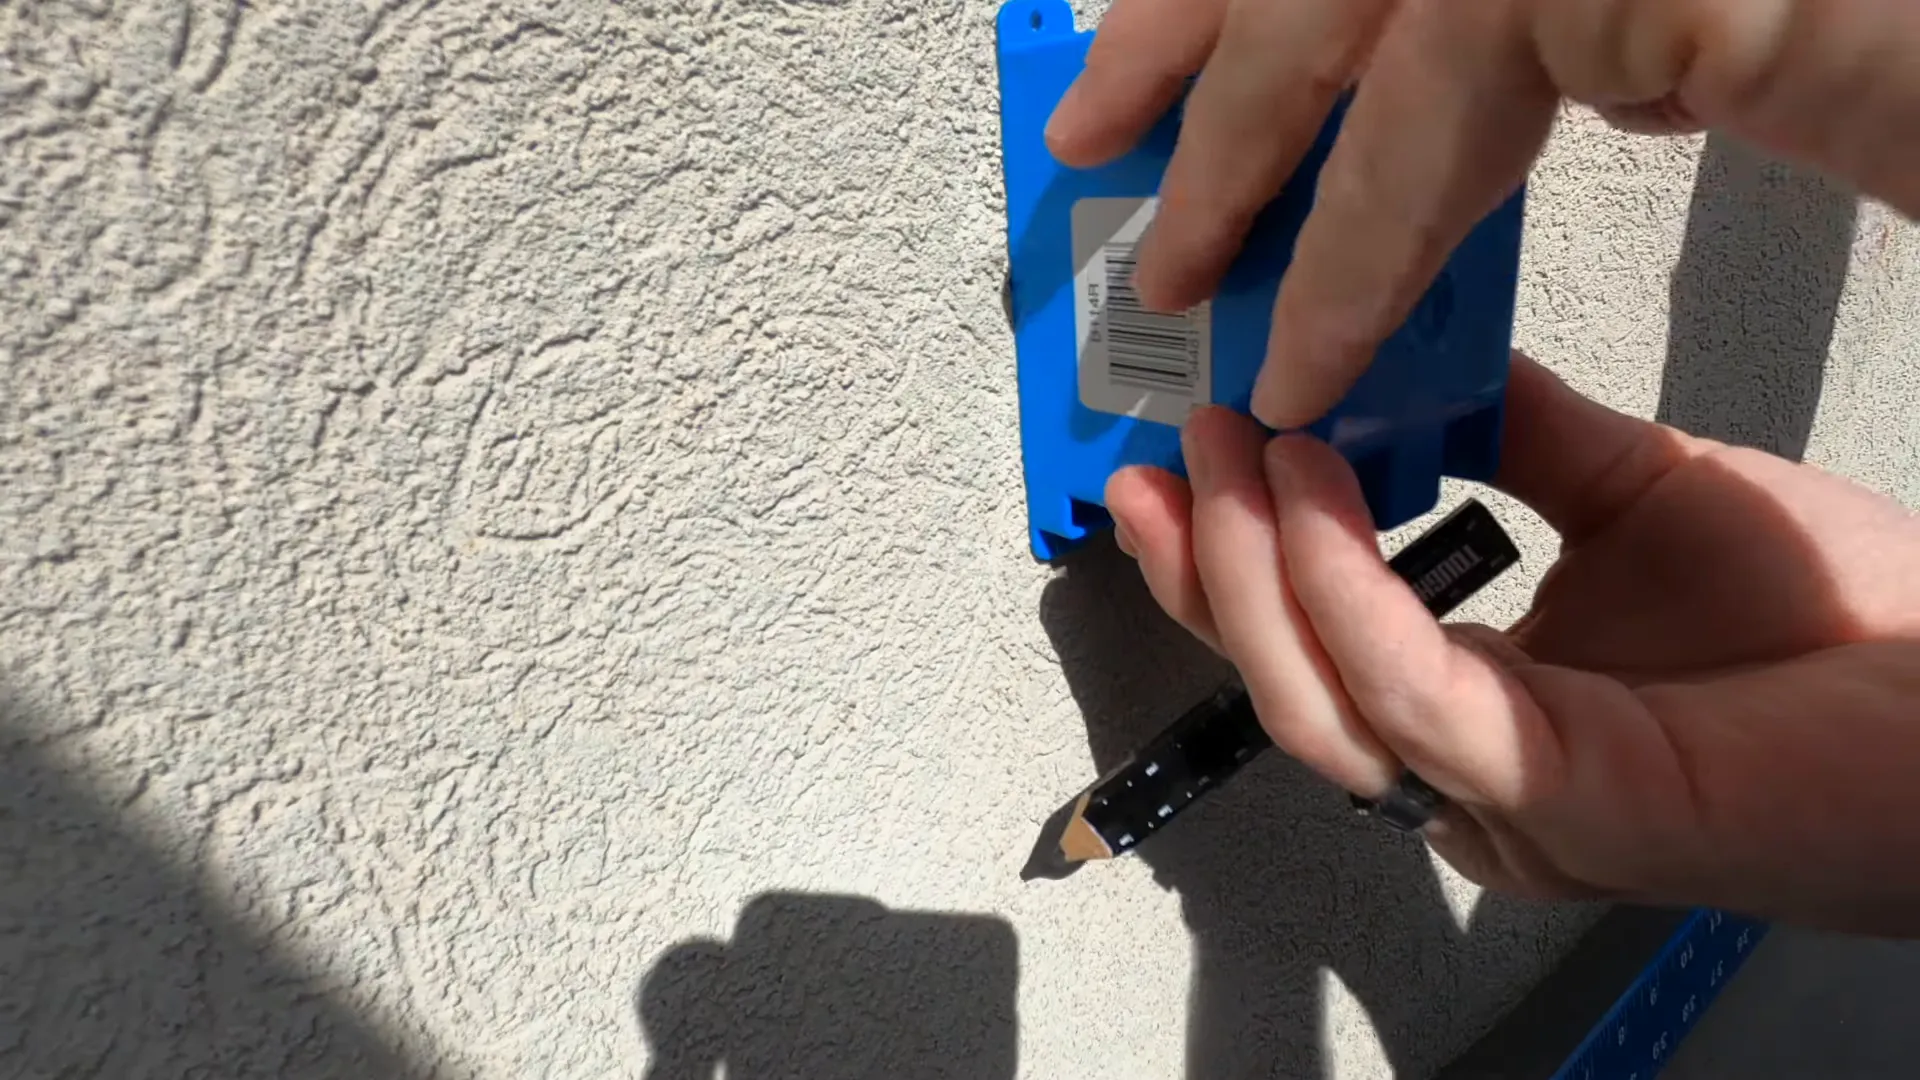
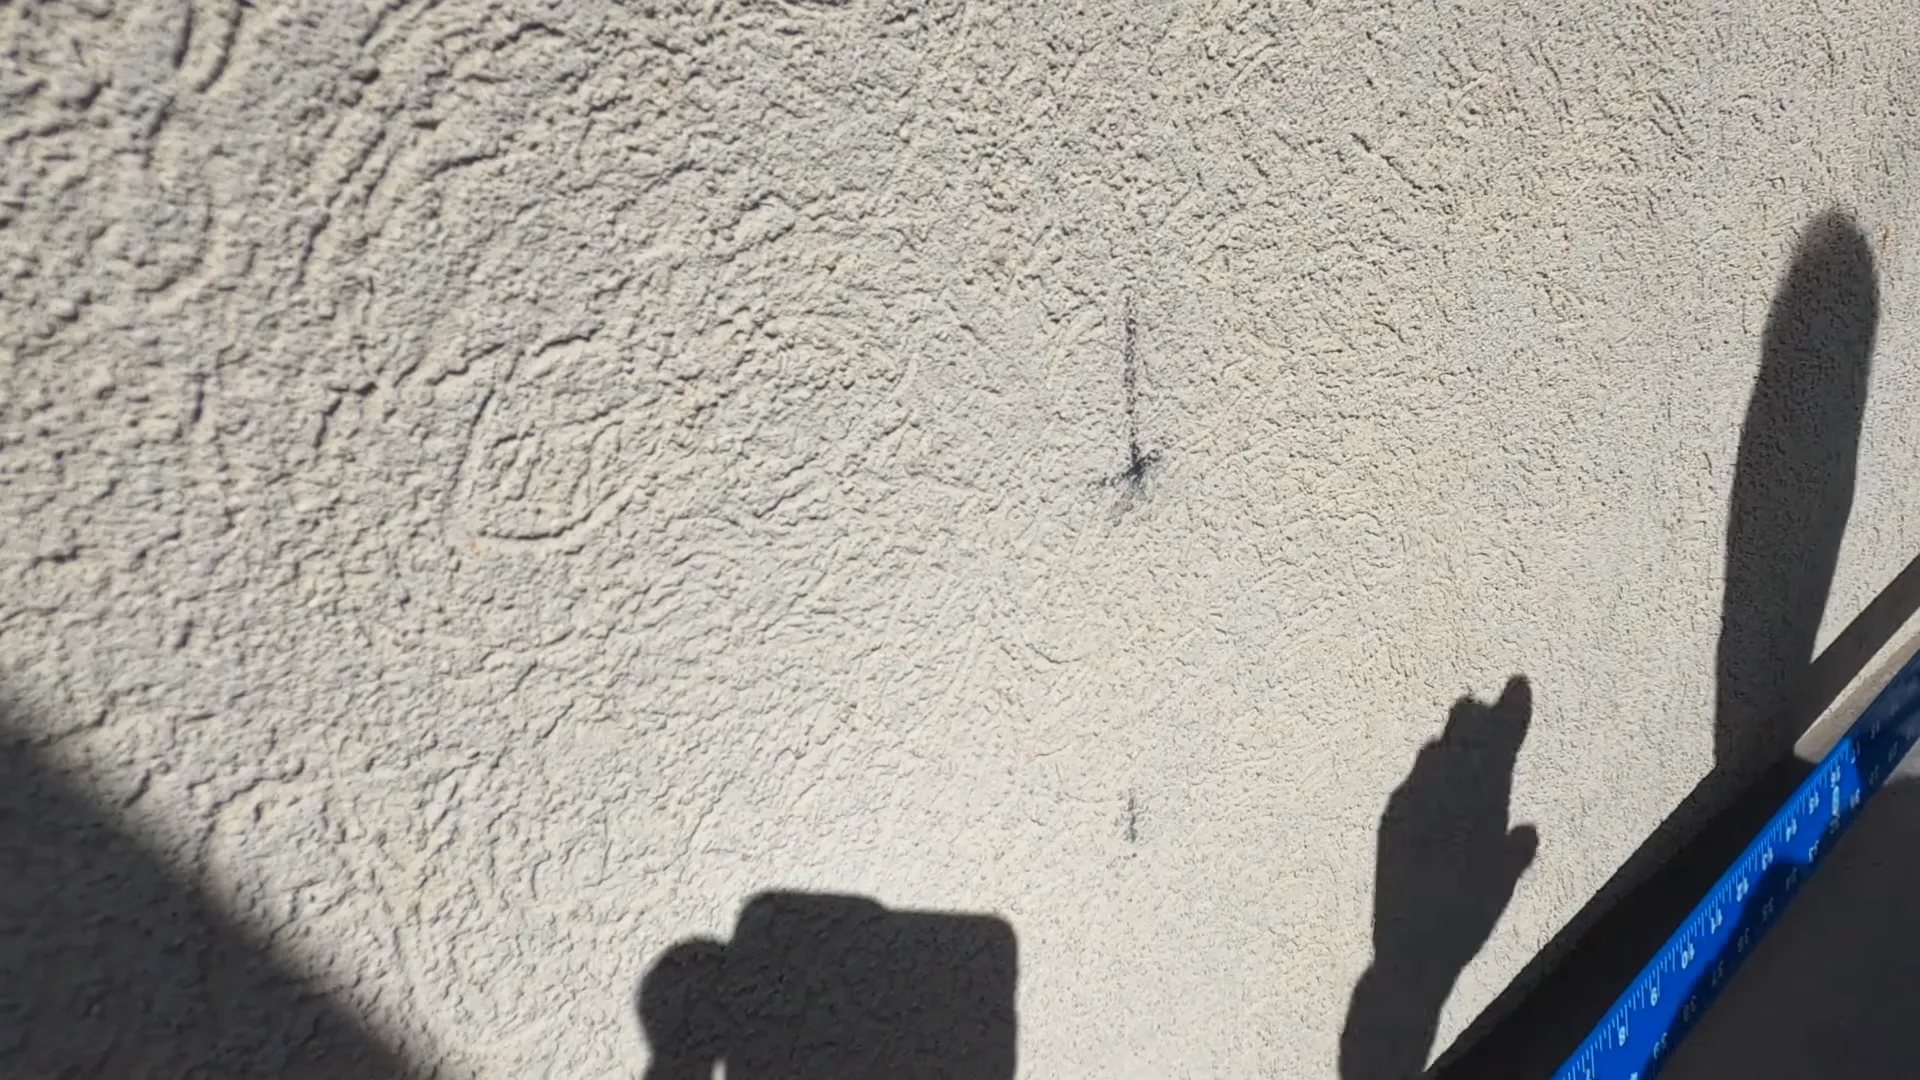
Once you’ve picked a location, measure the distance from the indoor outlet to the outdoor outlet. You should also measure the height of your outlet placement.
Typically, the bottom of the outlet box should be installed 12 inches above the finished floor level, and the top should be around 16 inches. Use a pencil to mark the outline of the box on the wall.
🛠️ Step 4: Cut the Opening for the Box
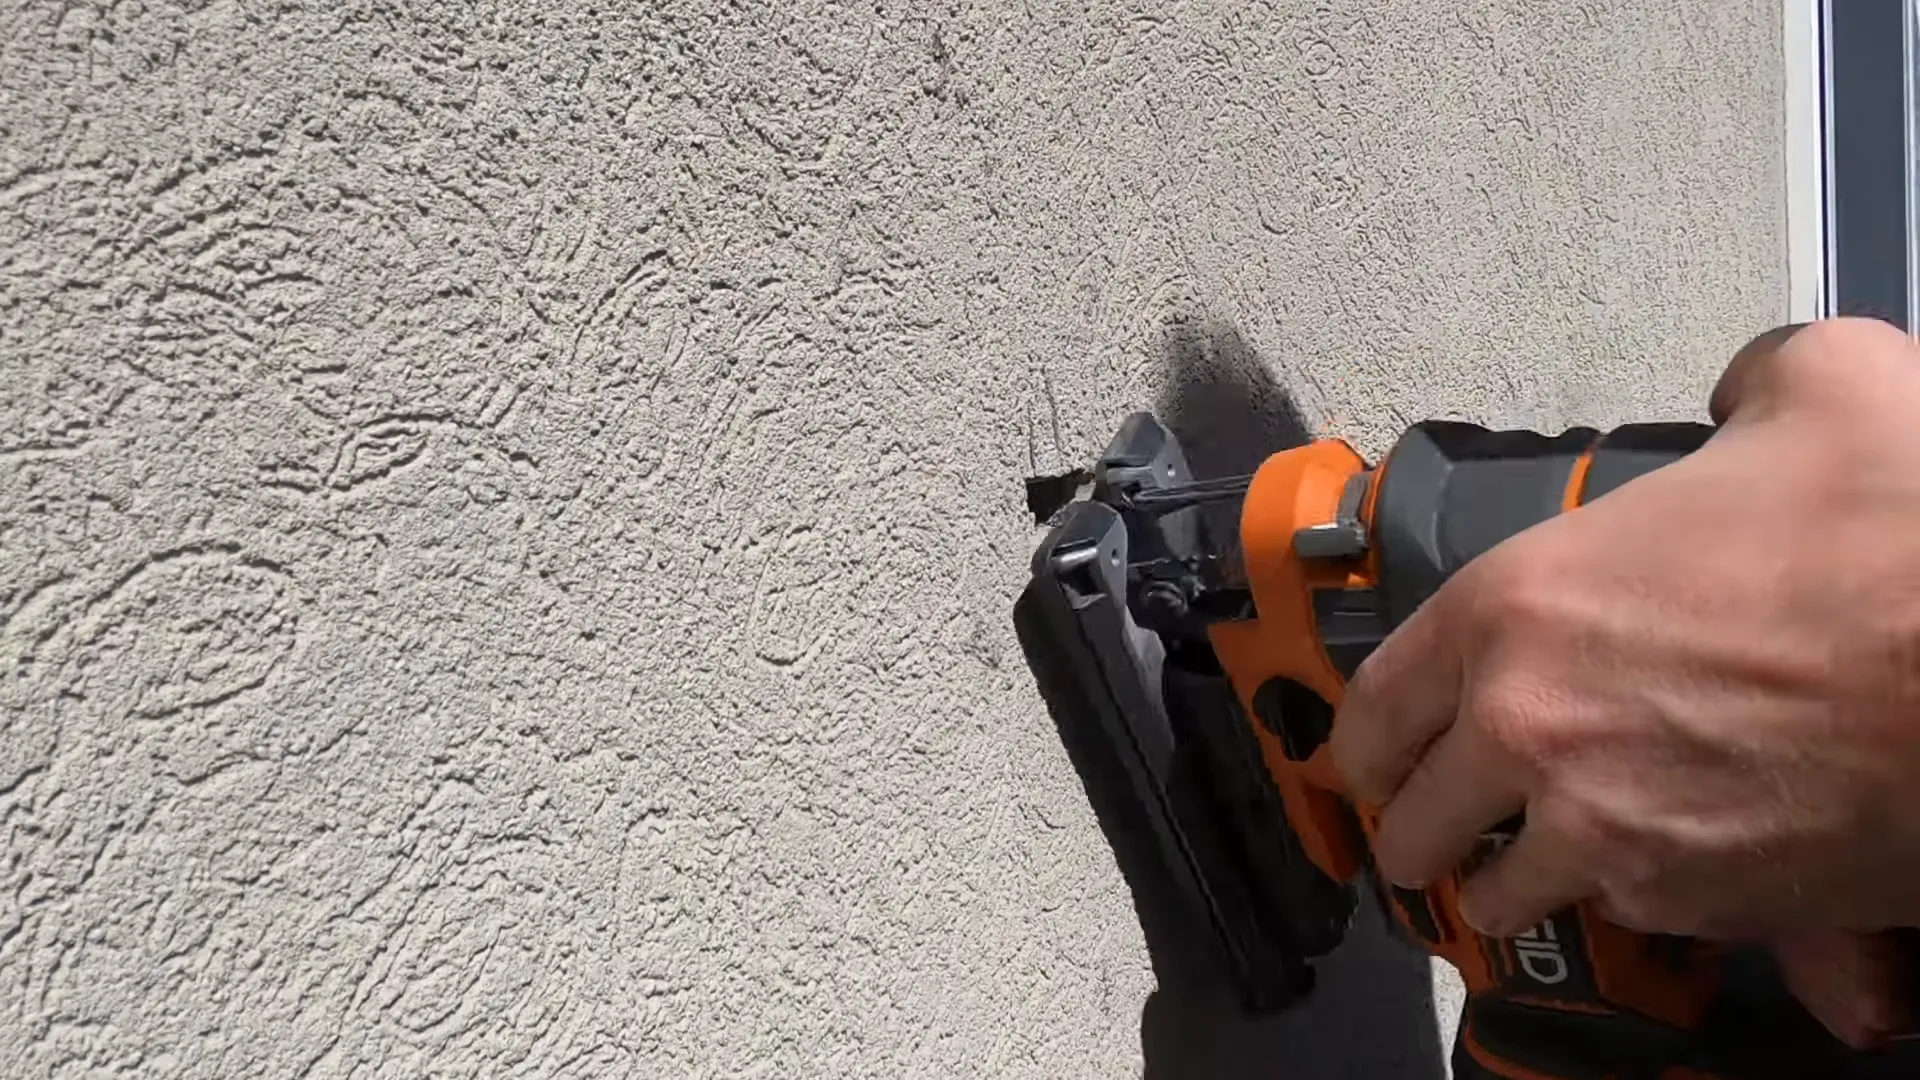
Using a drill, carefully cut out the marked area for the outlet box. Be cautious of any wires or plumbing that may be behind the wall. You may need to use a jigsaw or reciprocating saw for this step.
🔗 Step 5: Install the Old Work Box
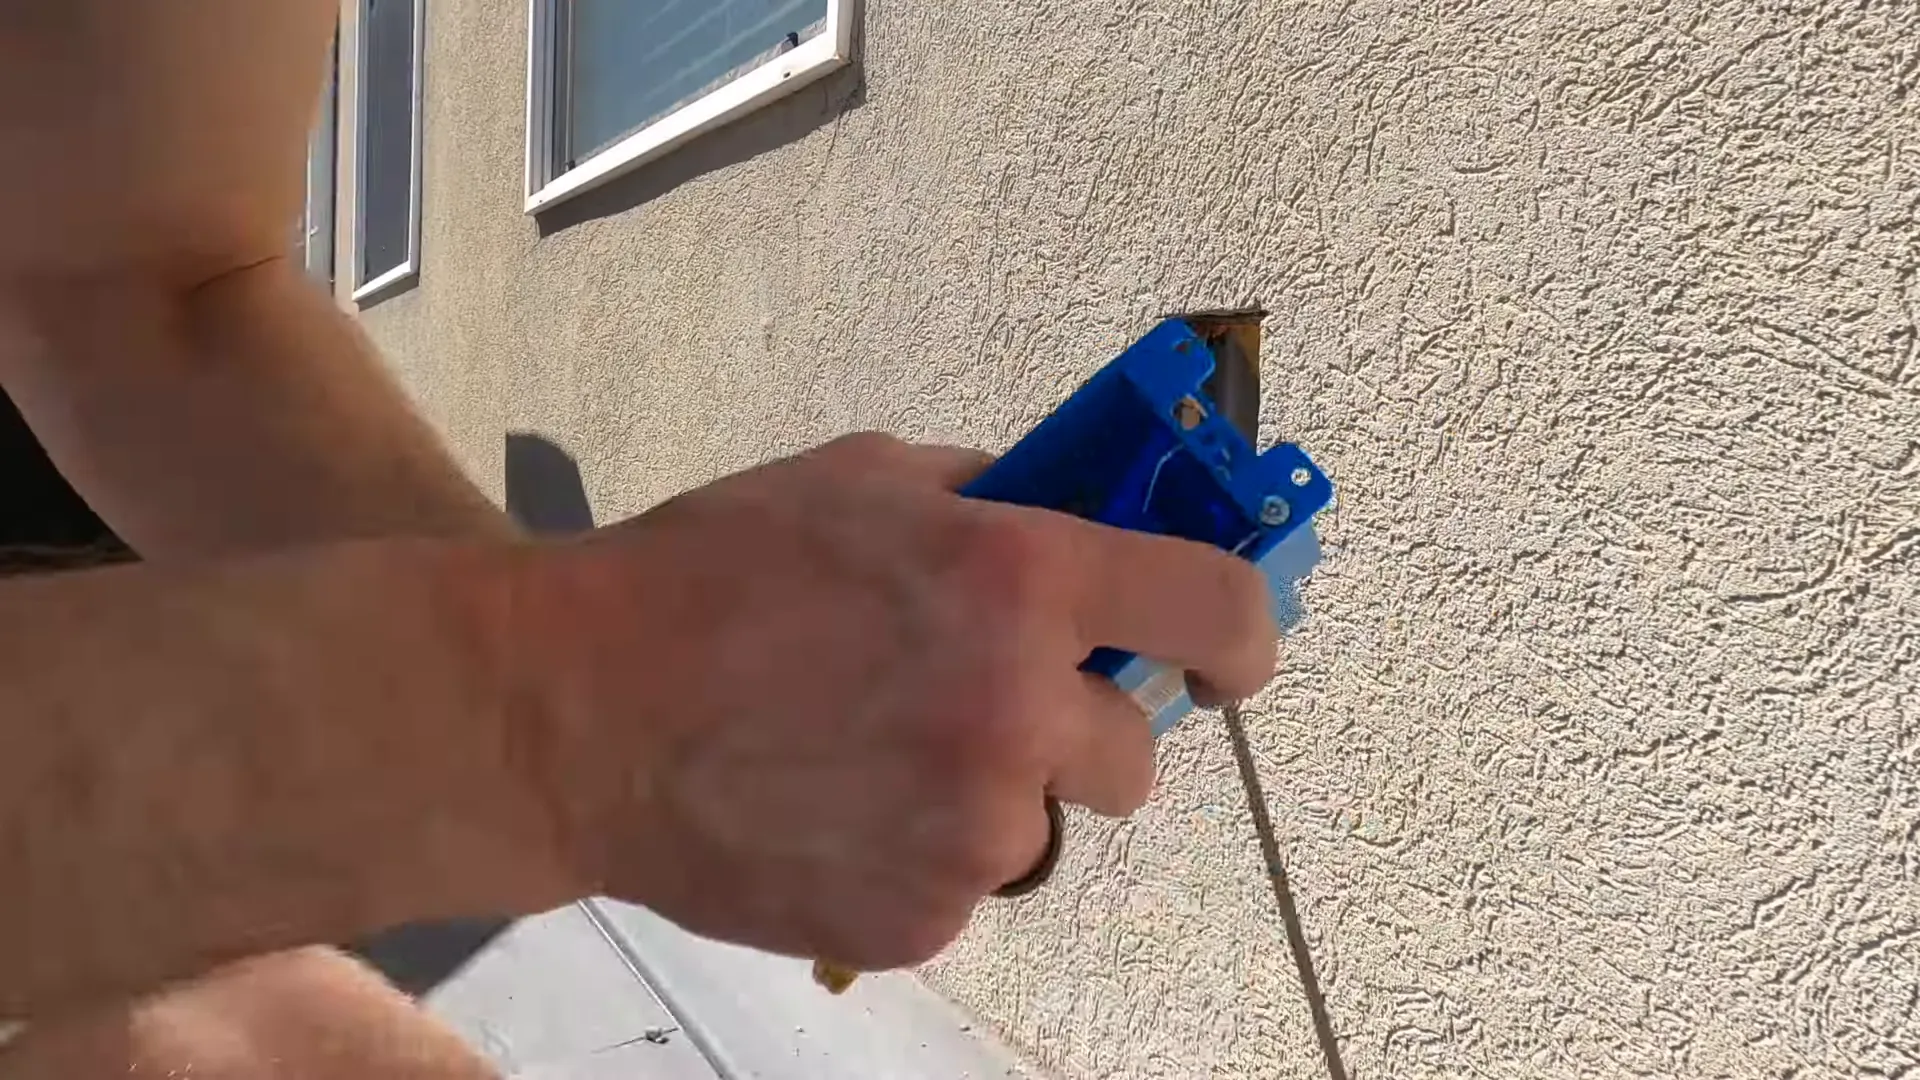
Insert the old work box into the cut opening. The tabs on the box will secure it in place as you tighten the screws. Make sure it is level and flush with the wall.
🔌 Step 6: Run the Wire
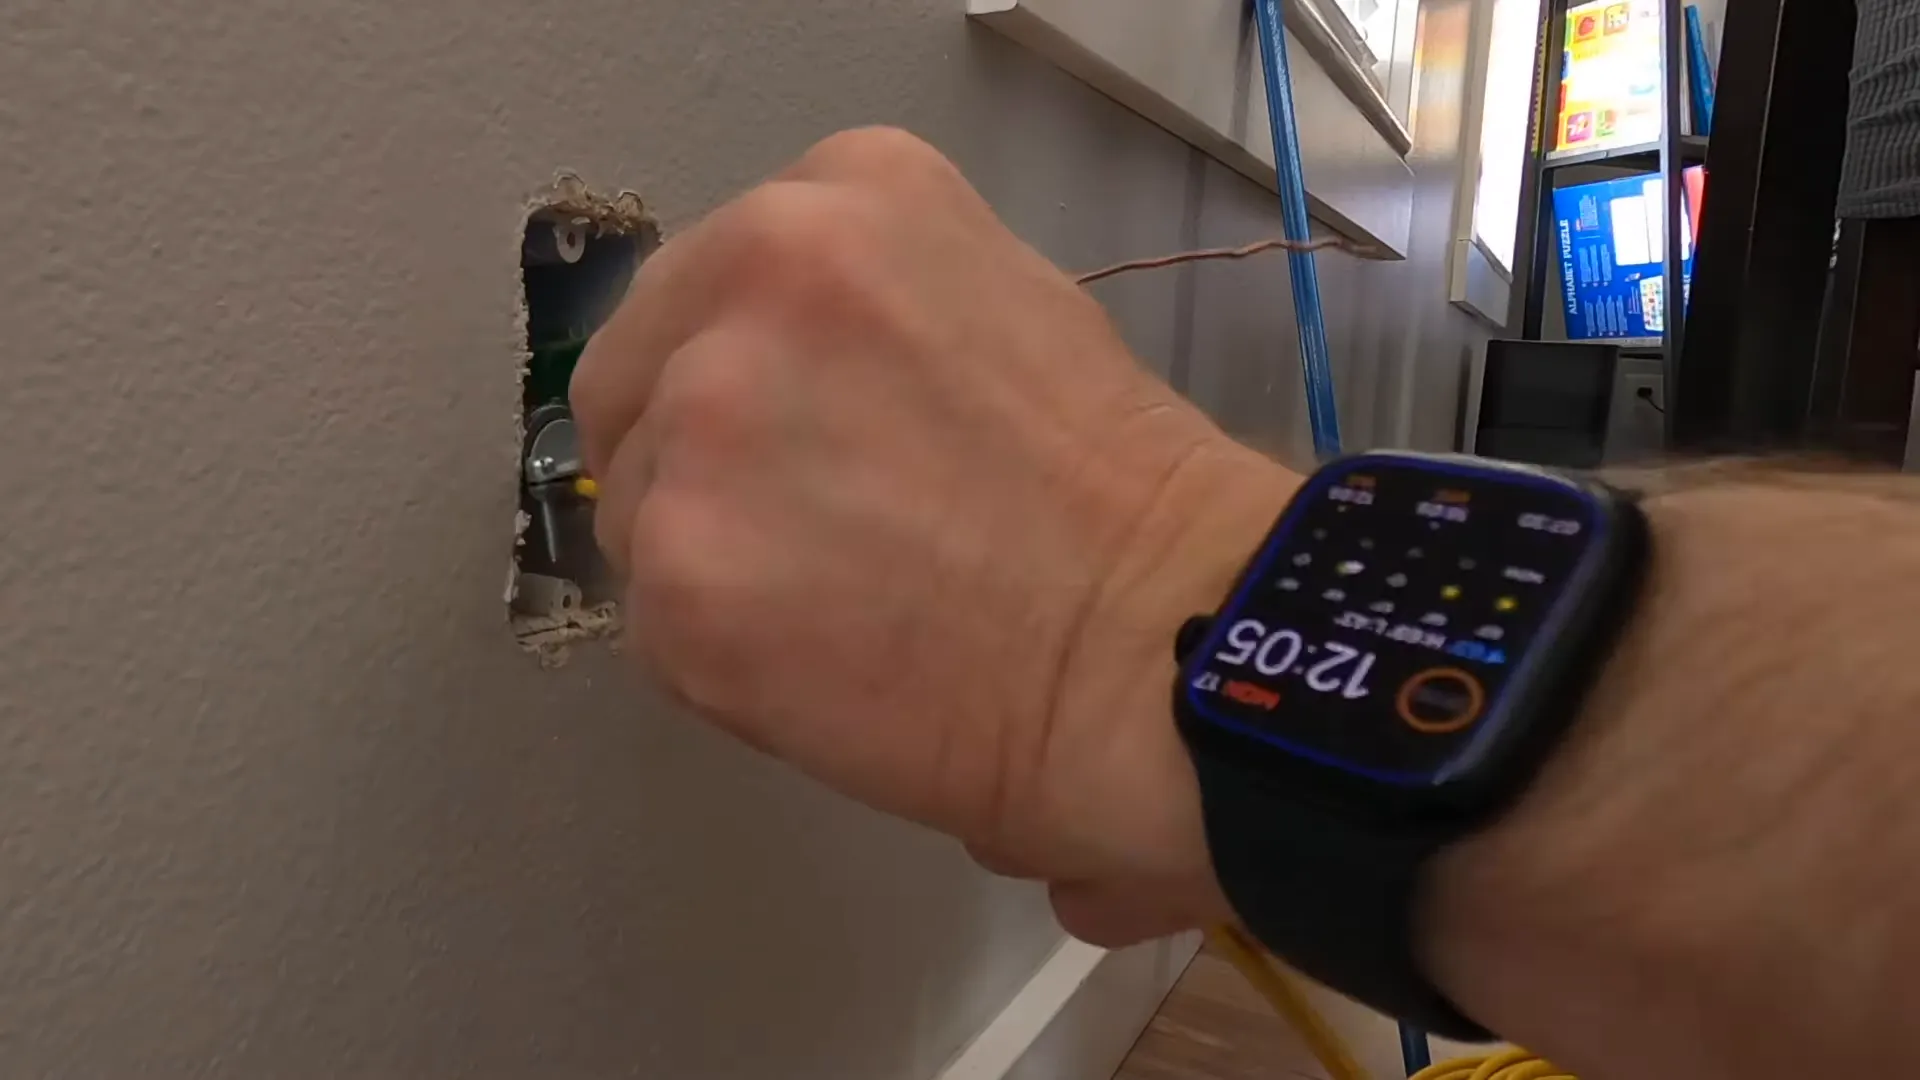
Now, you need to run the Romex wire from the indoor outlet to the outdoor box. Cut a length of wire that’s long enough to reach between the two outlets comfortably.
Feed the wire through the existing indoor outlet, making sure to leave enough slack to work with at both ends.
⚡ Step 7: Connect the Indoor Outlet
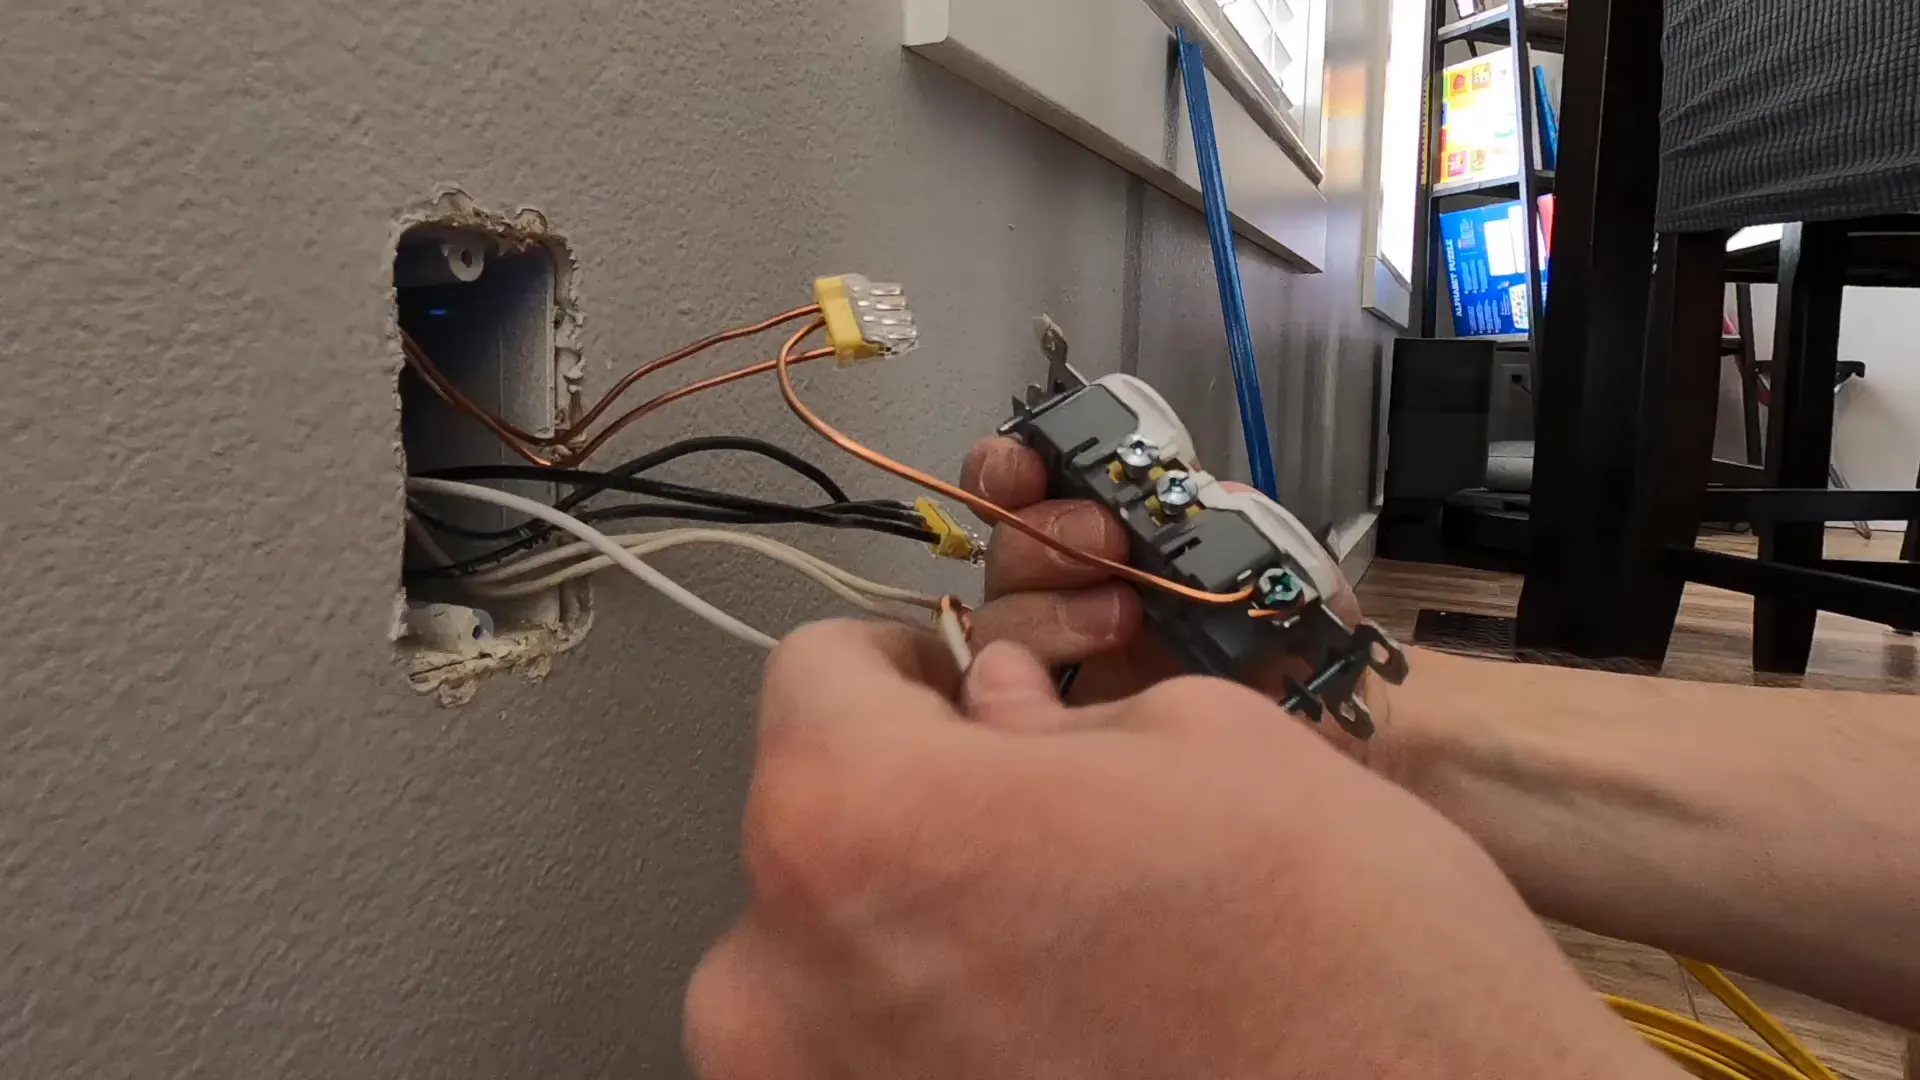
At the indoor outlet, remove the cover plate and unscrew the existing outlet. Strip the ends of the Romex wire and connect it to the outlet. The black wire goes to the brass screw, the white wire to the silver screw, and the bare copper wire to the green ground screw.
🌧️ Step 8: Install the Outdoor GFCI Outlet

Next, it’s time to install the outdoor GFCI outlet. Follow the same wiring procedure as with the indoor outlet: connect the black wire to the brass line, the white wire to the silver line, and the ground wire to the green screw.
Ensure that the wires are securely connected and that there’s no exposed copper wire.
🌬️ Step 9: Secure the Weatherproof Cover
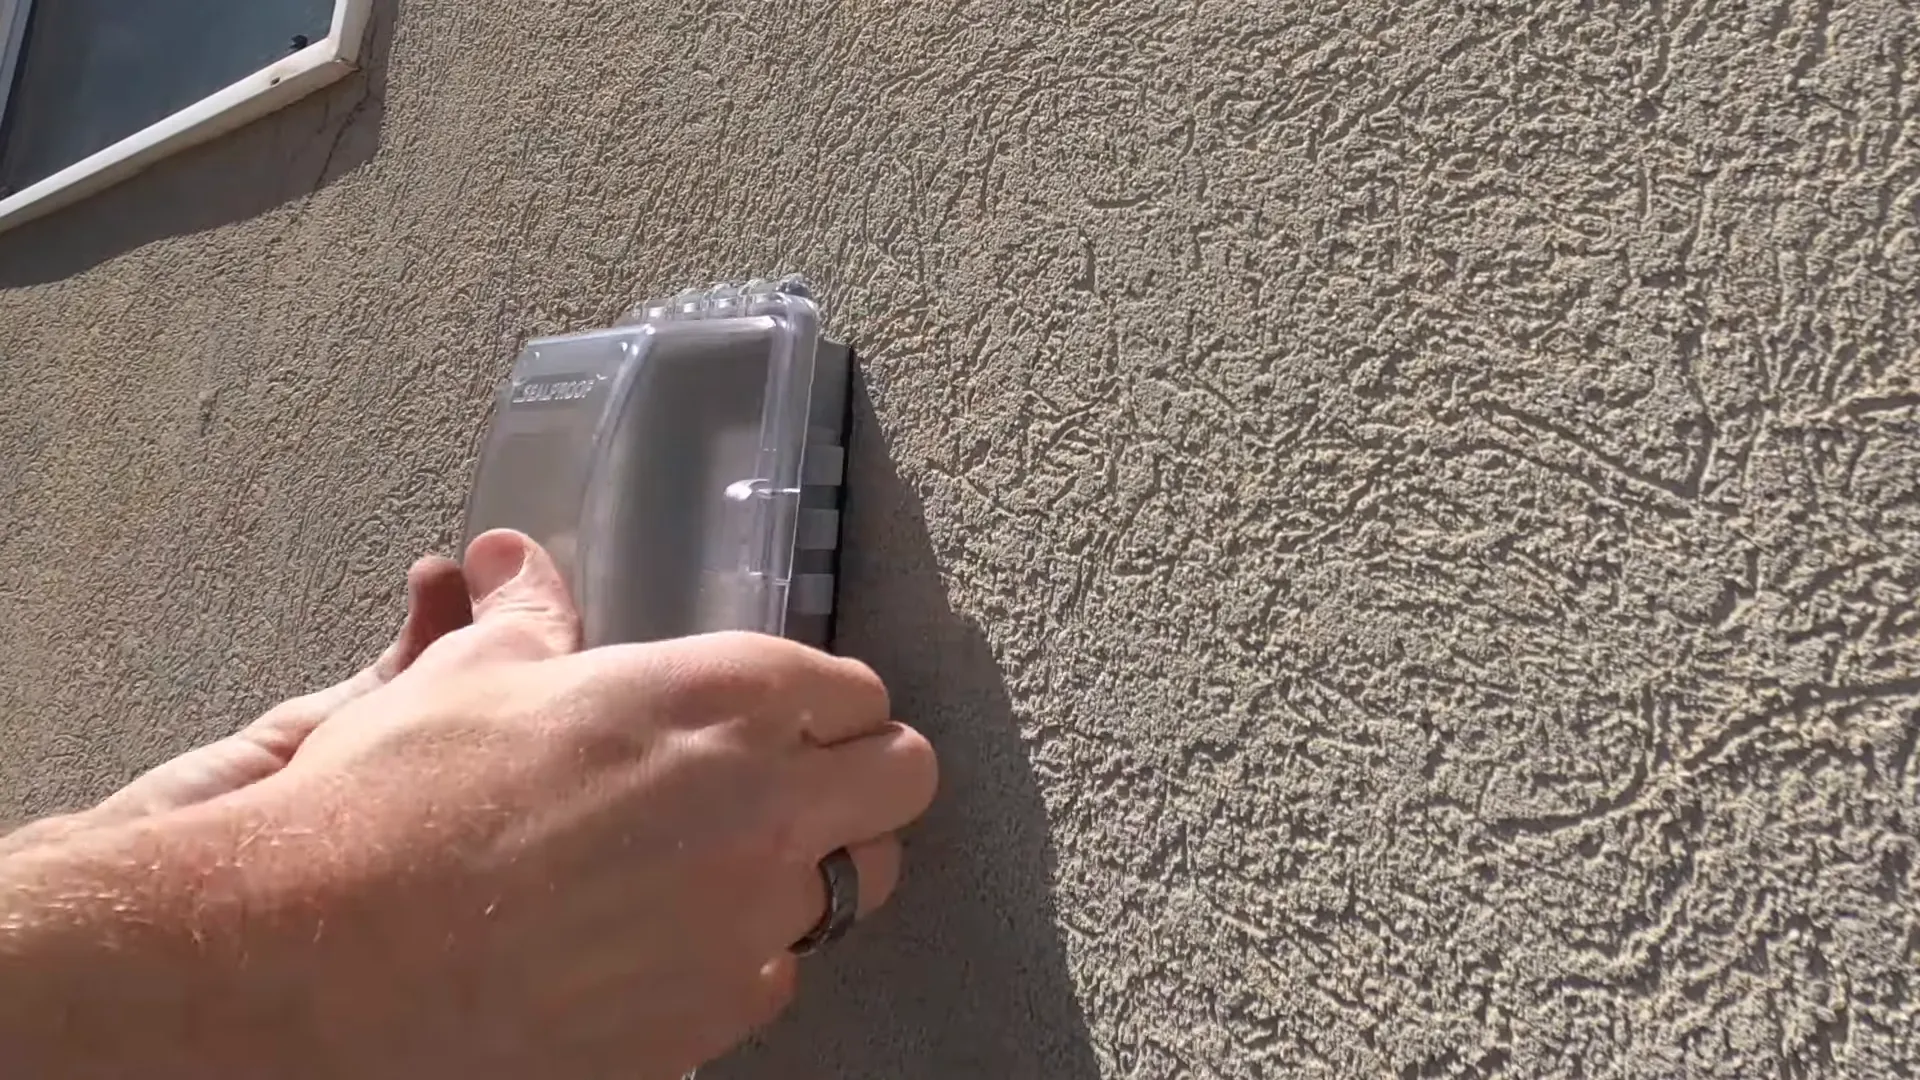
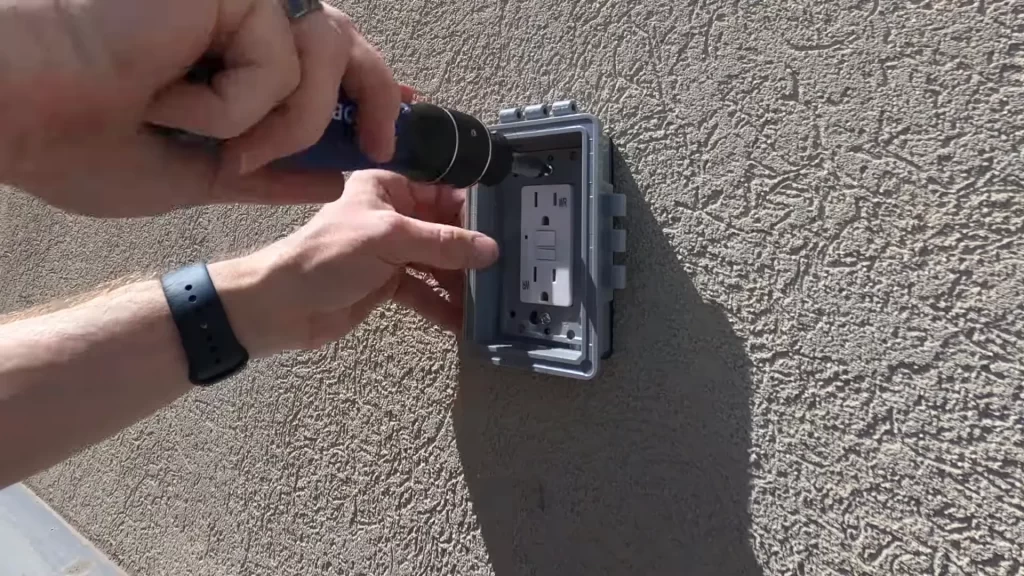
After installing the outdoor outlet, attach the weatherproof cover. This will protect your outlet from moisture and debris. Make sure to follow the manufacturer’s instructions for securing the cover properly.
🔍 Step 10: Test Your Outlet
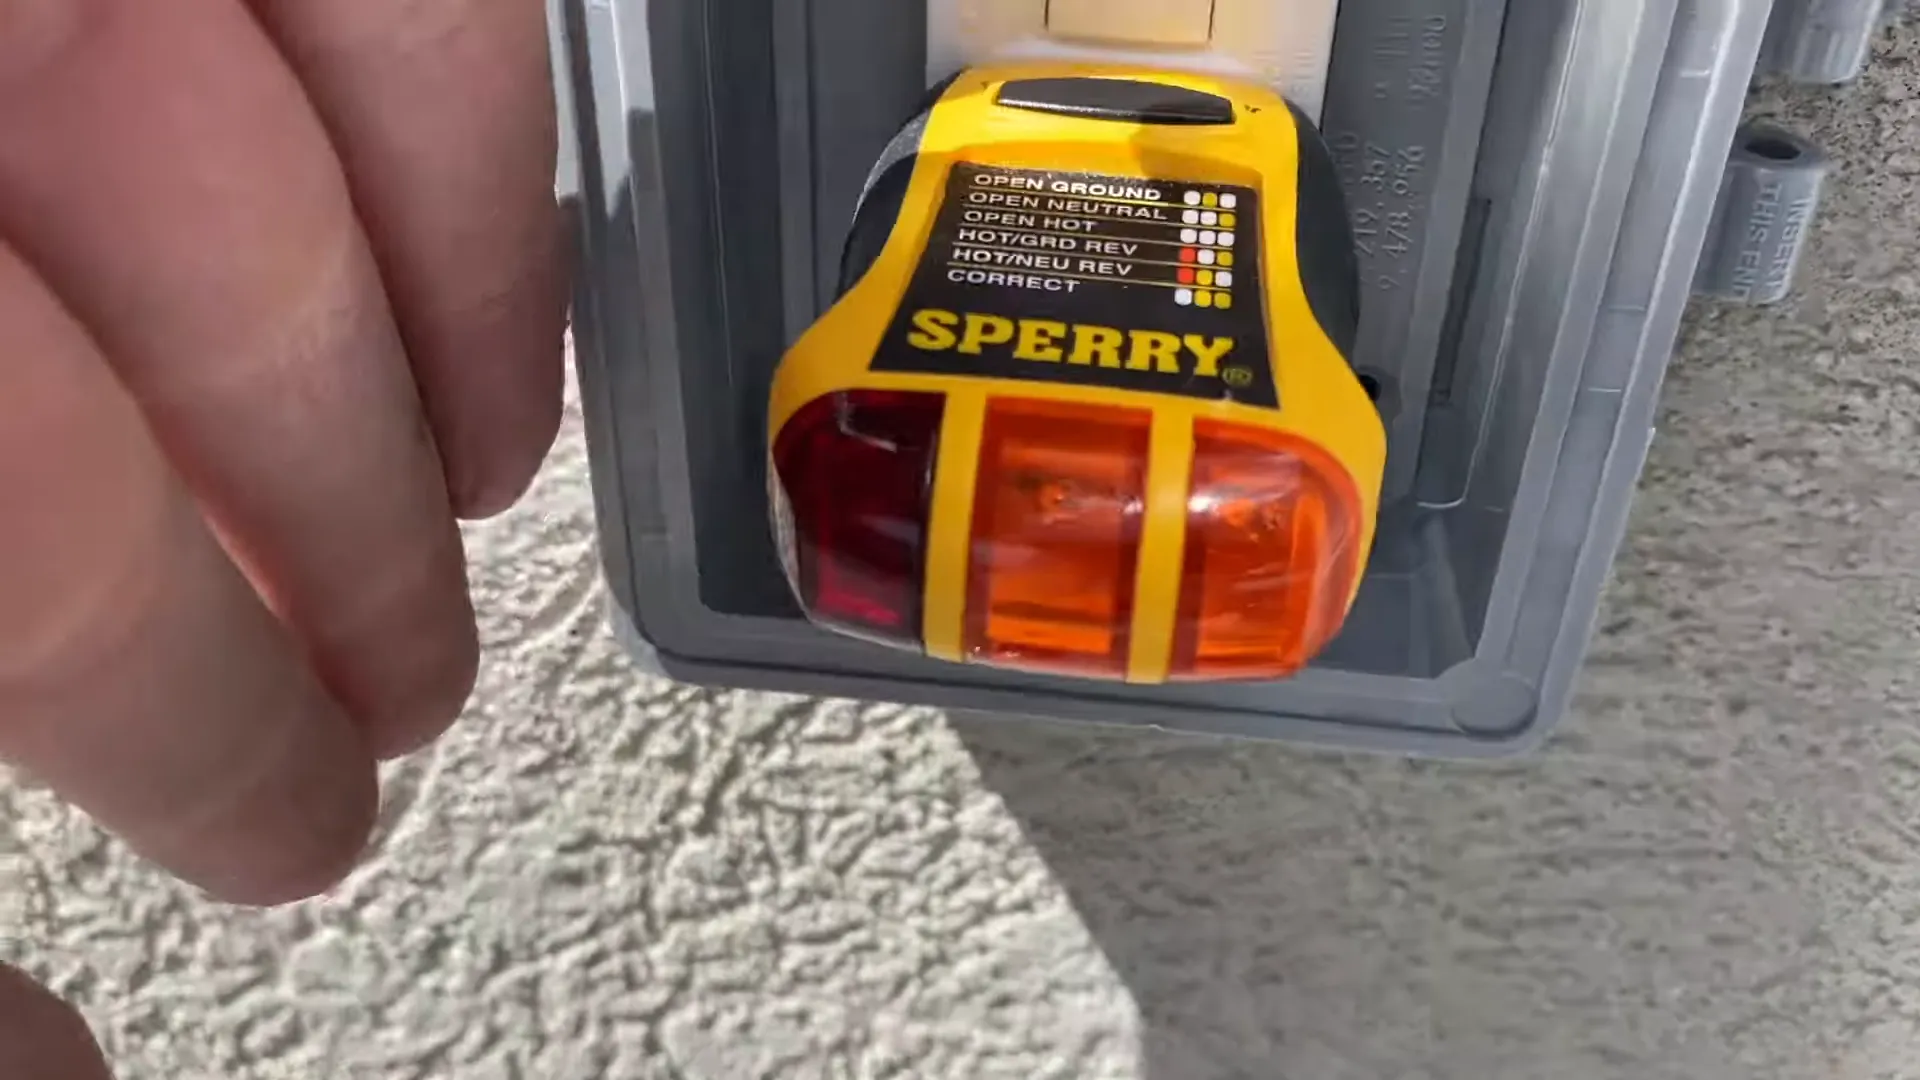
Before using your new outdoor outlet, it’s essential to test it with a voltage tester. This ensures that everything is wired correctly and functioning as it should. Press the test button on the GFCI to ensure it trips and resets properly.
Conclusion
Installing an outdoor outlet is a manageable project that can significantly enhance your outdoor living spaces by providing easy access to power for lighting, cooking, and other outdoor equipment. By following this step-by-step guide, you’ve not only learned how to install an outlet safely and efficiently but also gained valuable DIY skills.
Remember to always prioritize safety, adhere to local electrical codes, and test your work thoroughly. With your new outdoor outlet, your patio or deck is ready for all the activities and conveniences that electricity can bring. Happy DIYing and enjoy your newly powered outdoor area!
📋 FAQ
What is a GFCI outlet, and why is it important for outdoor use?
A GFCI (Ground Fault Circuit Interrupter) outlet is designed to protect against electrical shock by shutting off power when it detects an imbalance between incoming and outgoing current. This is especially important outdoors, where moisture can increase the risk of electrical hazards.
Can I install an outdoor outlet myself?
Yes, if you have basic electrical knowledge and are comfortable working with wiring, you can install an outdoor outlet yourself. However, always ensure you adhere to local codes and regulations.
Do I need a permit to install an outdoor outlet?
Depending on local regulations, you may need a permit for electrical work. It’s best to check with your local building department before starting your project.
How do I ensure my outdoor outlet is weatherproof?
Make sure to use a weather-resistant GFCI outlet and secure a weatherproof cover that protects the outlet when not in use. Follow all manufacturer instructions for installation.
What tools do I need for this project?
You will need basic tools such as a drill, screwdriver, wire cutters/strippers, and a voltage tester, as well as the necessary materials like Romex wire and an outdoor GFCI outlet.
