How to Make Cake Pops Recipe with Our Easy Guide 🍰
Cake pops are a delightful treat that brings joy to any occasion! If you’re looking to impress your friends and family with a fun and delicious dessert, then this how to make cake pops recipe is just for you. In this guide, we will walk you through each step of the process, ensuring you have all the tips and tricks needed for perfect cake pops every time!
Step 1: Prepare the Cake Base 🎂
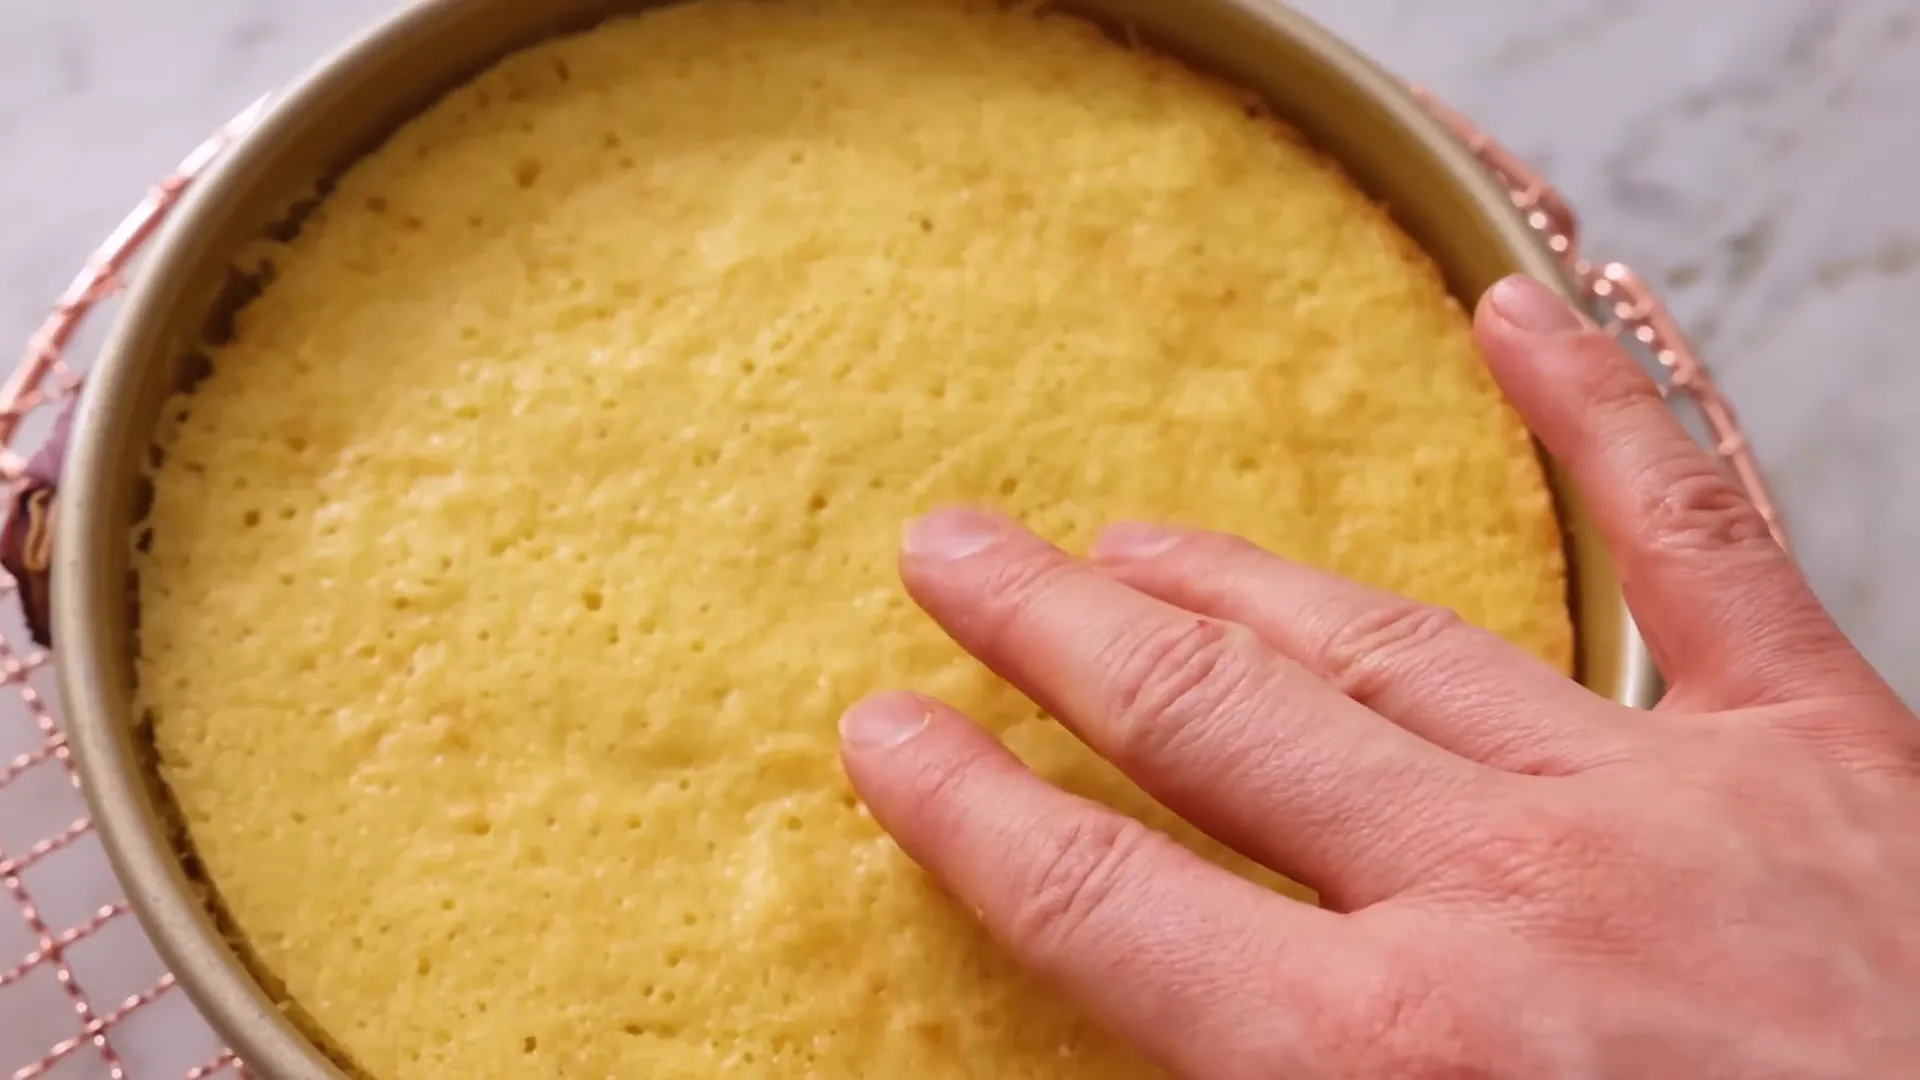
To start, you’ll need to whip up a batch of cake. You can use my favorite vanilla cake recipe or even a boxed cake mix. Both options work great! The choice is yours, depending on how much time you have.
Once your cake is baked and cooled, we can move on to making the frosting.
Step 2: Make the Vanilla Buttercream Frosting 🧁
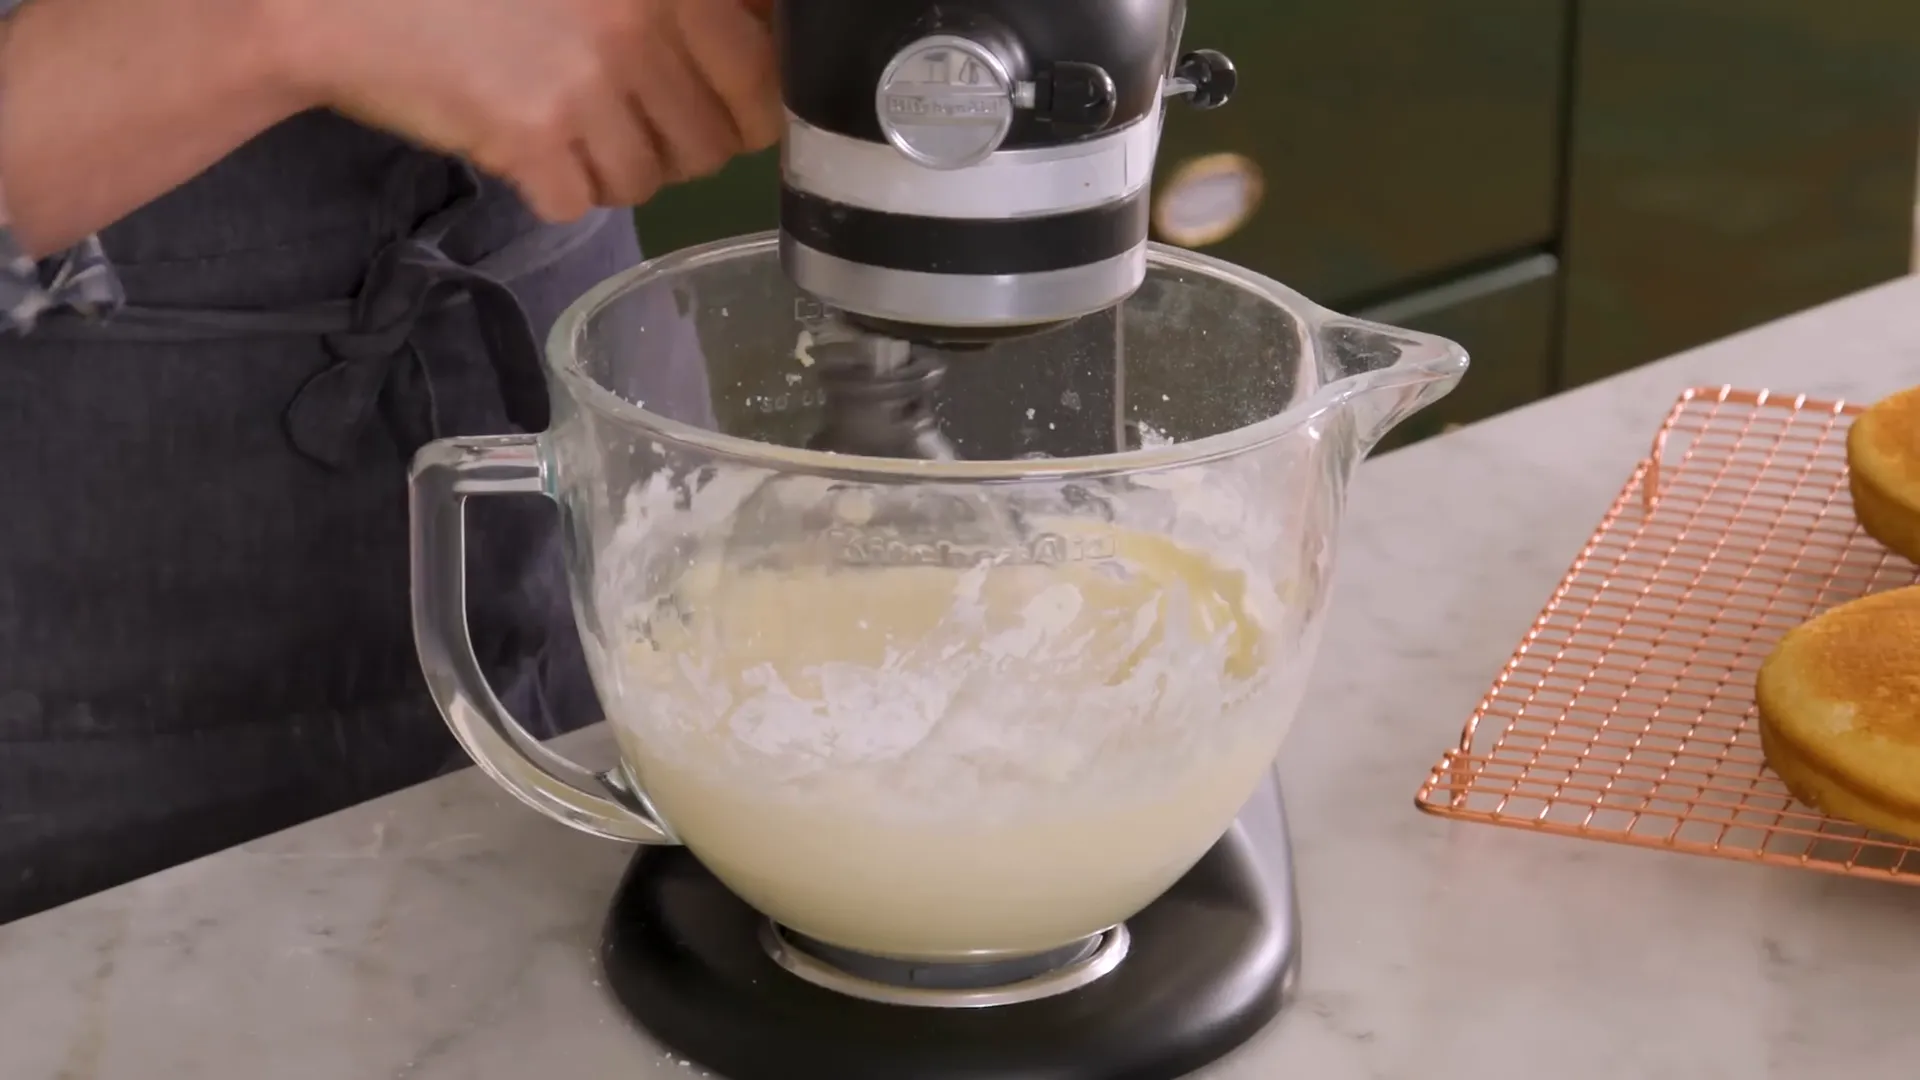
Forget about the store-bought frosting! Making your own is super easy and will elevate your cake pops. In a mixing bowl, combine:
- ¾ cup (180 grams) of room-temperature unsalted butter
- 3 cups of powdered sugar (to taste)
- 1 teaspoon of vanilla extract
- A pinch of salt
- 1 tablespoon of cream (to achieve a silky texture)
Using a whisk attachment, cream the butter until fluffy, then gradually add in the powdered sugar. Once combined, add the vanilla and salt, and mix until smooth.
Step 3: Crumble the Cake 🎉
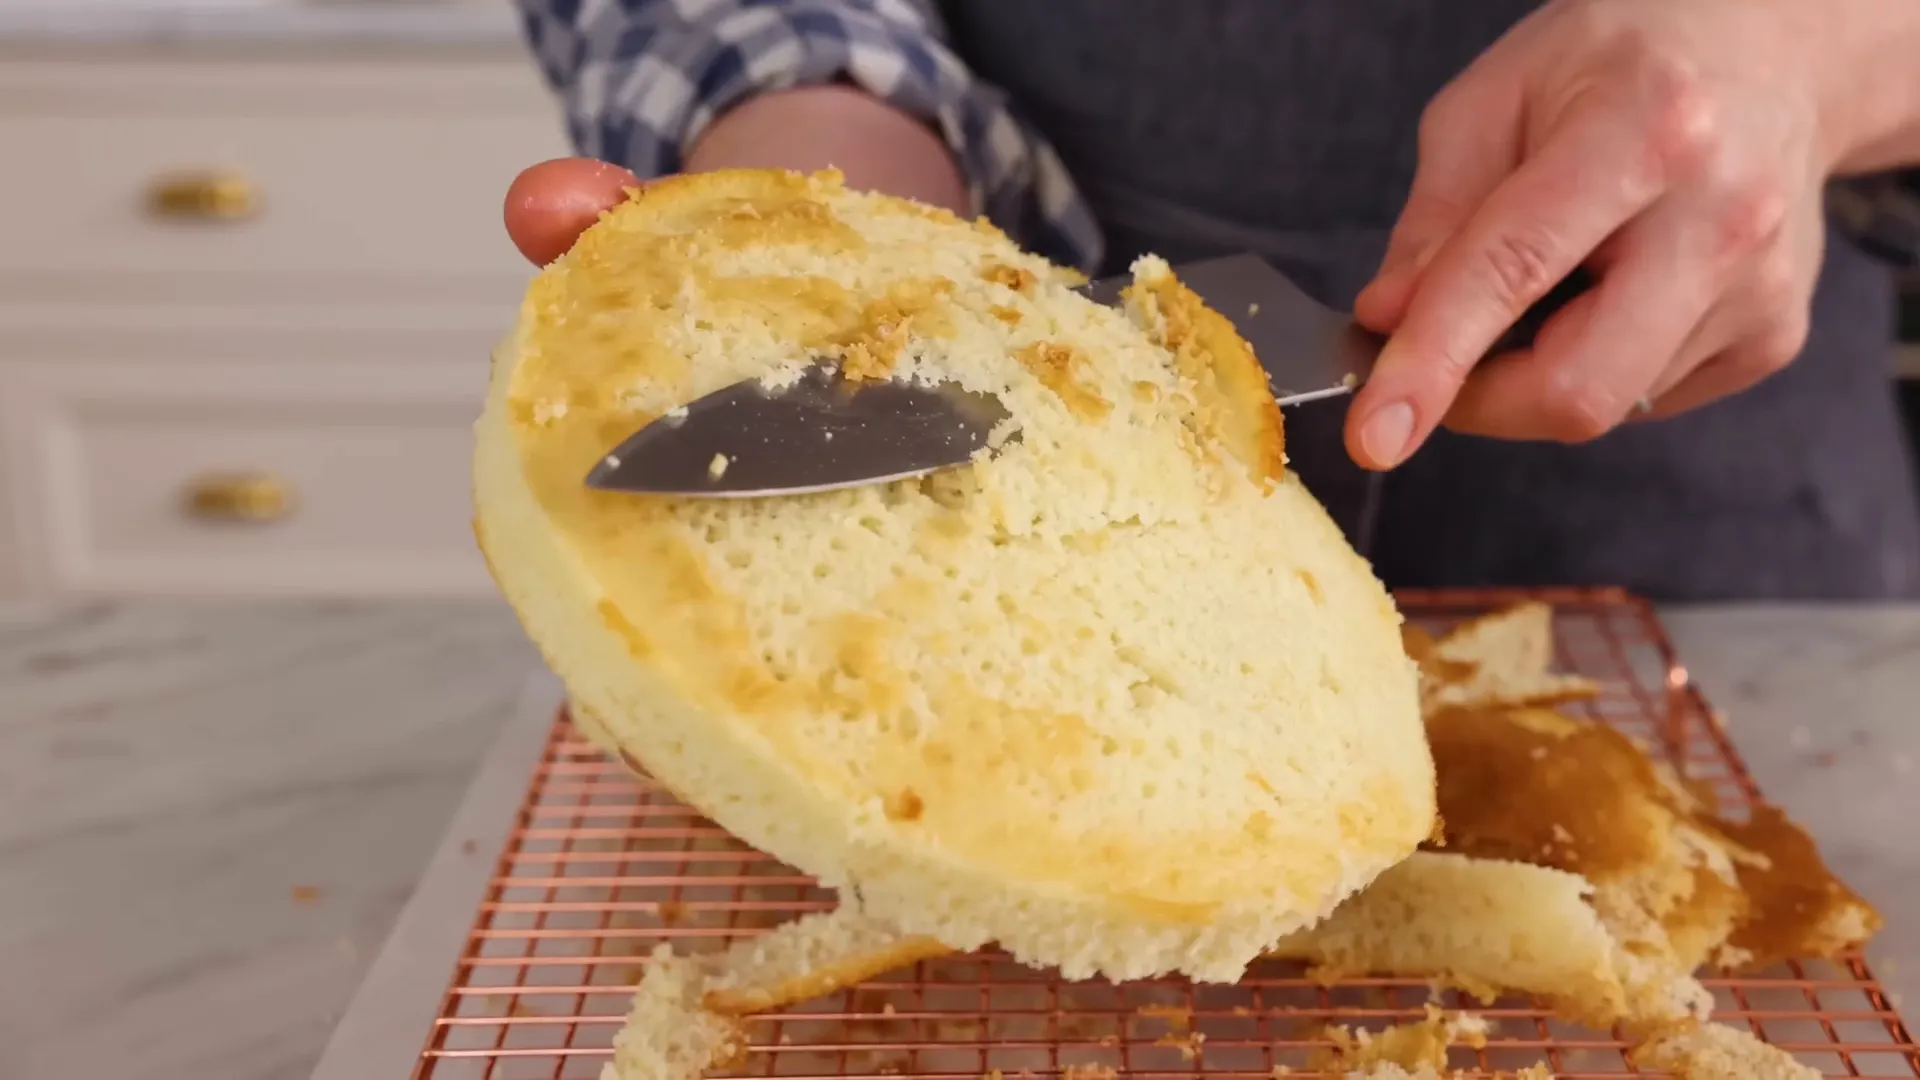
Now that your cake is cool and your frosting is ready, it’s time to assemble. Start by trimming any overcooked edges from your cake rounds. This step is crucial as it prevents any burnt bits from ruining the texture of your cake pops.
Next, crumble the cake into a large bowl using your hands. If you want to achieve small, uniform pieces, think of the consistency of wet sand. This is key for a smooth cake pop!
Step 4: Mix Cake and Frosting Together 🎊
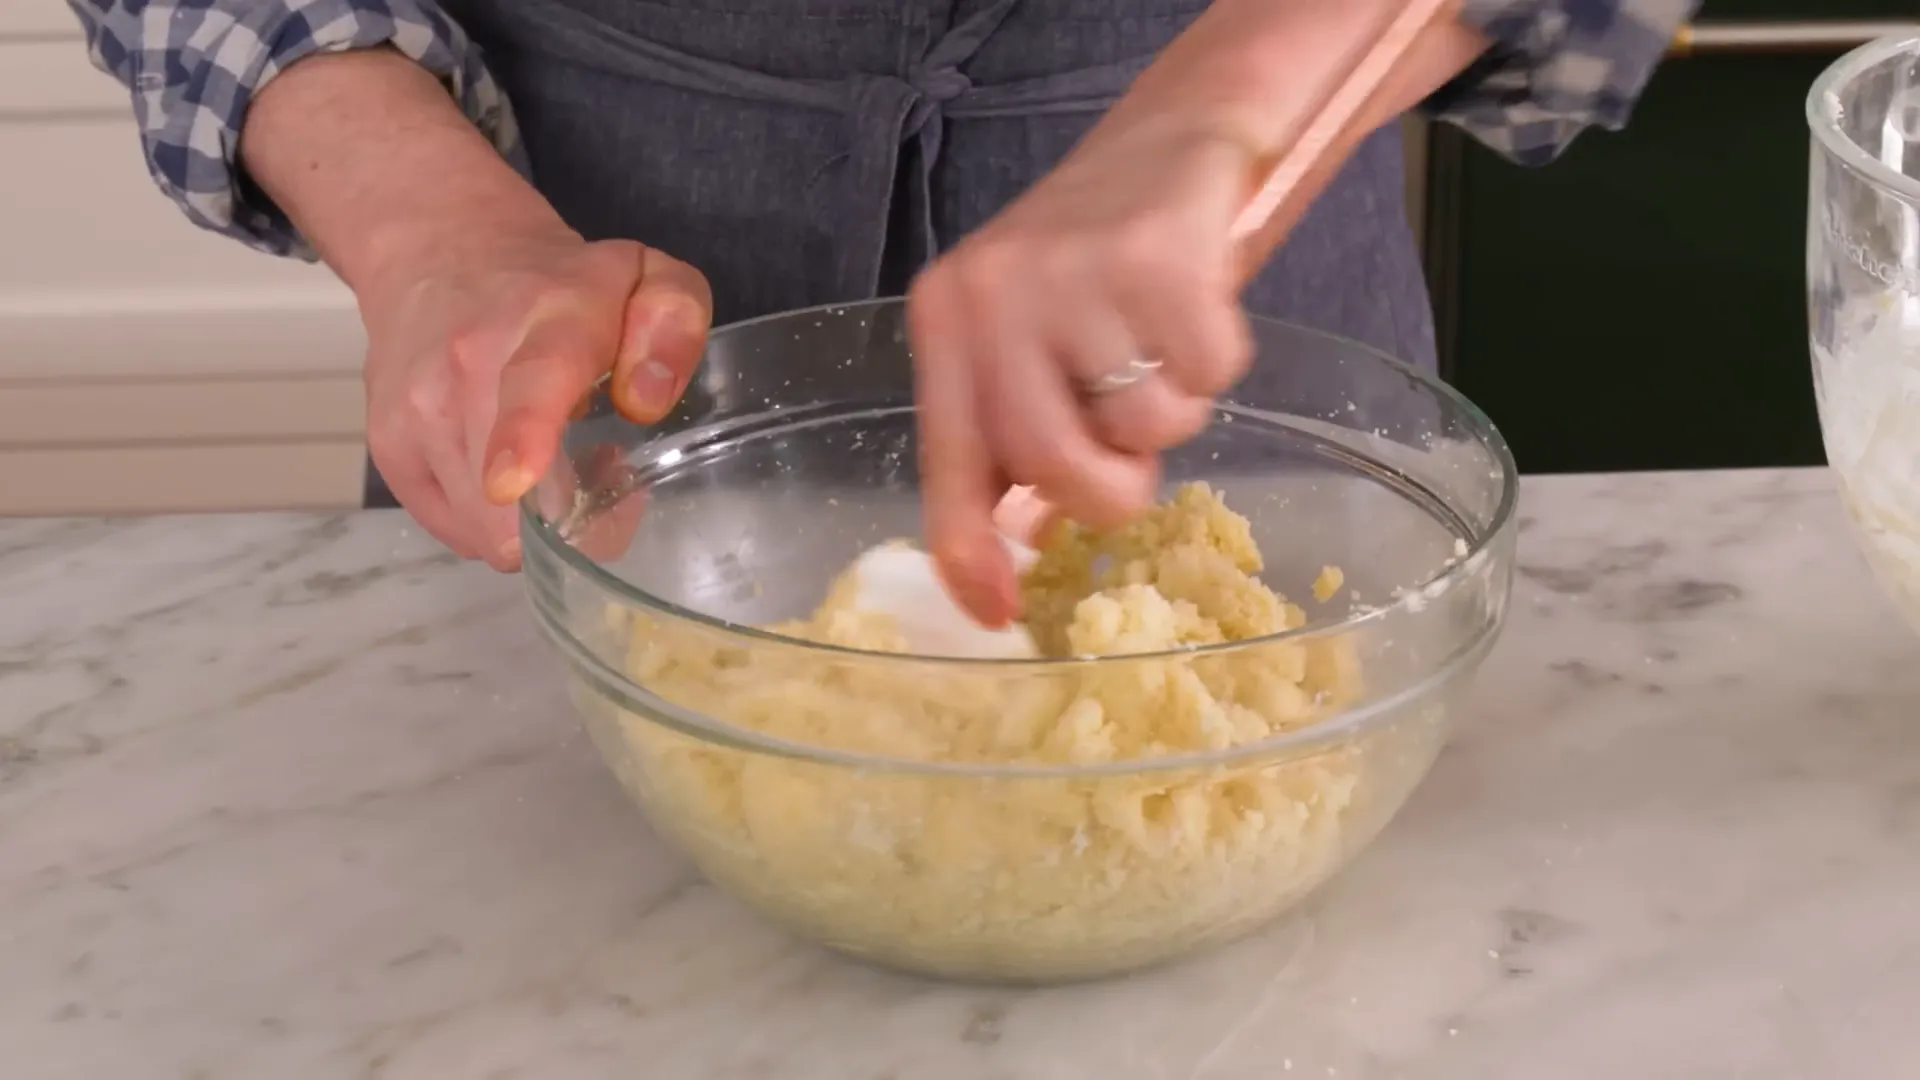
Once your cake is crumbled, it’s time to add the frosting. Start by adding a little frosting at a time, mixing gently with a spatula. You want a consistency that holds together but isn’t too wet. The goal is to maintain a bit of texture while ensuring everything sticks together.
When you have a good mixture, it’s time to roll them into balls!
Step 5: Roll the Cake Balls 🍡
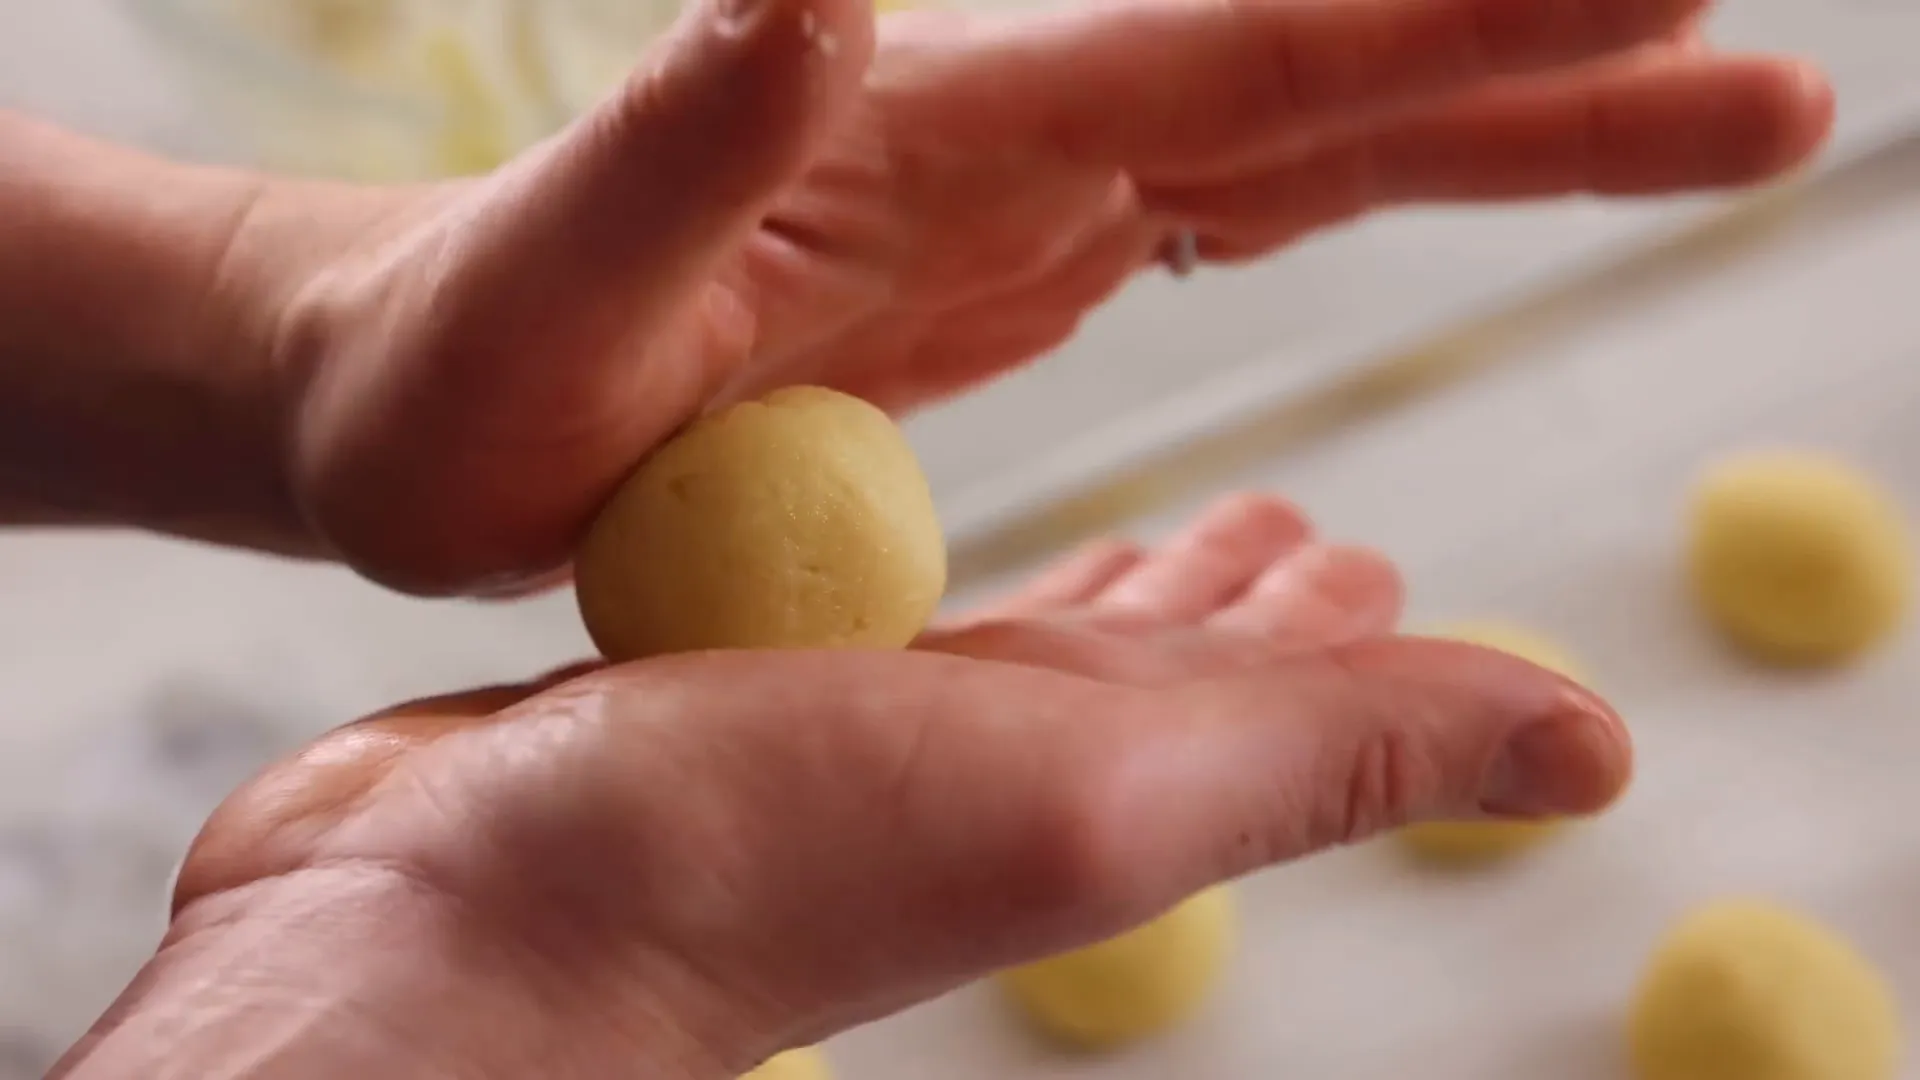
Using a scoop, portion out your cake mixture and roll it into balls about 1 to 1.5 inches in diameter. Place them on a lined baking sheet. They don’t have to be perfect spheres at this stage; we will refine their shape later. Once rolled, chill the cake balls in the fridge for at least 30 minutes or freeze them for 10 minutes to firm up.
Step 6: Prepare the Coating 🍫
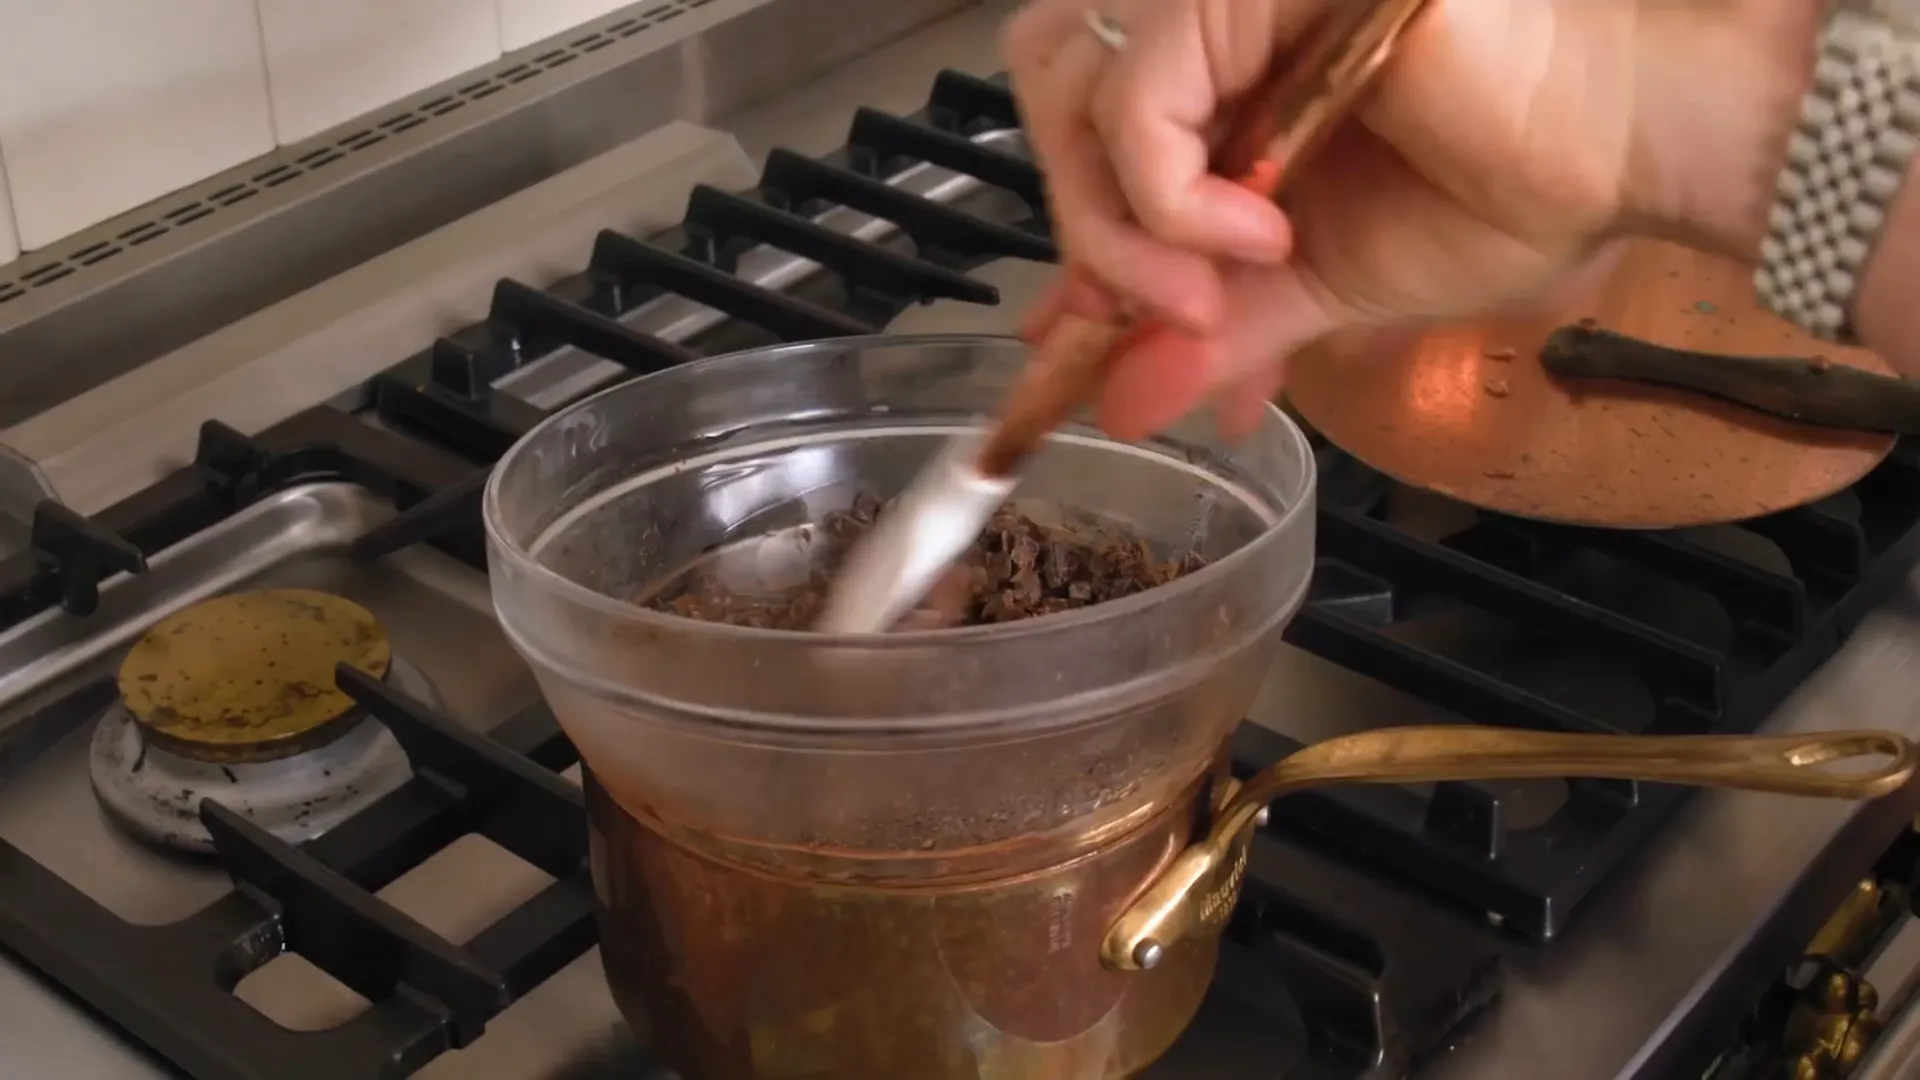
While your cake balls chill, it’s time to prepare the coating. I recommend using chocolate melting wafers, as they’re easier to melt and work with compared to regular chocolate. Set up a double boiler and melt the wafers, stirring occasionally.
If the melted chocolate is too thick, add a teaspoon of shortening or coconut oil to achieve a smoother consistency.
Step 7: Dip the Cake Balls 🍭
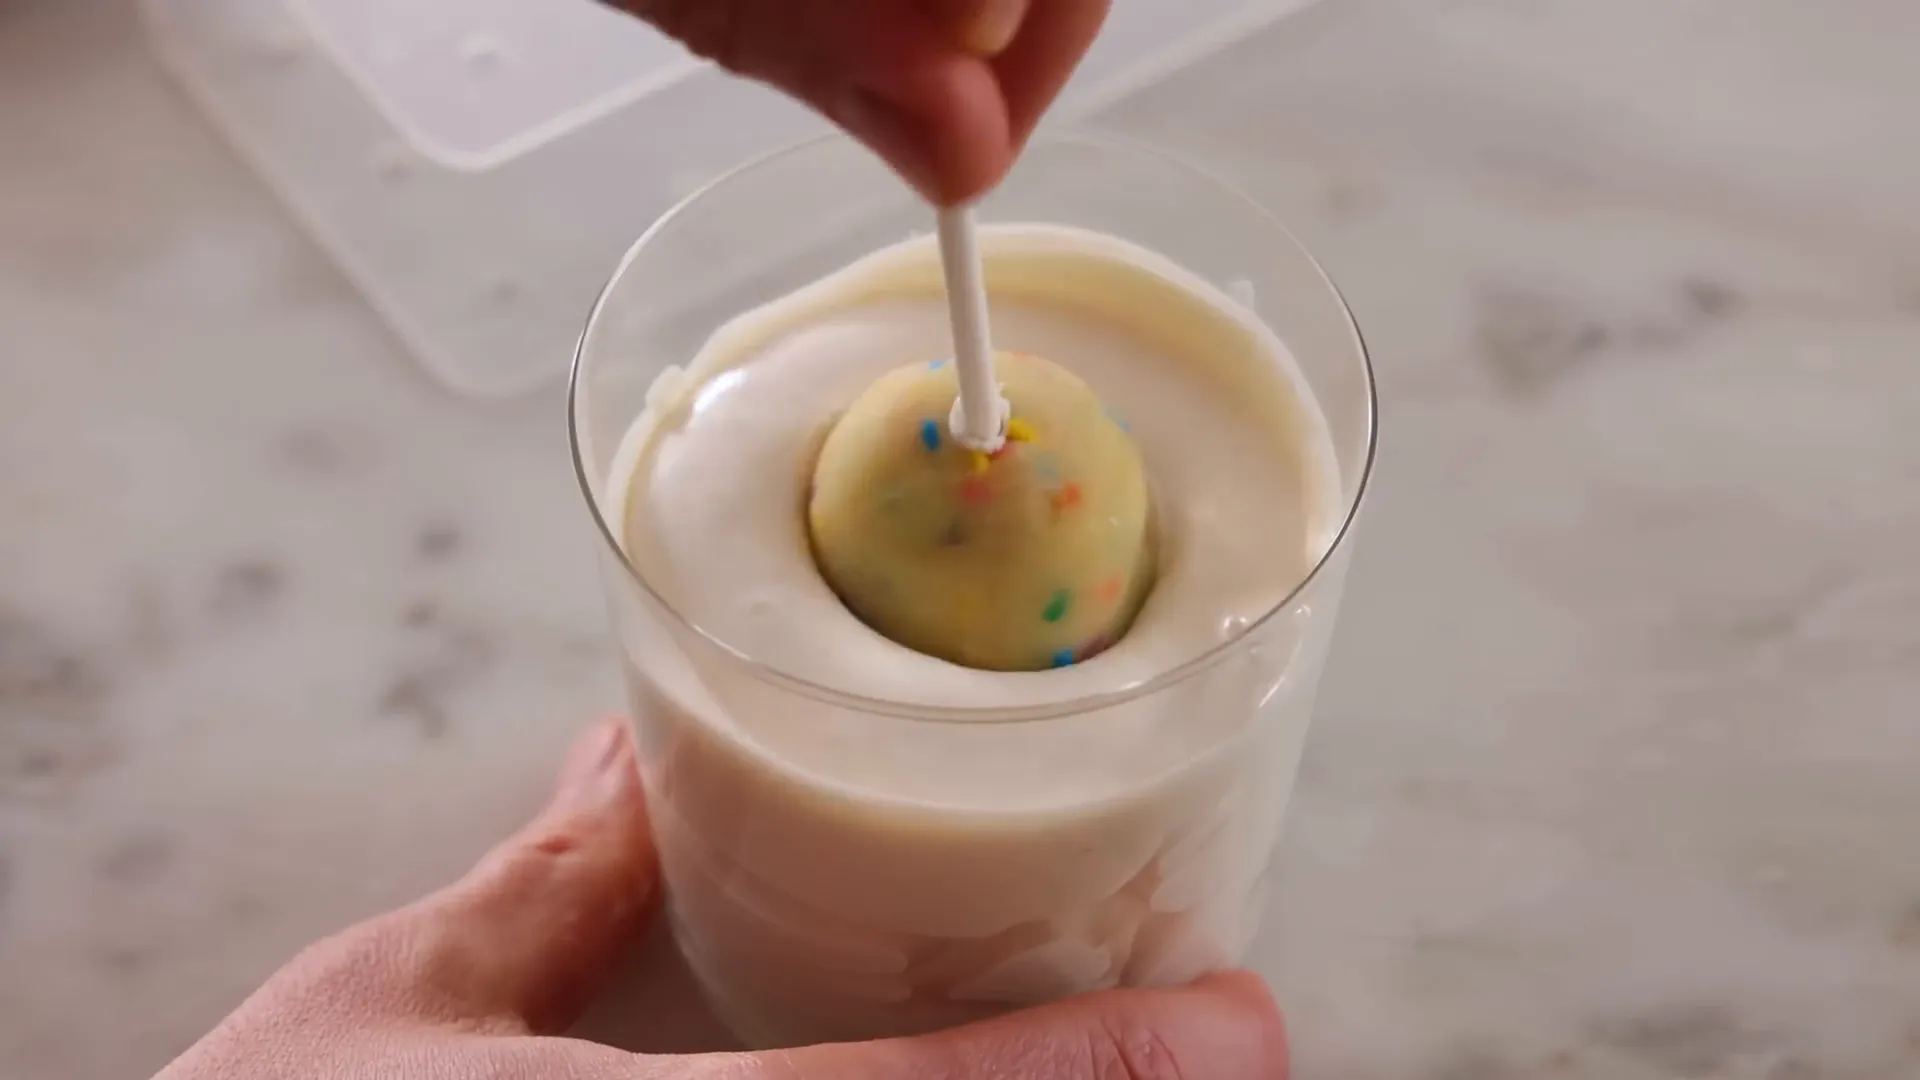
Once your cake balls are firm, it’s time to dip! Start by dipping the tip of a lollipop stick into the melted chocolate and insert it into the center of a cake ball. This acts as the glue to hold the stick in place.
Now, dip the cake ball into the melted chocolate, swirling it around to ensure it’s fully coated. Tap the stick gently against the edge of the bowl to let excess chocolate drip off.
Step 8: Decorate Your Cake Pops 🎨
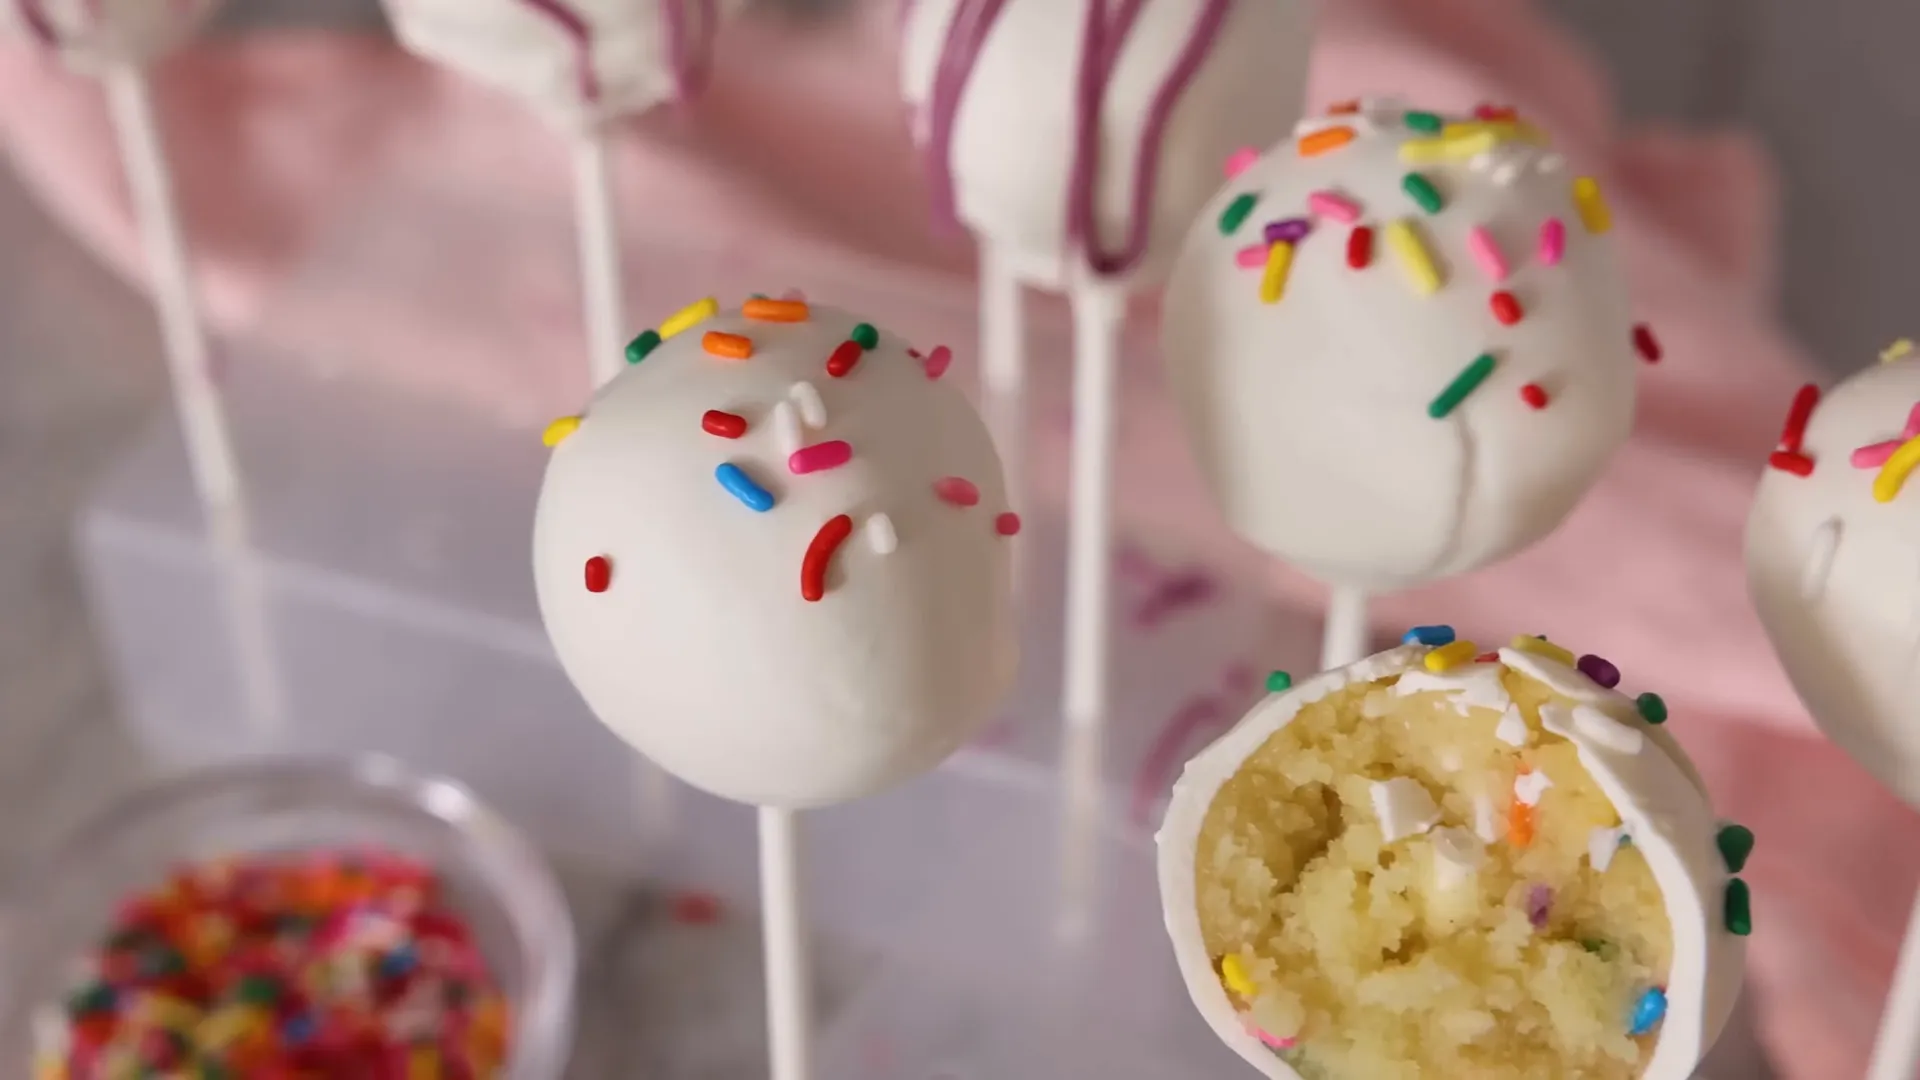
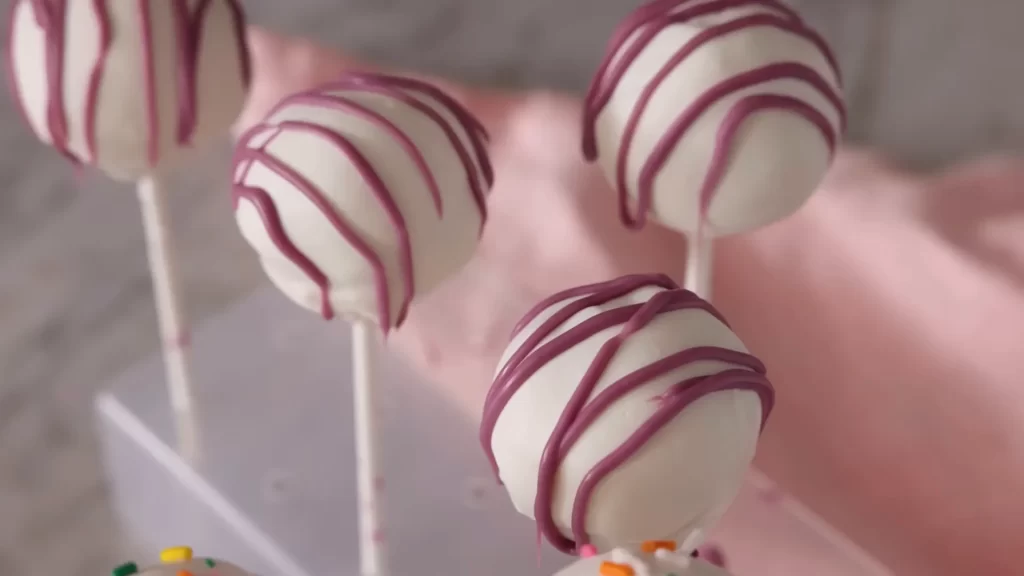
Before the coating sets, sprinkle your cake pops with colorful sprinkles or drizzle with additional melted chocolate for a decorative touch. Place the dipped cake pops upright in a styrofoam block or a box with holes to help them set without touching anything.
Step 9: Let Them Set and Enjoy! 🎉
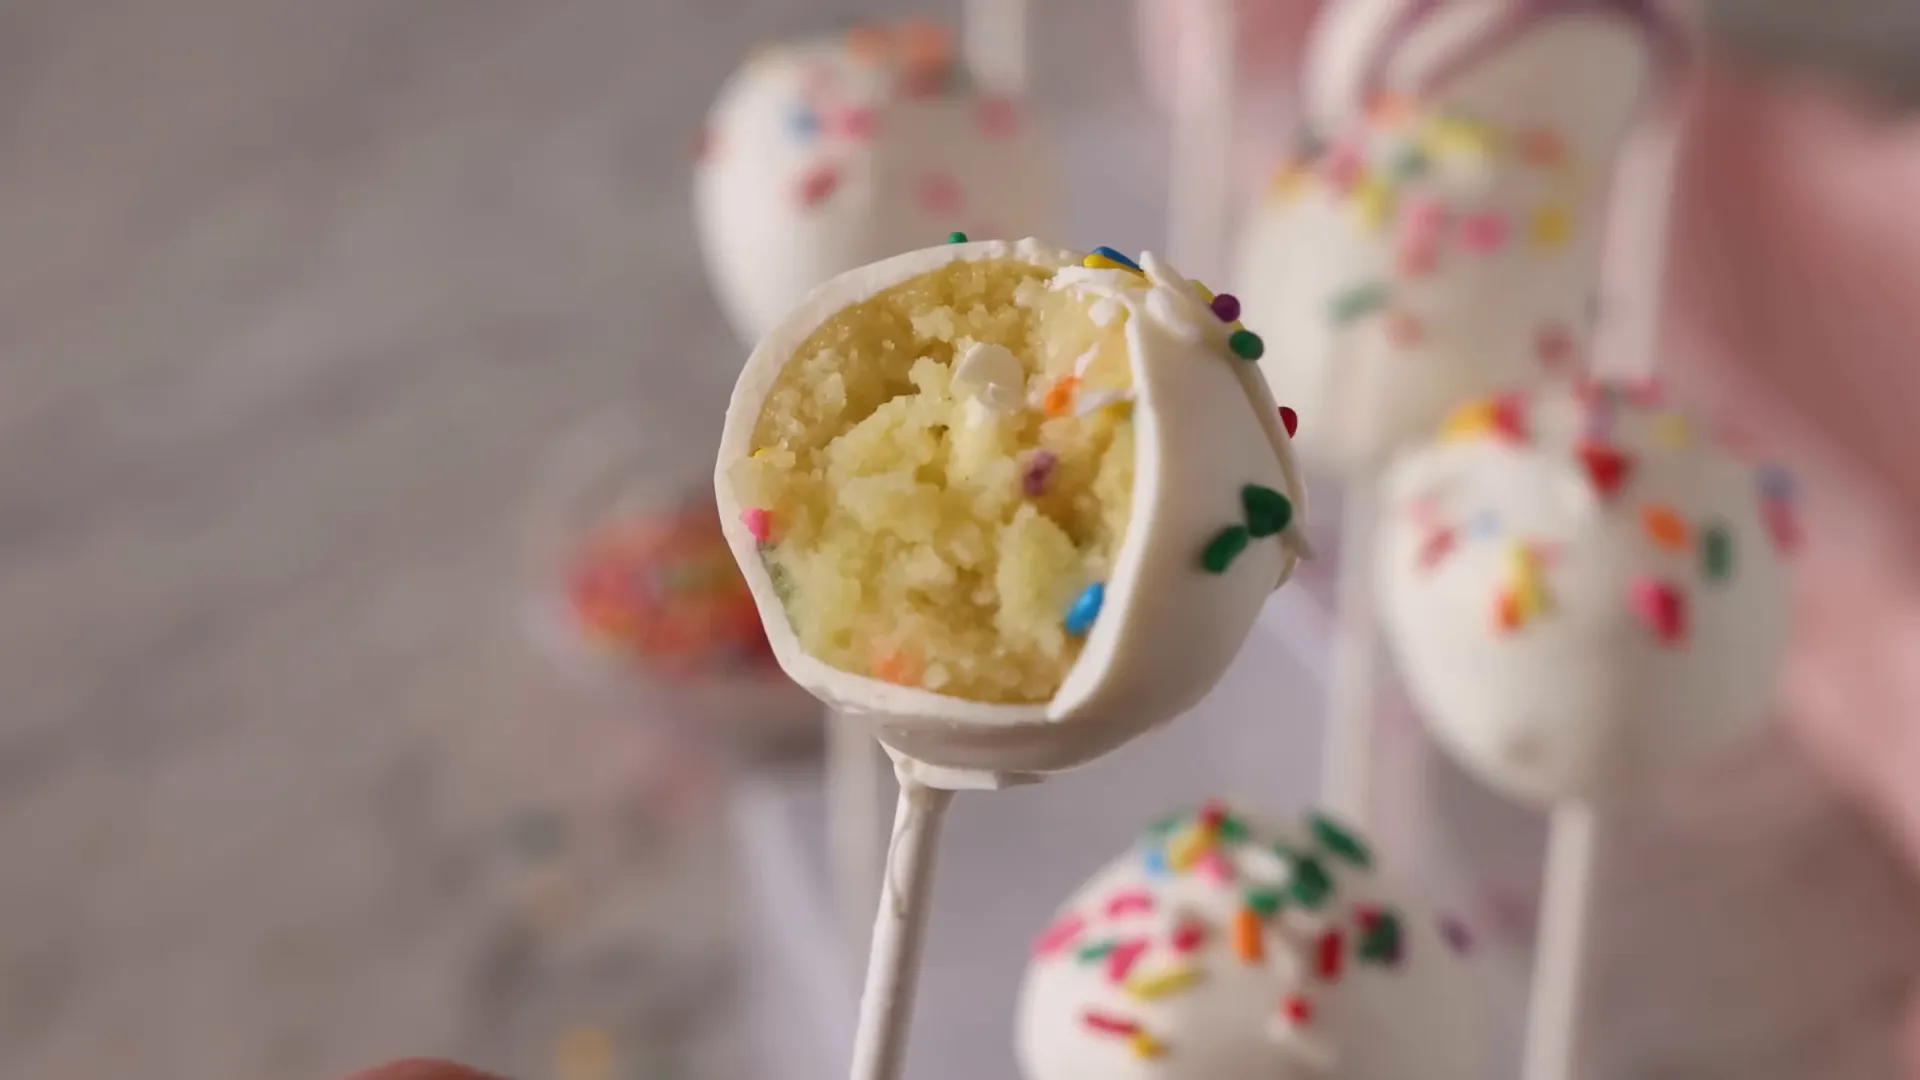
Allow the cake pops to set completely at room temperature. Once they’re firm, they’re ready to be enjoyed! These treats are perfect for parties, gifts, or just a sweet snack at home.
Conclusion
Creating homemade cake pops is as much fun as it is rewarding! With this step-by-step guide, you now have all the tools and tips to whip up the perfect batch of cake pops that will impress your friends and family. From preparing a moist cake base to decorating with flair, every step is an opportunity to get creative and enjoy the process. Whether you’re making them for a special occasion or just a sweet treat for yourself, these delightful bites are sure to bring smiles all around.
So, gather your ingredients, let your creativity shine, and enjoy the joy of crafting these irresistible treats. Happy baking! 🍰🍭
FAQs About Cake Pops ❓
Can I freeze cake pops?
Yes! You can freeze cake pops for up to 6 weeks. Just make sure they are completely set before freezing.
How do I keep the coating from cracking?
Ensure your cake pops are cold before dipping them into warm chocolate. Also, let the melted chocolate cool slightly before dipping to prevent cracking.
What can I use for decoration?
You can use sprinkles, edible glitter, or melted chocolate for drizzling. Get creative with your decorations!
Can I use different flavors of cake?
Absolutely! You can use chocolate, red velvet, or any flavor of your choice for your cake pops.
