Simple Steps on How to Make DIY Slime at Home
If you’re looking for a fun and easy activity to do at home, look no further! Today, we’re diving into how to make DIY slime with a simple yet effective recipe. This guide is perfect for beginners and requires only three ingredients. Whether you’re making slime for the first time or just need a refresher, this step-by-step tutorial will help you create the perfect slime every time!
Step 1: Gather Your Ingredients 🛒
Before we get started, let’s gather everything you need. Here are the ingredients for our DIY slime:
- 1 bottle of PVA school glue (Elmer’s glue is a popular choice)
- 1 cup of warm water
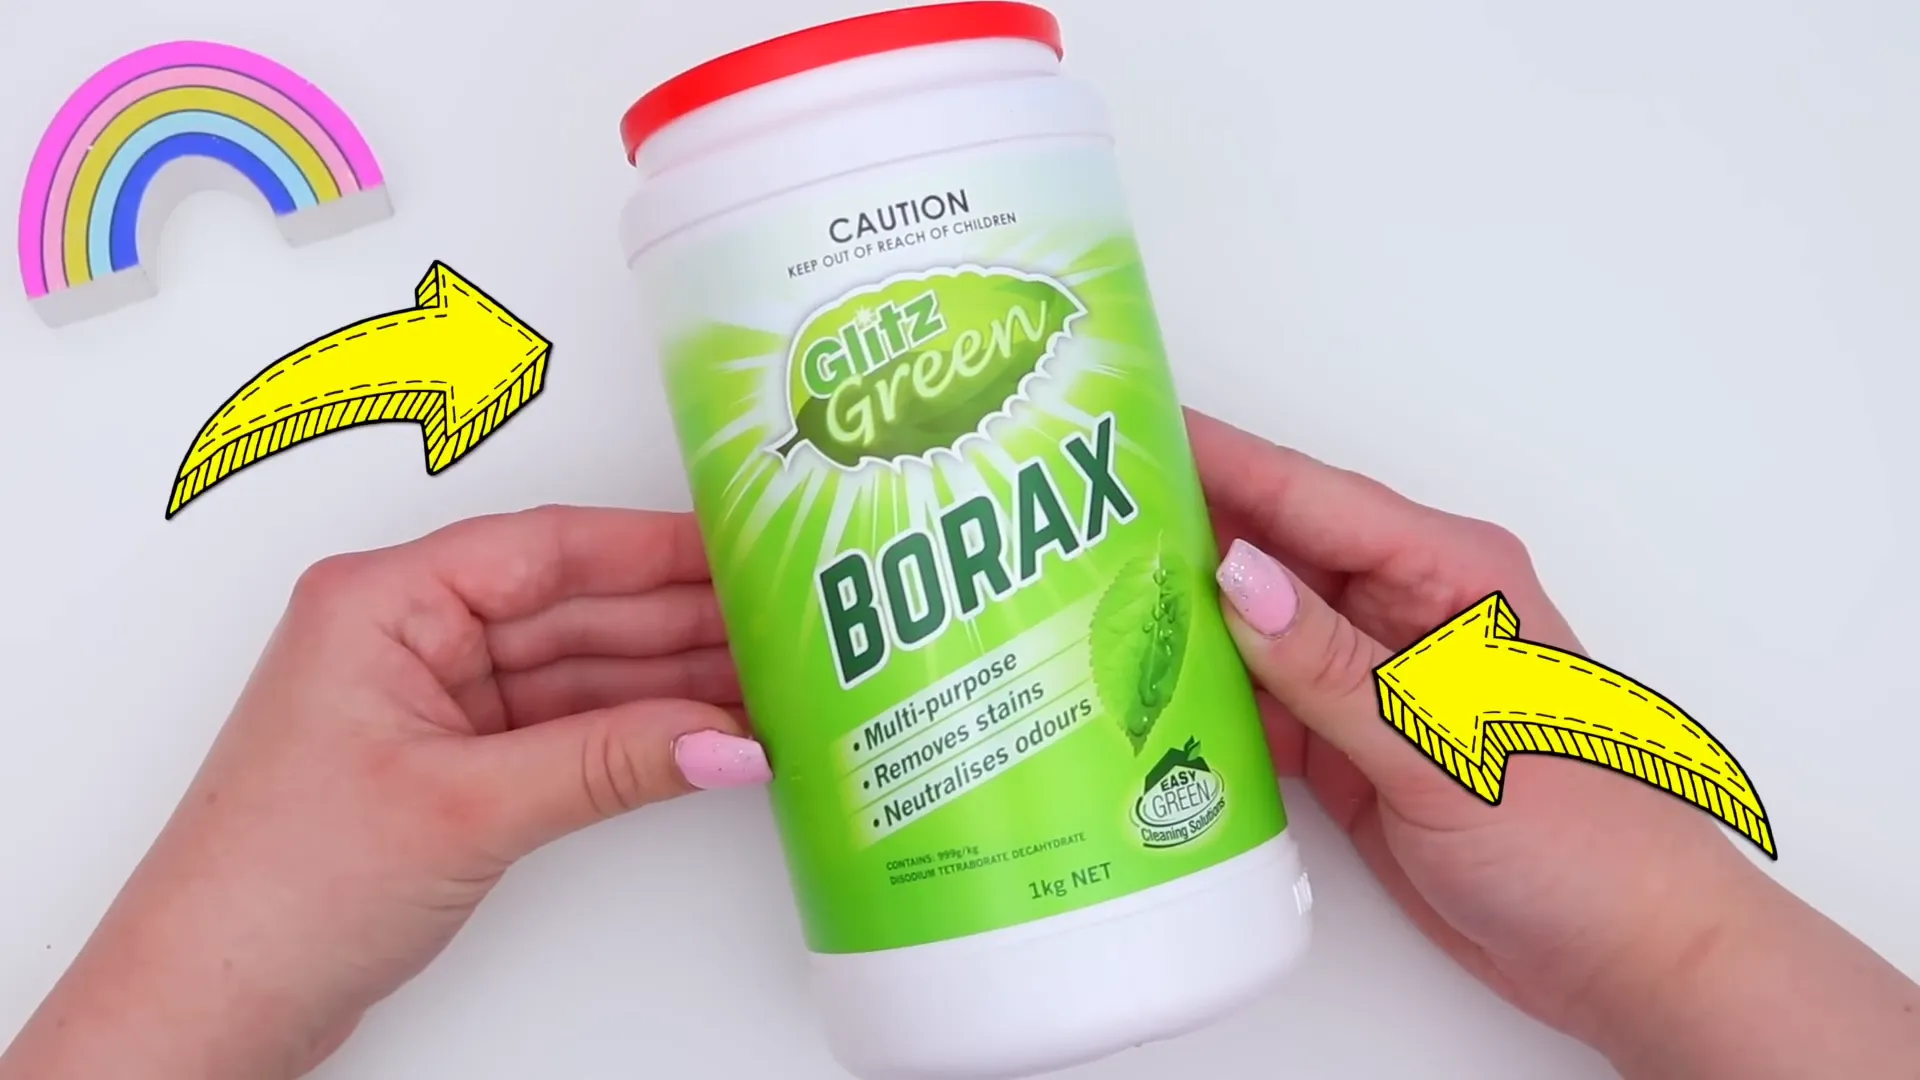
- 1/2 teaspoon of borax (found in the cleaning aisle)
- Acrylic paint or food dye (optional, for coloring)
Step 2: Make Your Slime Activator 💧
The slime activator is crucial as it transforms glue into slime. To make it, follow these steps:
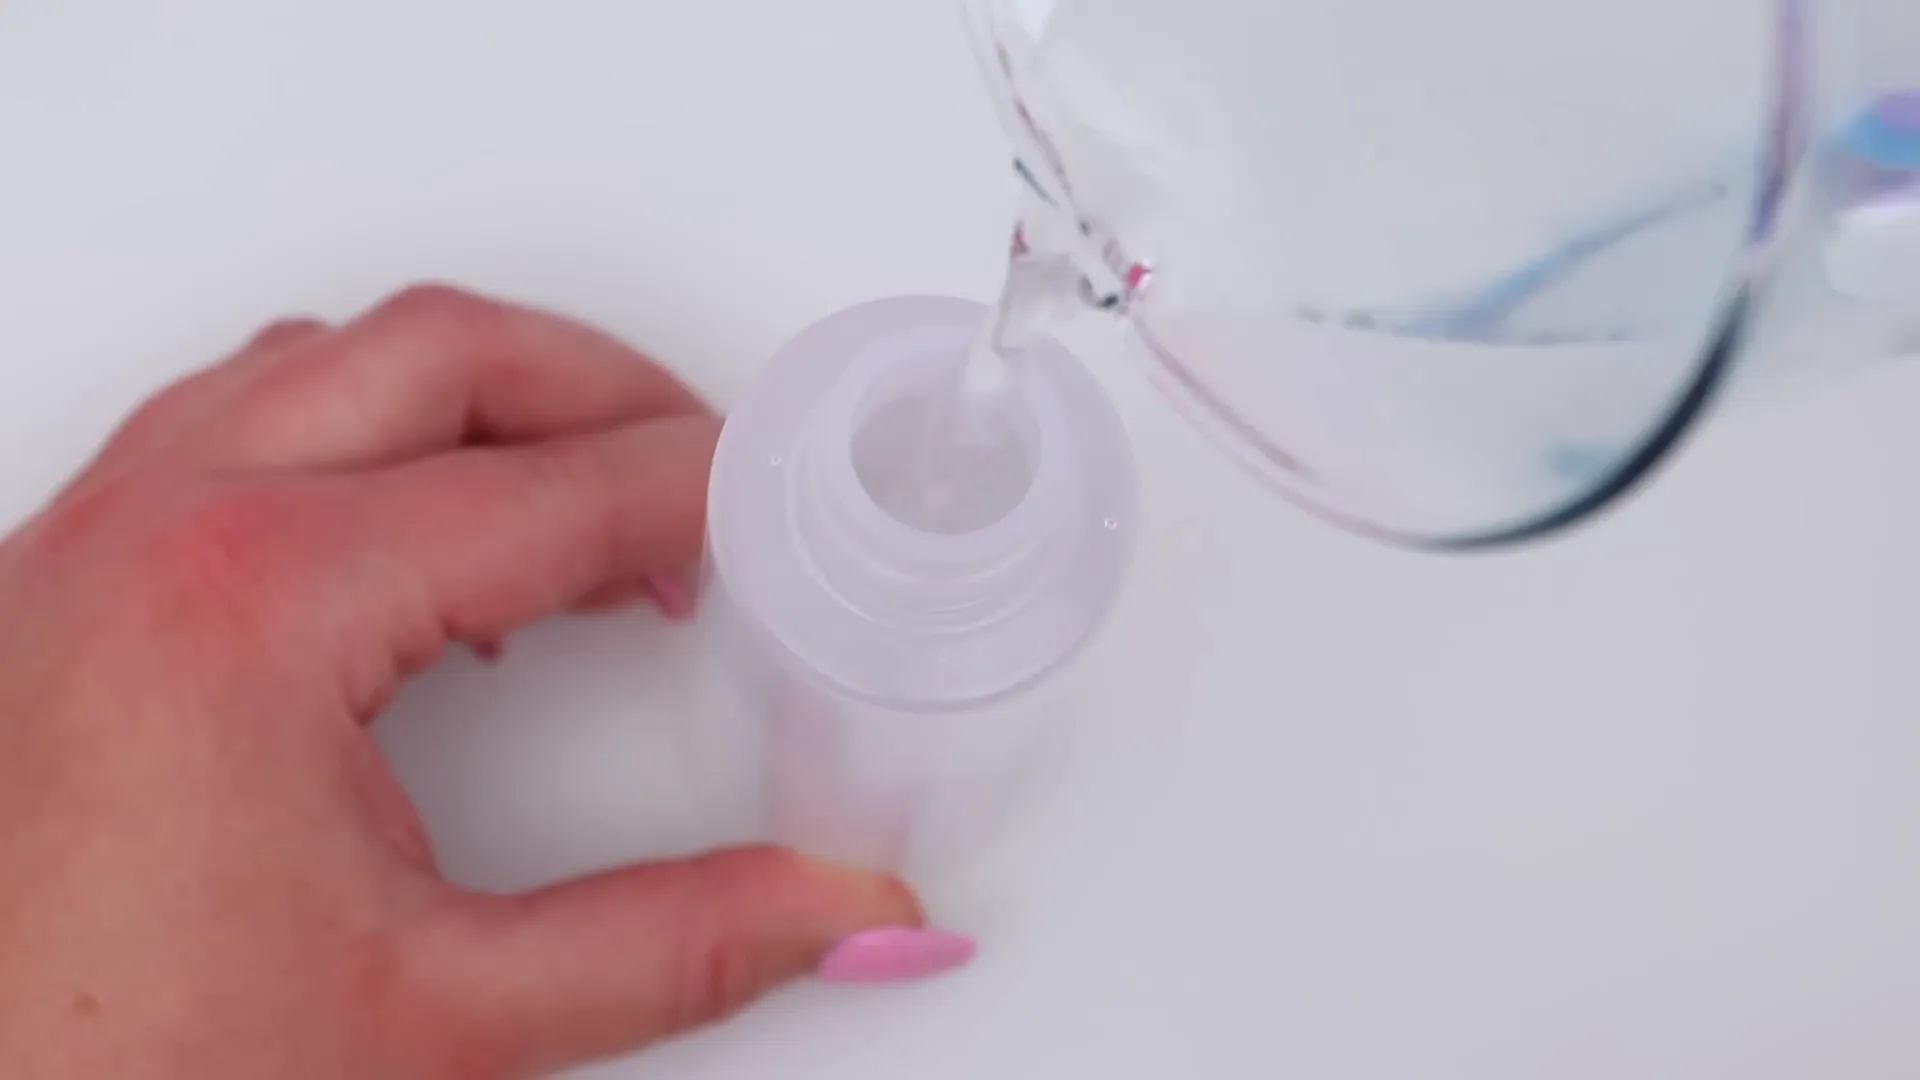
- In a jug, add 1 cup of warm water.
- Add 1/2 teaspoon of borax to the water.
- Stir until the borax has completely dissolved.
For convenience, you can pour the activator into a squeezy bottle for easy application later!
Step 3: Prepare Your Slime Mixture 🍜
Now it’s time to make the slime itself! Here’s how:
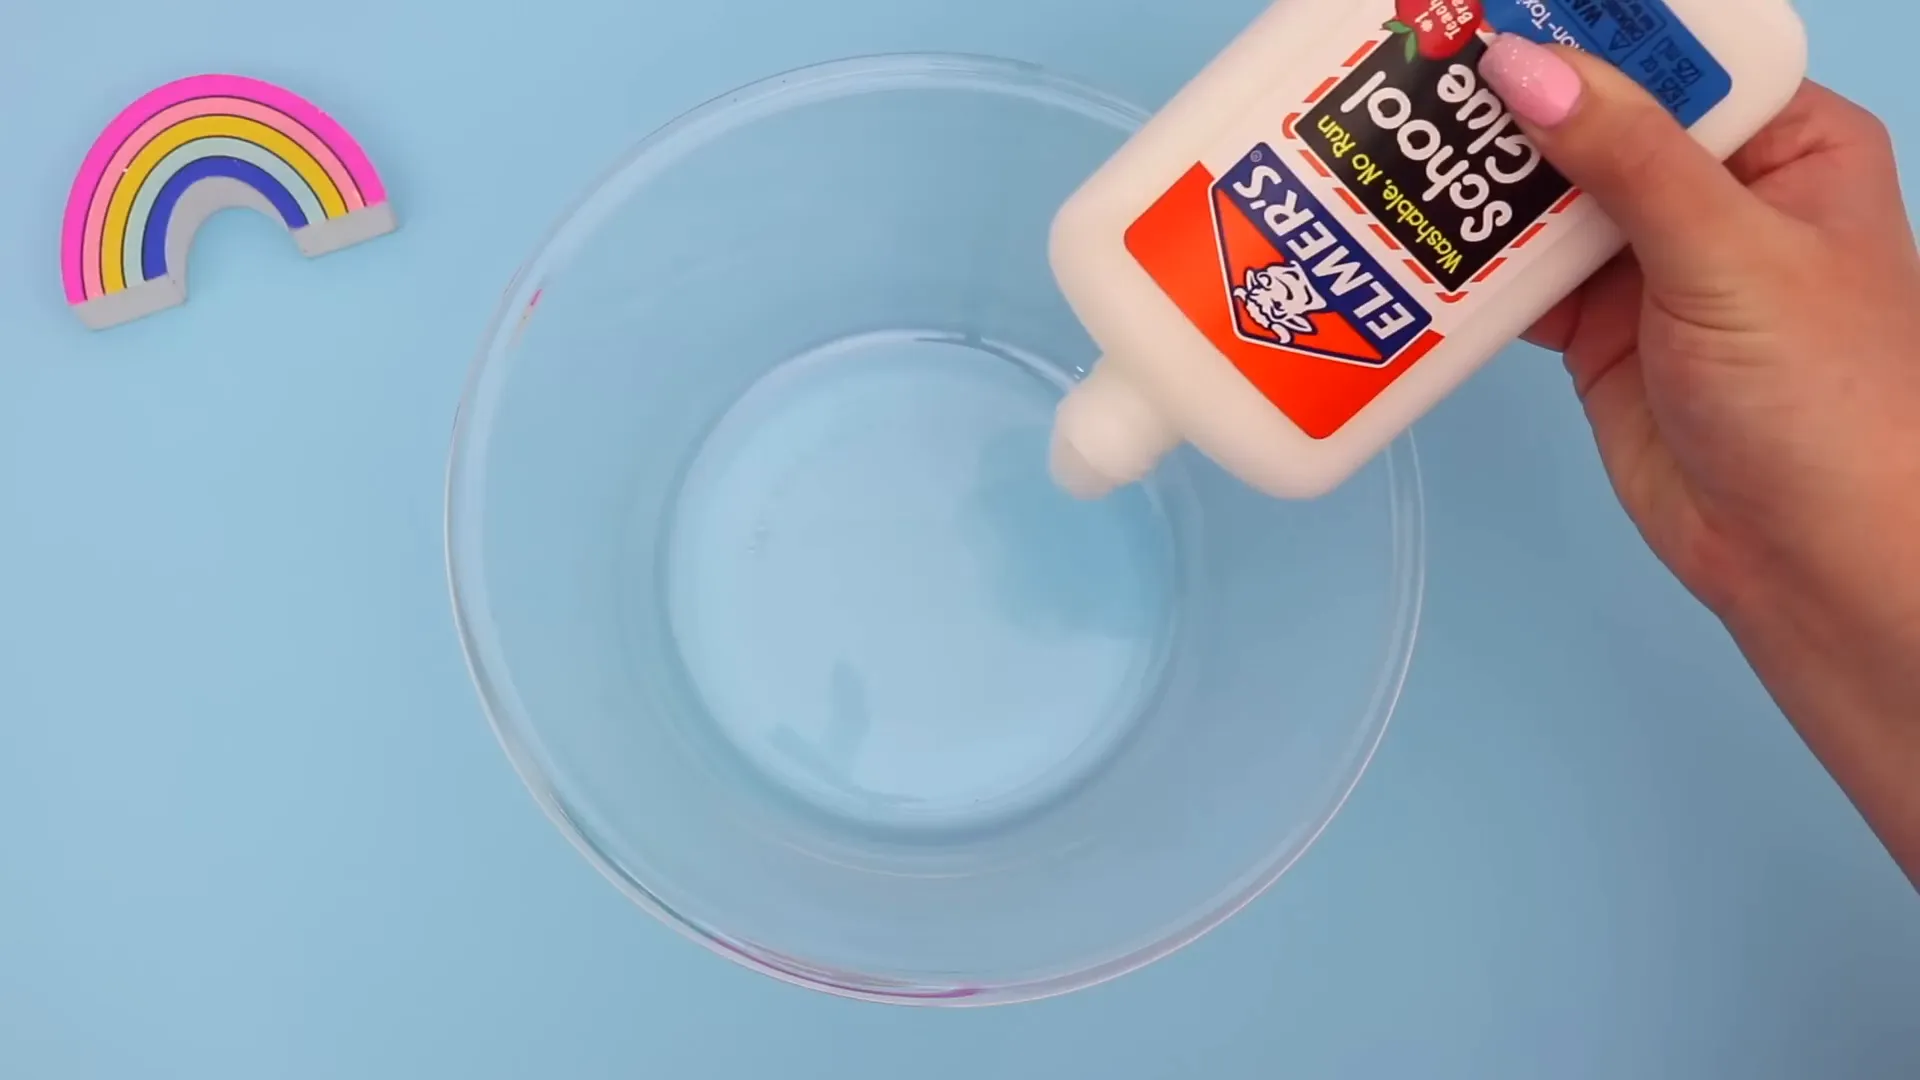
- In a bowl, pour the entire bottle of school glue.
- If you want colored slime, add a few drops of acrylic paint or food dye and mix until you achieve your desired color.
Step 4: Combine Activator with Glue 🎉
It’s time to transform your glue into slime. Follow these steps carefully:
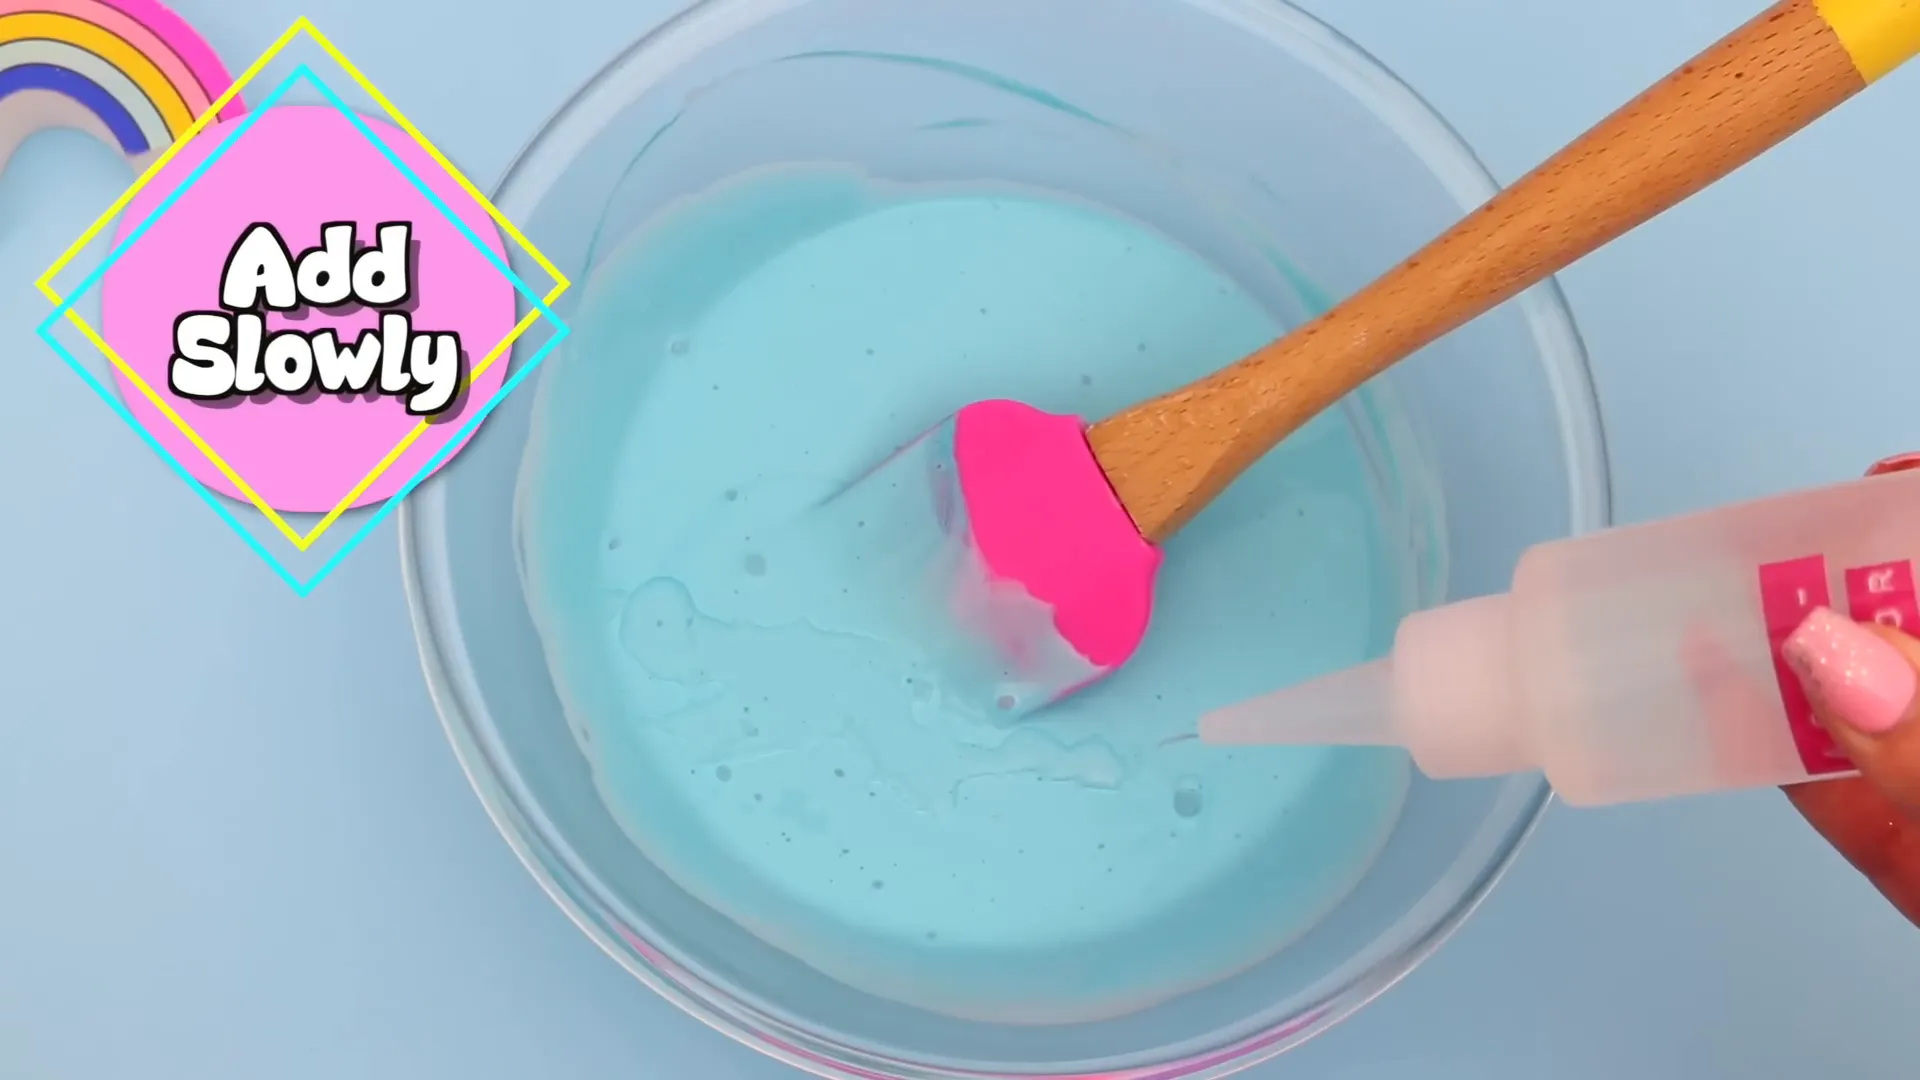
- Using the squeezy bottle, add the slime activator a little at a time to the glue mixture.
- Mix slowly as you add the activator. You’ll notice the slime starting to form!
- Be cautious not to add too much activator at once; otherwise, your slime may become rubbery instead of stretchy.
Step 5: Knead Your Slime 👐
Once the slime starts to come together, it’s time to get your hands involved:
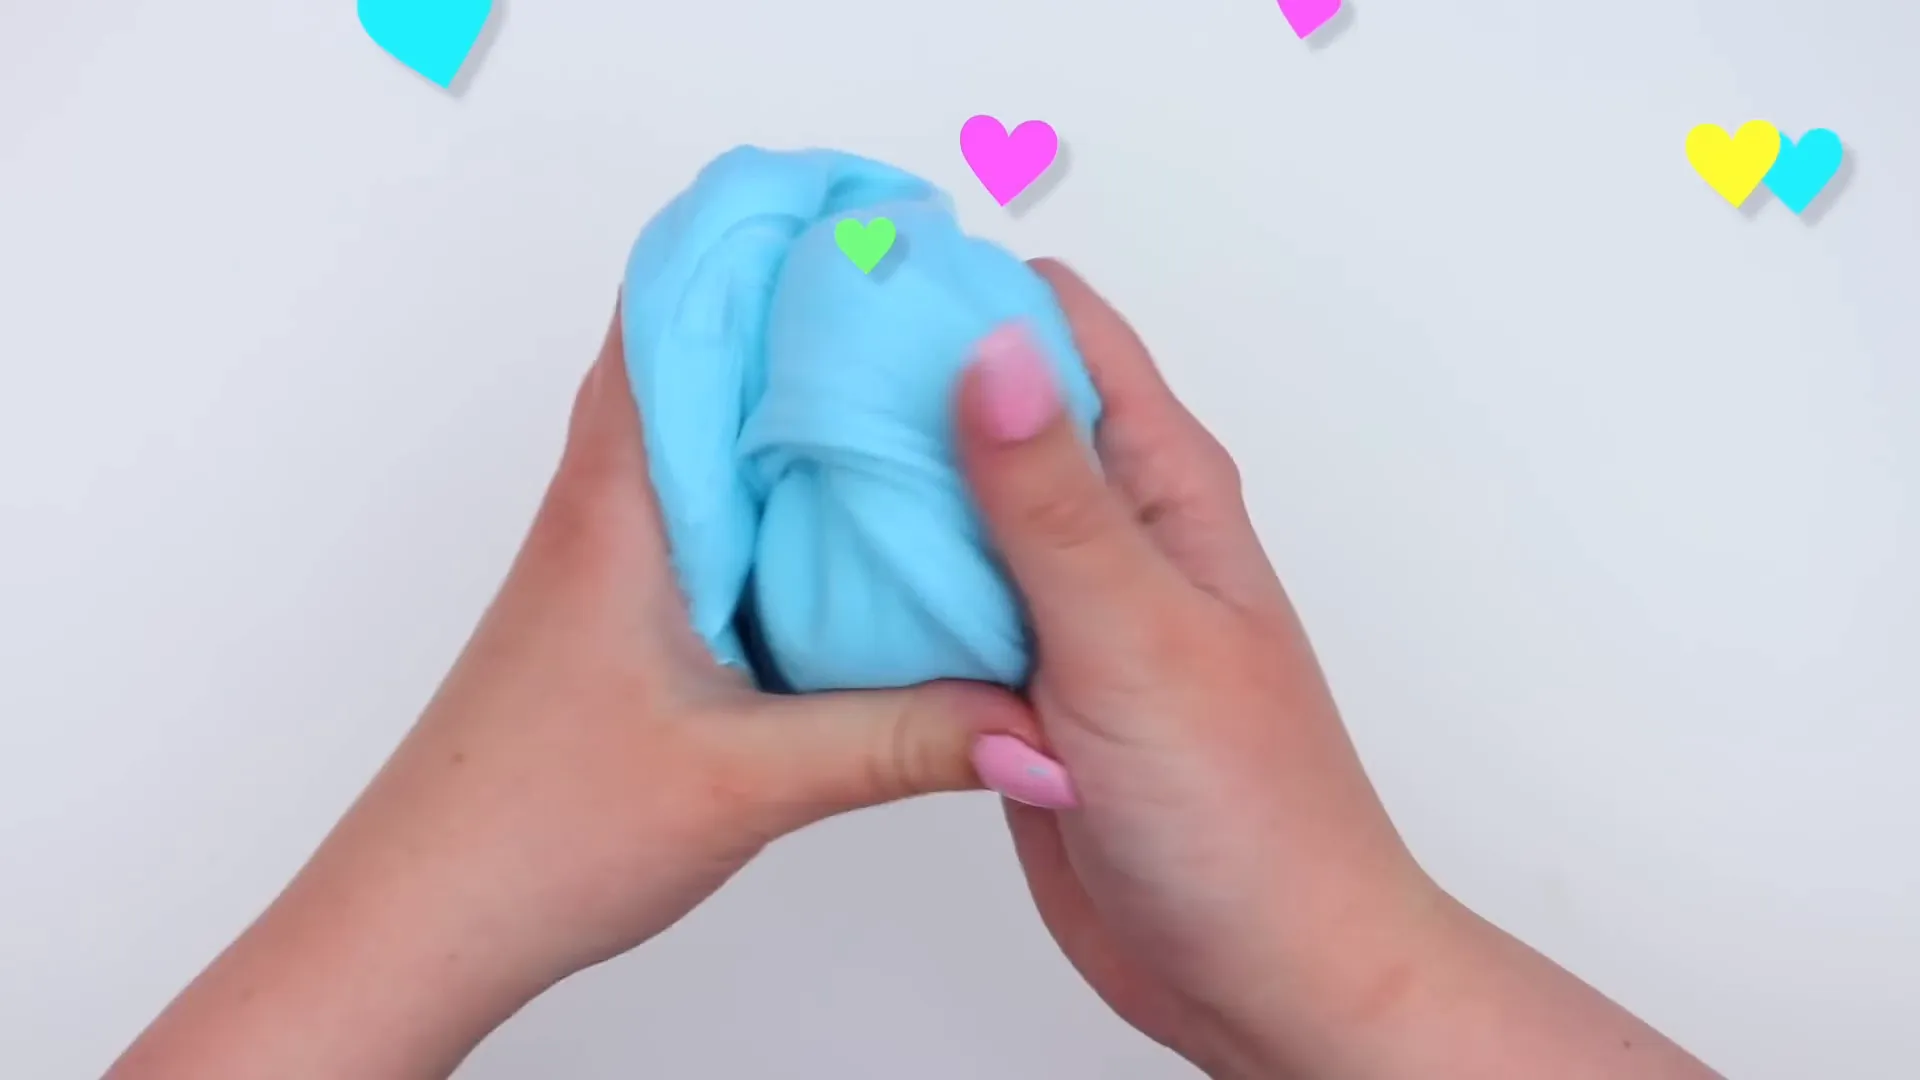
- Use your hands to knead the slime until it reaches a soft and stretchy consistency.
- If the slime is still sticky, you can add a bit more activator as needed.
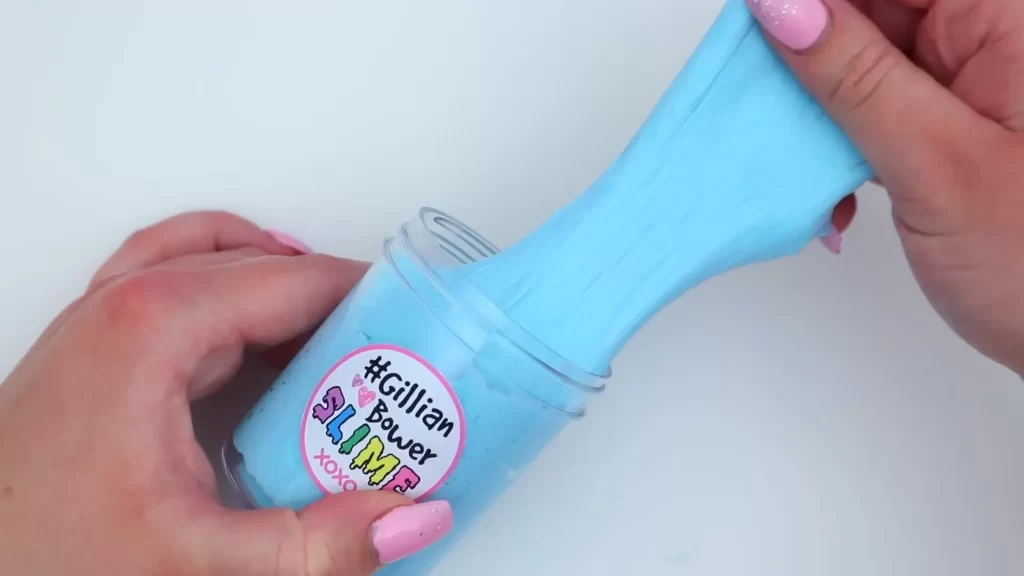
And just like that, you have your very own DIY slime! This recipe yields a super soft and stretchy slime that’s perfect for playing.
Step 6: Store Your Slime Properly 🥫
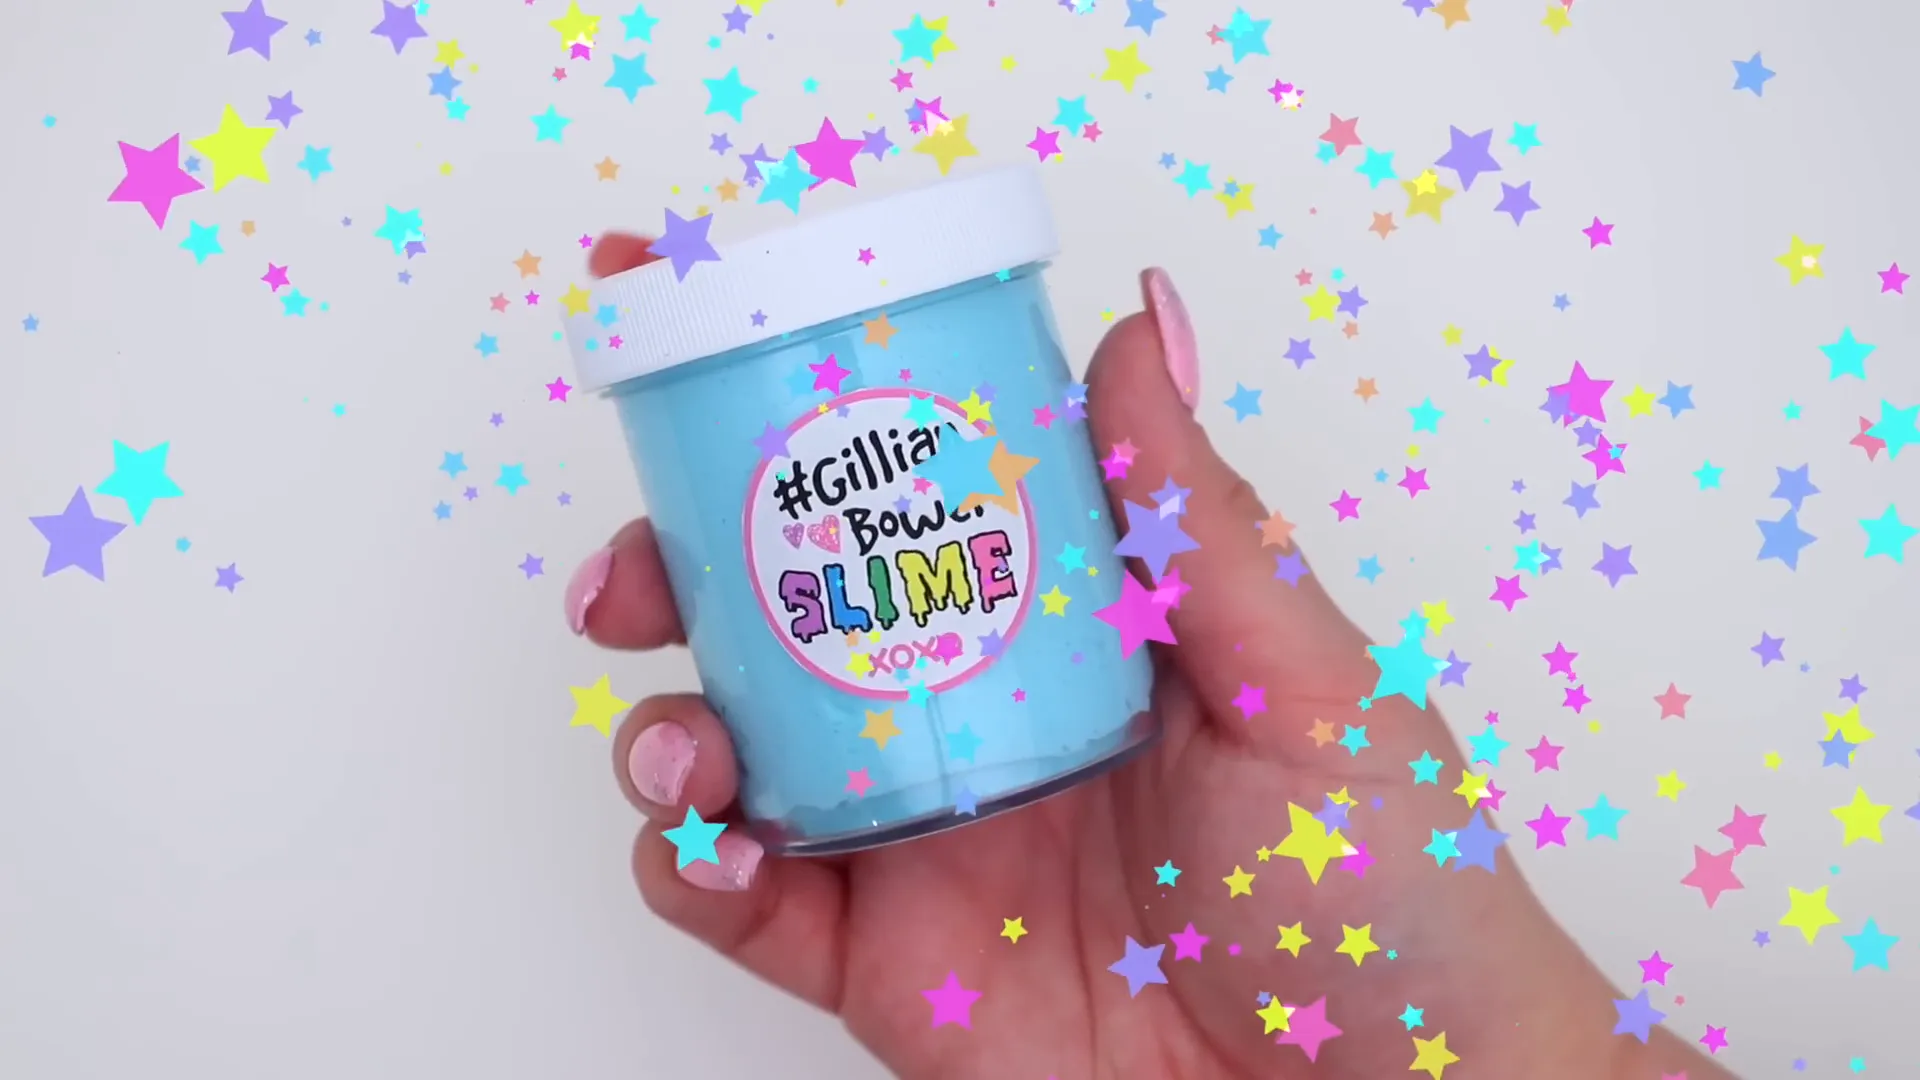
To keep your slime fresh and ready for play, store it in an airtight container. This will prevent it from drying out and losing its fun texture.
Step 7: Enjoy Your Creation! 🎈
Now that you know how to make DIY slime, it’s time to enjoy it! Have fun stretching, squishing, and playing with your new creation. Remember, this basic recipe is just the beginning. You can experiment with different colors and add-ins like glitter or foam beads for extra fun!
Conclusion
In conclusion, making DIY slime is not only easy and fun but also a fantastic way to unleash your creativity. With just a few simple ingredients, you can create a stretchy, squishy slime that’s perfect for playing or experimenting with different colors and textures. Remember, this basic recipe is just the beginning—feel free to customize your slime with glitter, foam beads, or even scents to make it uniquely yours!
We hope this guide has inspired you to start crafting your own slime at home. Whether you’re a beginner or looking for a fun activity with kids, this slime recipe is sure to bring joy and creativity to your day. So, grab your ingredients, follow the steps, and enjoy the satisfying process of making and playing with your own DIY slime! Happy crafting!
FAQ About DIY Slime ❓
Can I use other types of glue?
Yes! While PVA school glue is commonly used, you can also experiment with clear glue or glitter glue for different effects.
What if my slime is too sticky?
If your slime is sticky, simply add a little more activator and knead it until it reaches the desired consistency.
How long does homemade slime last?
Properly stored in an airtight container, your slime can last for several weeks.
Can I make slime without borax?
Yes! You can use alternatives like liquid starch or contact lens solution combined with baking soda for a borax-free recipe.
Is slime safe for kids?
When made with non-toxic ingredients like school glue and borax, slime is generally safe. However, adult supervision is recommended, especially for younger children.
