Essential Guide to How to Make Lotions
Making lotions can seem daunting at first, but once you understand the essential components and techniques, it becomes much like baking a cake. In this guide, we’ll explore all the stages involved in formulating your own lotion, including key ingredients, their functions, and the steps needed to create a product that hydrates and nourishes your skin. Whether you’re a beginner or looking to refine your skills, this guide on how to make lotions will help you get started.
Step 1: Gather Your Ingredients 🧴
To kick things off, let’s list the basic components you’ll need for a standard lotion recipe. Here’s what you’ll need:
- Water
- Aloe Vera Juice
- Glycerin
- Xanthan Gum
- Shea Butter
- Coconut Oil
- Emulsifying Wax
- Stearyl Alcohol
These ingredients work together to create a lotion that hydrates and locks in moisture on your skin. Water is the base ingredient, and without it, your lotion won’t be able to hydrate effectively.
Step 2: Understand the Role of Water 🌊
Water is the foundation of all lotion recipes. It hydrates the skin and acts as a solvent for other ingredients. While water is essential, you can also use alternatives like aloe vera juice for added skin benefits. Other options include floral waters, hydrosols, and botanical extracts—all of which can enhance the effectiveness of your lotion.
Step 3: Incorporate Humectants 💧
Humectants are ingredients that attract moisture to the skin. Glycerin is a popular choice, but honey can be substituted in many recipes. Other effective humectants include vitamin B5 and proteins like wheat silk and keratin. These ingredients help to keep your skin hydrated throughout the day.
Step 4: Add Emollients 🌿
Emollients are crucial for softening and moisturizing the skin. They include oils and butters that not only hydrate but also create a smooth texture. A good lotion typically contains a combination of plant oils and butters. Experimenting with different emollients allows you to tailor your lotion for specific skin conditions, whether it’s dry, sensitive, or acne-prone skin.
Step 5: Include Emulsifiers and Stabilizers 🔗
To combine water and oil ingredients, you’ll need emulsifiers. Common emulsifiers include Olivium 1000, which binds these components into a unified cream. It’s important to note that beeswax cannot be used as an emulsifier, as it does not attract both oil and water molecules. Instead, use it as a thickener or stabilizer to improve the texture of your lotion.
Step 6: Understand Thickeners and Stabilizers 🏗️
Thickeners, like xanthan gum and stearyl alcohol, help maintain the consistency of your lotion. They increase viscosity and prevent separation of the oil and water phases, ensuring a stable final product. Including both types of thickeners in your formulation can enhance the overall texture and stability of your lotion.
Step 7: The Importance of Preservatives 🧪
Preservatives are essential for any lotion containing water. They prevent the growth of bacteria and other microorganisms. Unlike lip balms or body butters, lotions require preservatives because they have a higher risk of contamination. Using natural preservatives can help maintain the integrity of your lotion.
Step 8: Utilize Antioxidants 🌼
Antioxidants, such as vitamin E, protect the oils in your lotion from oxidation, which can cause them to become rancid. It’s important to differentiate that antioxidants are not preservatives; they only address the oil components of your lotion. Including them in your formulation can prolong the shelf life of your product.
Step 9: Combine Ingredients in Phases 🔄
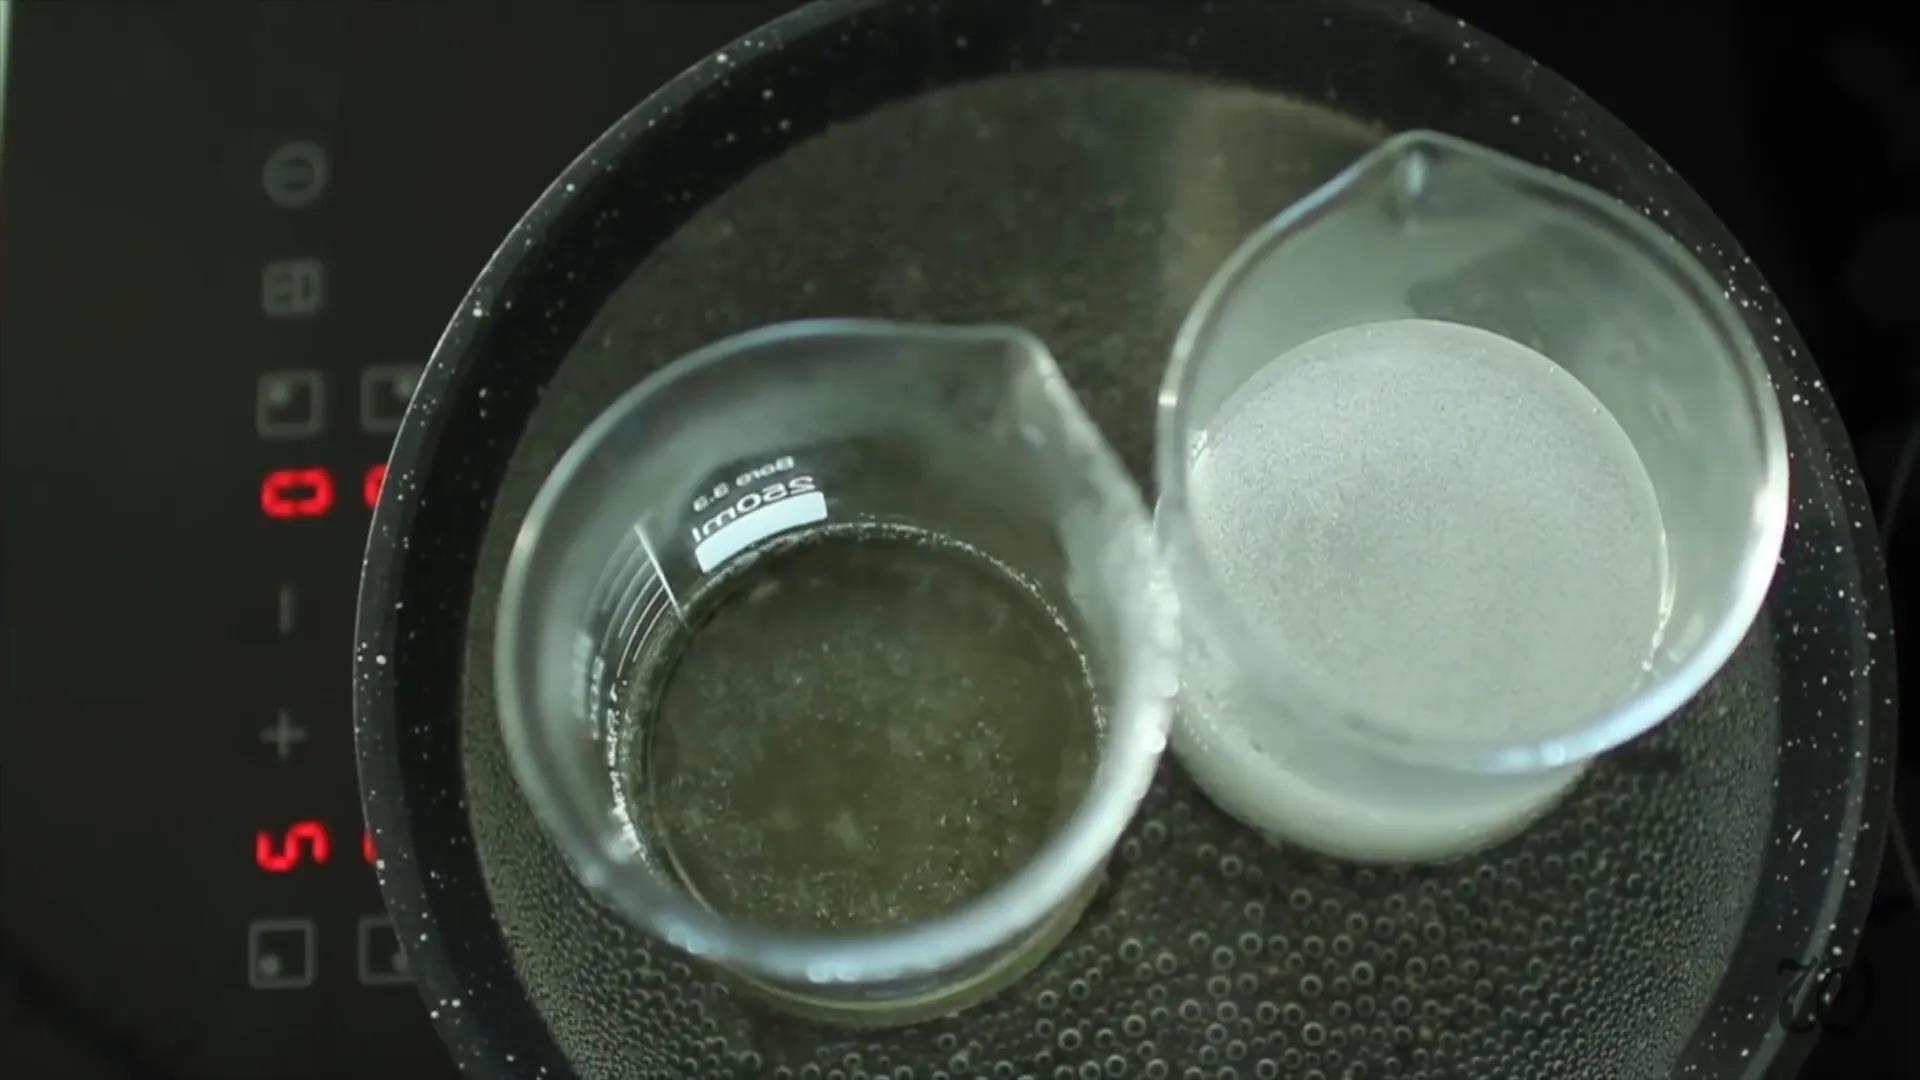
When making lotion, ingredients are usually grouped into two phases: the water phase and the oil phase. Start by mixing glycerin and xanthan gum, then add this to your heated water phase. This prevents clumping when xanthan gum is added directly to water. Afterward, heat your oil phase ingredients, including shea butter, emulsifying wax, and coconut oil.
Step 10: Emulsify the Mixture 🔥

Once both phases are heated, slowly combine them. It’s crucial that both the oil and water phases are at the same temperature to ensure proper emulsification. Use gentle heating methods like a double boiler to melt your ingredients without compromising their properties.
Step 11: Blend for Texture and Consistency 🌀
Blend the combined mixture to develop the desired texture. Be careful to incorporate as little air as possible, as this can cause air pockets that deflate your lotion later. Emulsification can take 20 to 30 minutes, so be patient during this step as the mixture cools and thickens.
Step 12: The Cool Down Phase ❄️
Once your lotion has thickened and cooled, it’s time to add your final ingredients, including preservatives, antioxidants, and any desired fragrances. Essential oils can be added at this stage, but remember to keep their concentration below 1% of the total weight of your lotion.
Step 13: Adjust for Consistency 🥄
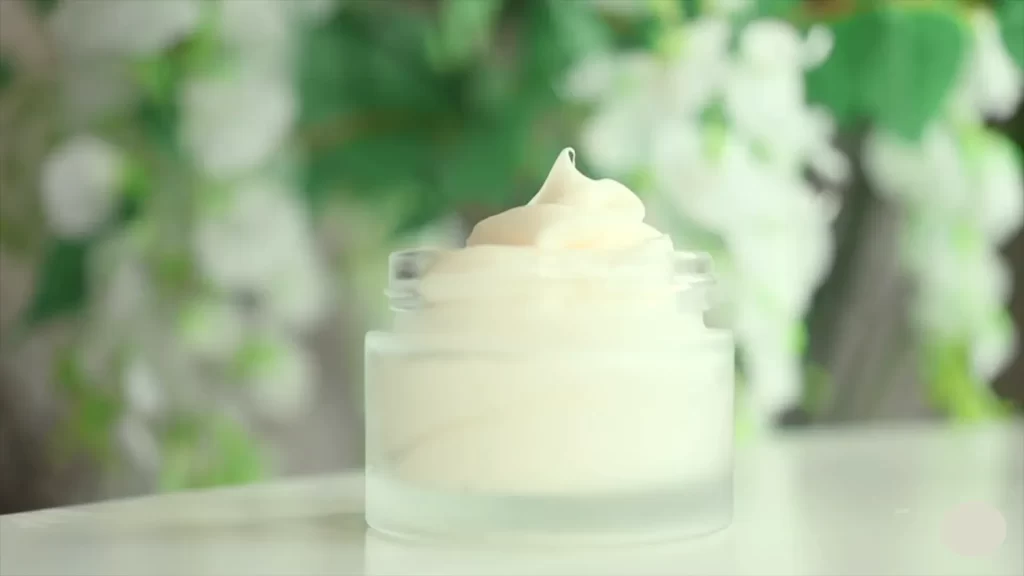
Using the same base ingredients, you can create different types of lotions by adjusting the water-to-oil ratio. For a lighter, milk-like lotion, increase the water content. For a thicker cream, reduce the water content slightly. This flexibility allows you to customize your lotion for different skin types and preferences.
Step 14: Final Touches and Storage 🏺
After adding all your final ingredients, mix well and transfer your lotion into clean, sterilized containers. Store the lotion in a cool, dark place to maximize its shelf life. Proper storage is key to maintaining the quality of your homemade lotion.
Conclusion
Crafting your own lotions is not only a creative and rewarding process but also an opportunity to personalize skincare to your unique needs. With a clear understanding of the essential ingredients and techniques, you can create nourishing, hydrating lotions that rival store-bought products.
From choosing the right emulsifiers to incorporating humectants and antioxidants, each step empowers you to customize your formulations for optimal results.
By experimenting with different ingredients and ratios, you’ll develop a deeper appreciation for the art of lotion making. So, roll up your sleeves, gather your supplies, and let your journey into DIY skincare begin! Whether for personal use or gifts, your handmade lotions are sure to impress.
FAQs about Lotion Making ❓
Can I use essential oils in my lotion?
Yes, essential oils can be added to fragrance. However, limit their use to 1% of the total weight of your lotion to avoid skin irritation.
How long does homemade lotion last?
The shelf life of homemade lotion can vary based on the preservatives used and storage conditions. Generally, it can last from a few weeks to several months if stored properly.
What can I use instead of emulsifying wax?
Alternative emulsifiers include naturally derived options like olive oil emulsifiers or other plant-based emulsifiers. However, beeswax should not be used as a substitute for emulsifying wax.
Is it necessary to use preservatives in my lotion?
Yes, if your lotion contains water, preservatives are essential to prevent microbial growth. Always use a proper preservative for water-based products.
Can I make lotions without using any oils?
Yes, you can create an oil-free moisturizer using humectants and water-based ingredients, but it may not provide the same moisturizing effects as oil-based lotions.


