Mastering the Art of Leaf Painting with Gouache Techniques 🌿
Painting leaves and foliage can transform your artwork, adding depth and vibrancy. In this guide, we will explore various techniques on how to paint leaves using gouache. Whether you’re a beginner or looking to refine your skills, this step-by-step tutorial will equip you with essential brushstrokes and tips to create stunning foliage.
Step 1: Getting Started with Single Brushstroke Leaves 🎨

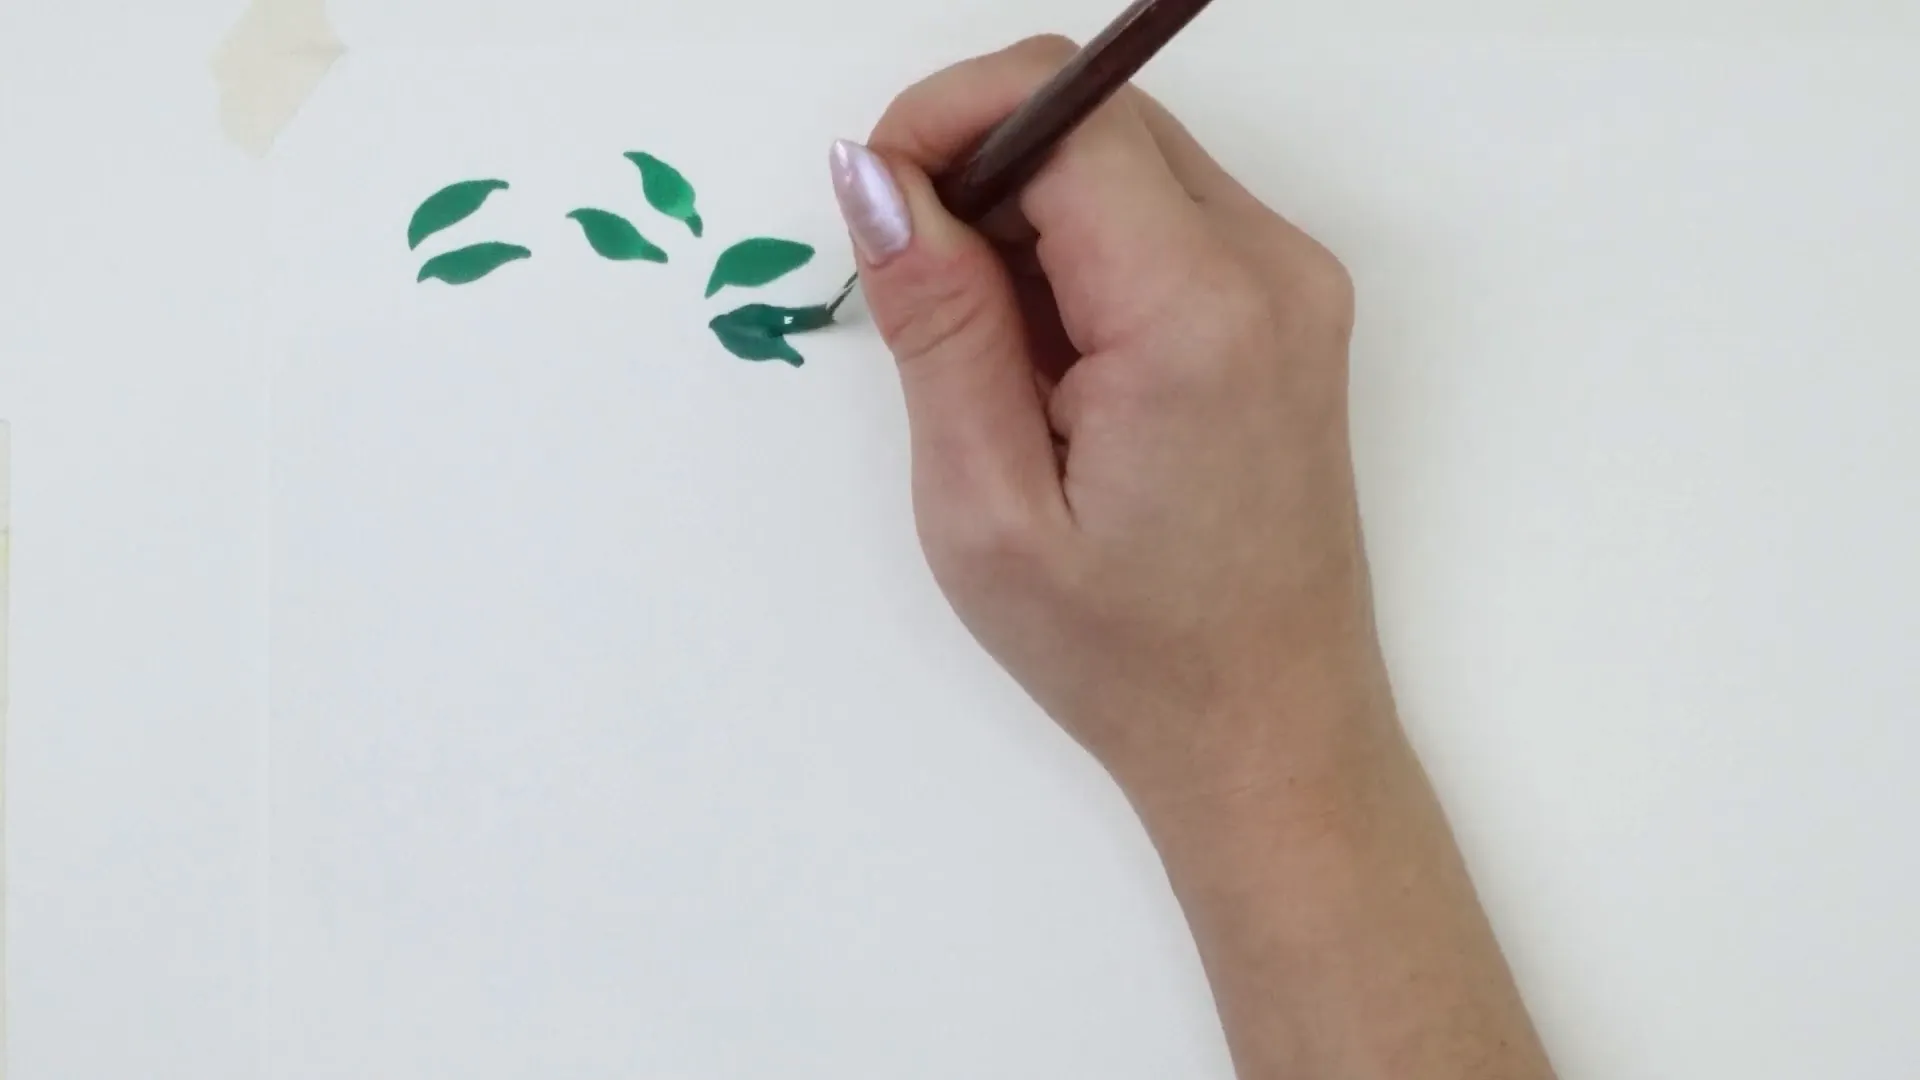
To begin, you’ll want to familiarize yourself with making single brushstroke leaves. Start with a basic round watercolor brush that has a bit of firmness. Here’s how to do it:
- Lightly place the tip of the brush down on the paper.
- Push down to flatten the entire length of the brush against the paper.
- Pull up slowly, ensuring the tip is the last to touch the paper, creating a pointed end.
This technique is not only fun but also satisfying! You can fill a whole page with leaves to practice.
Step 2: Creating Two-Brushstroke Leaves 🍃

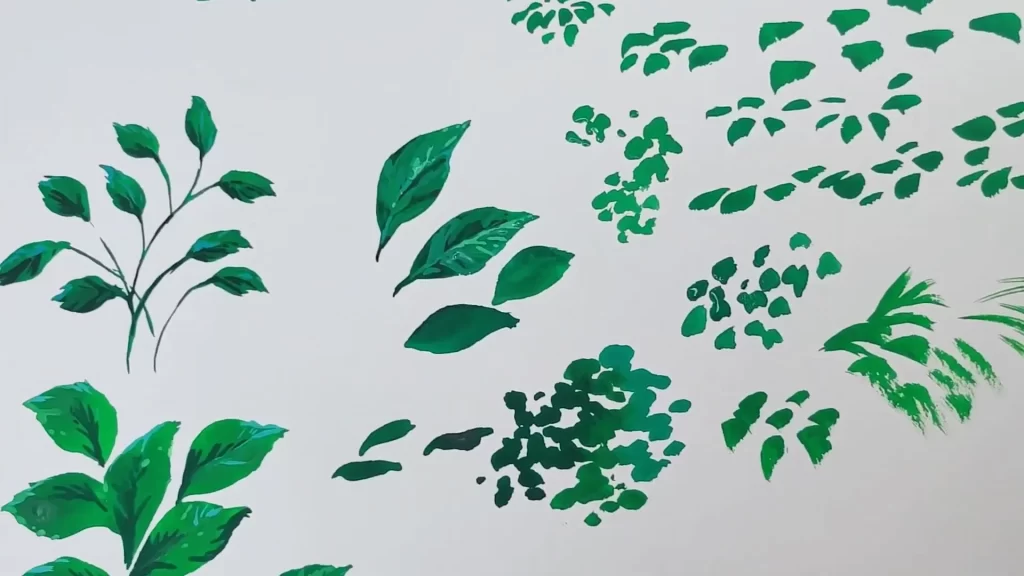
Once you’re comfortable with single brushstrokes, try creating leaves using two brushstrokes. This technique thickens the leaf shape and can add angles for more variety:
- Begin with the first brushstroke as described previously.
- Add a second brushstroke to thicken the leaf or create a bend, leaving a space to indicate a central vein.
Don’t hesitate to experiment with angles and curves to make your leaves appear more natural.
Step 3: Quick Brushstroke Leaves 🌱

Now, let’s introduce a quick jabbing brushstroke. This technique creates an organic look:
- Quickly push the tip of the brush down into the paper while moving your hand in a C shape.
- This creates fast, organic movements that lend a natural feel to your foliage.
Practice this method to create leaves that appear more dynamic and lively.
Step 4: Foreshortened Leaves 🪴

Foreshortened leaves are those that appear flat and come directly towards the viewer. To create this effect:
- Press the brush down flat against the paper and pull it towards yourself while lifting up.
- Experiment with pulling the brush at different angles to achieve various leaf orientations.
Using different brush types, such as flat brushes, can also yield interesting results.
Step 5: Adding Structure with Stems 🌳

When painting plants, starting with the stem or trunk can provide a solid foundation. Here’s a simple workflow:
- Begin by painting the stem or trunk of the plant.
- Then, add the basic leaf shapes on top of this structure.
For instance, if you’re painting a plant with sharp, spiky edges like the poison nettle, focus on getting the basic shape right before adding details.
Step 6: Detailing with Shadows and Highlights 🌞

Once your initial layers are dry, it’s time to add details:
- Use a darker green to create shadow details on the leaves and stems, starting with the center vein and branching outwards.
- After the shadows, add highlights using a lighter color, focusing on the edges where light would naturally hit.
Remember to use a hairdryer to speed up the drying process between layers for clean results!
Step 7: Experimenting with Color Variations 🎨

Adding color variations can bring your leaves to life. Here’s how:
- Mix a favorite color like Winsor and Newton cobalt turquoise light to create highlights.
- Don’t shy away from using blues to reflect light, especially in shadowed areas of the leaves.
Experimenting with these colors can yield beautiful results, making your leaves feel more vibrant and realistic.
Step 8: Creating Gradient Effects 🌈

To create a stunning gradient effect within your leaves:
- Start with one color and, while it’s still wet, add a second or even a third color to blend together.
- Adjust the water content in your paint mixture to achieve different textures.
This technique helps create an organic look, perfect for clusters of leaves.
Step 9: Working Through Mistakes 🔄

Don’t worry if things don’t go perfectly the first time. Embrace the imperfections:
- If a shape doesn’t look right, reimagine it! Nature is forgiving, and you can always adjust your leaves to fit your vision.
- Adding thicker leaves that overlap can create a more interesting composition.
Remember, art is about exploration and creativity!
Step 10: Final Touches with Dots and Dashes ✨

For the final detailing, consider using little dots and dashes around the edges of your leaves:
- This technique gives the illusion of more detail without overcomplicating your painting.
- Focus on specific areas rather than covering the entire leaf for a more visually appealing look.
These final touches can add depth and interest to your leaves.
Conclusion
Mastering the art of painting leaves with gouache is a journey of creativity and technique. By starting with simple brushstrokes and gradually incorporating layers, shadows, highlights, and color variations, you can bring your foliage to life with depth and vibrancy. Remember to embrace mistakes as opportunities for growth and let your imagination guide you as you explore different styles and approaches.
Whether you’re creating realistic botanicals or whimsical leaf patterns, the tips and techniques shared in this guide will equip you to craft stunning artwork that reflects your unique artistic voice. So, pick up your brushes, experiment boldly, and watch your leaves flourish on the canvas. 🌿✨
FAQ Section ❓
What type of brush should I use for painting leaves?
Using a round watercolor brush with firmness and snap is ideal for creating various leaf shapes and details.
Can I use other types of paint for leaves?
While this guide focuses on gouache, you can experiment with acrylics or watercolors, but the techniques may differ slightly.
How do I fix mistakes while painting leaves?
The beauty of gouache is its opacity; you can paint over mistakes easily or adjust shapes as needed.
Do I need to wait for each layer to dry before adding more details?
Yes, allowing each layer to dry prevents colors from mixing unintentionally and helps achieve clean layering.
Can I create leaves in different styles?
Absolutely! The techniques in this guide can be adapted for various styles, so feel free to explore and find what works best for you.


