Easy Steps How to Replace Outdoor Faucet 🔧
Are you dealing with a leaky outdoor faucet? You’re not alone! Many homeowners face this issue, and often the simplest solution is to replace the entire faucet. In this guide, we’ll walk you through how to replace outdoor faucet easily and effectively, ensuring you have everything you need for a successful project.
Step 1: Assess the Situation 🔍
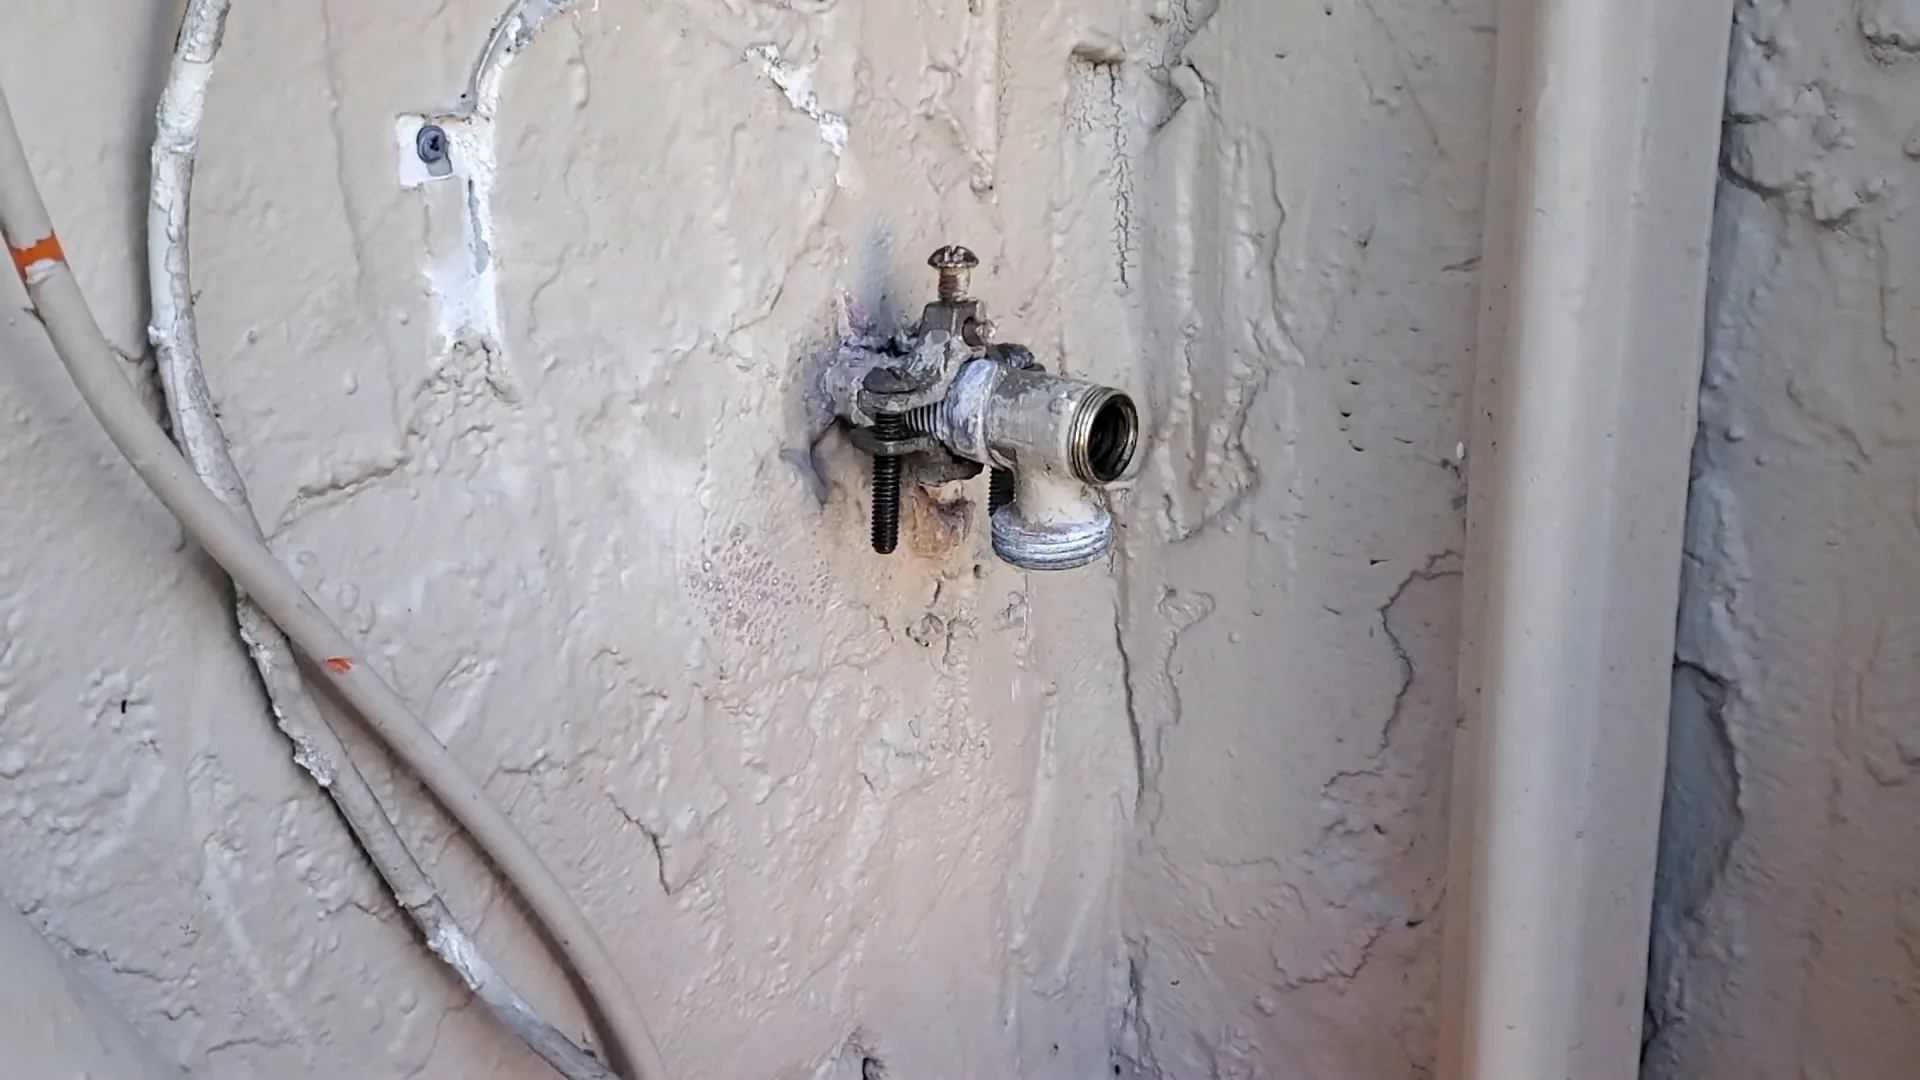
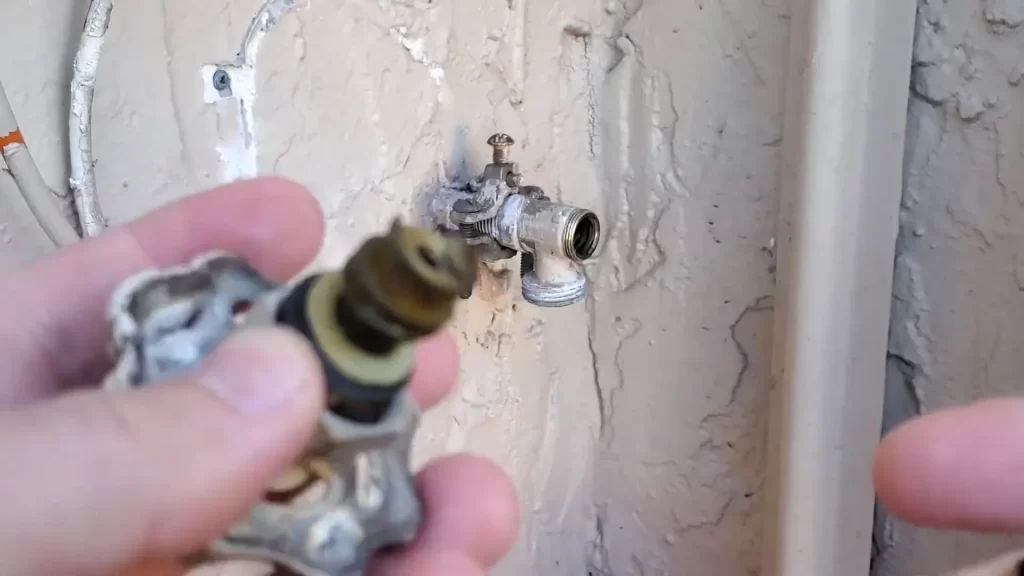
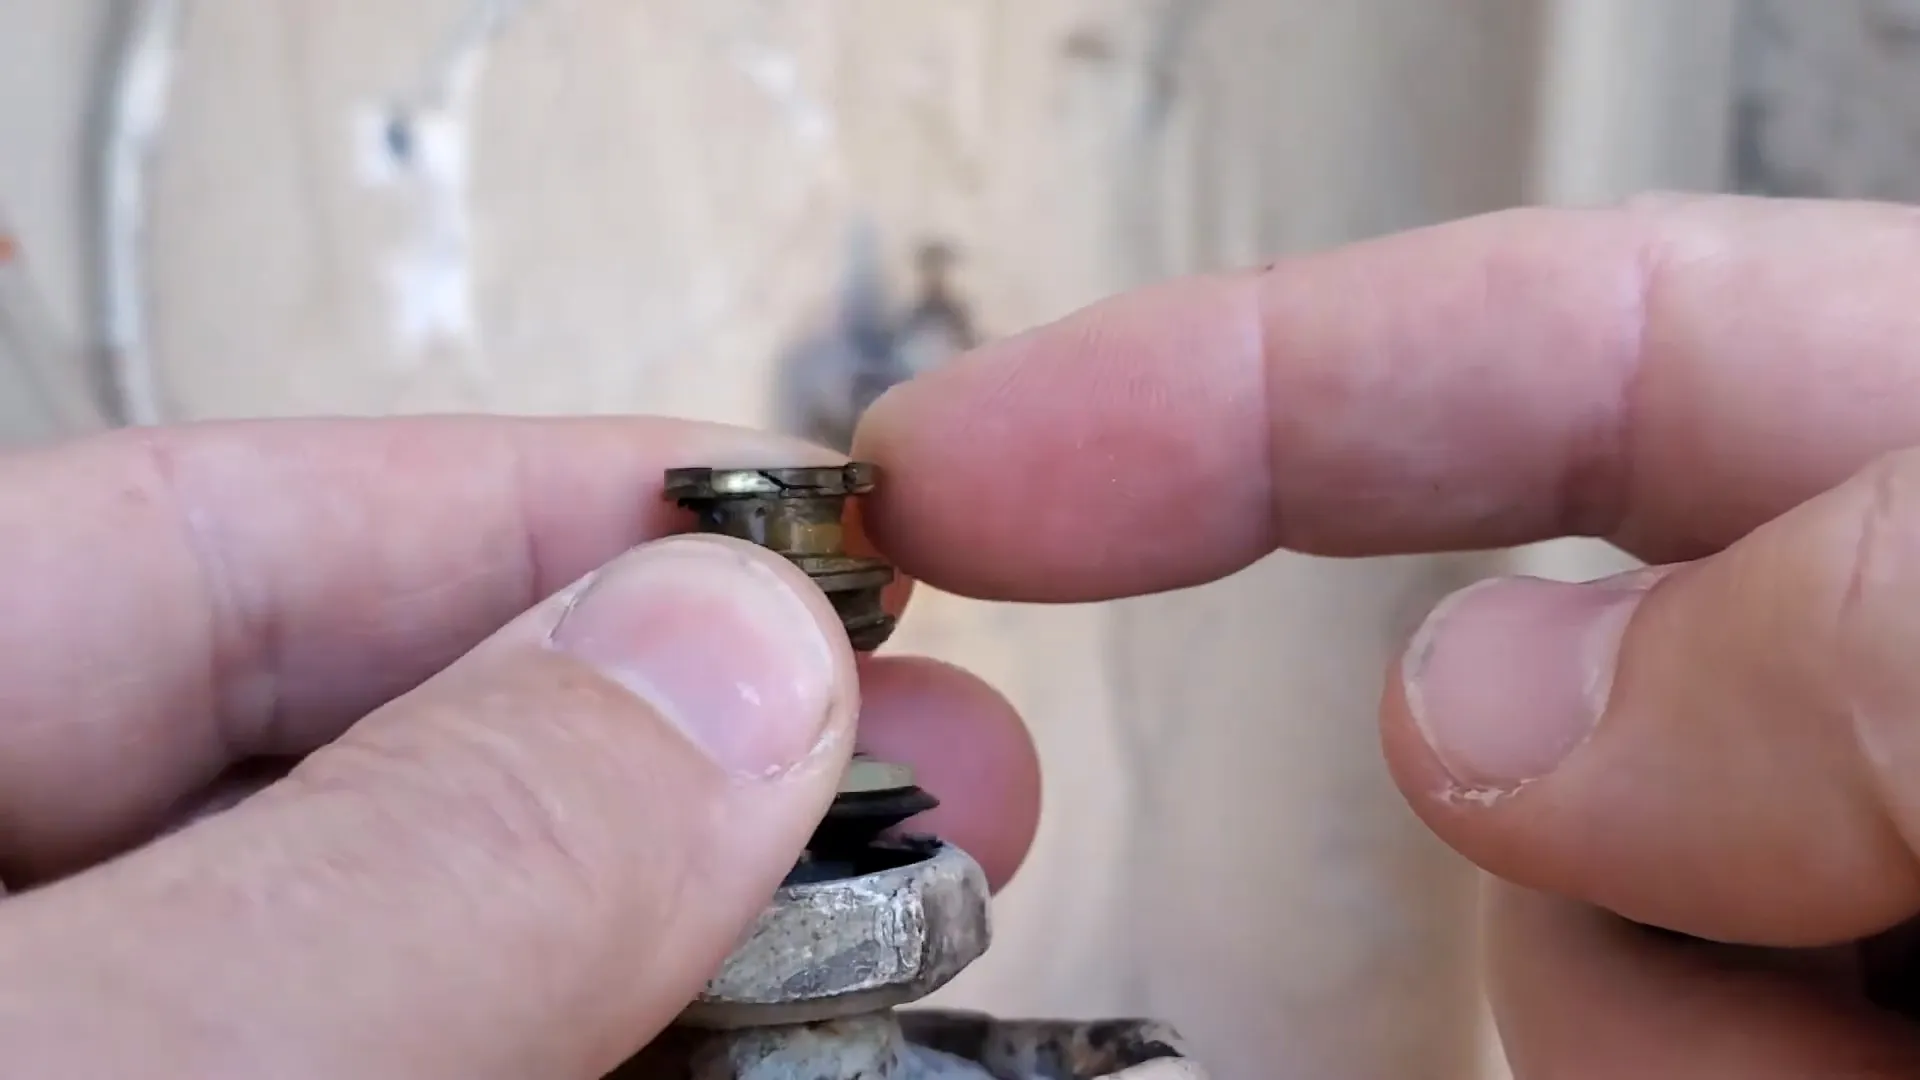
Before diving into the replacement process, take a moment to assess your current faucet. In many cases, the problem can be solved by simply replacing the washer on the faucet stem. However, if the stem is broken or damaged, like in our case, replacing the entire valve is the best option.
When examining the faucet, look for any visible signs of damage. If the faucet is old and has been leaking for a while, it’s likely that a full replacement is necessary.
Step 2: Prepare for Replacement 🛠️
Before replacing the faucet, you’ll need to prepare the area. First, ensure that the water supply to the faucet is turned off. This usually involves shutting off the valve that supplies water to the outdoor faucet.
Next, you’ll need to remove any standing water in the copper pipe connected to the faucet. This step is crucial because if there’s water in the pipe, heating it up to remove the old valve will be ineffective.
Step 3: Remove the Old Valve 🔄
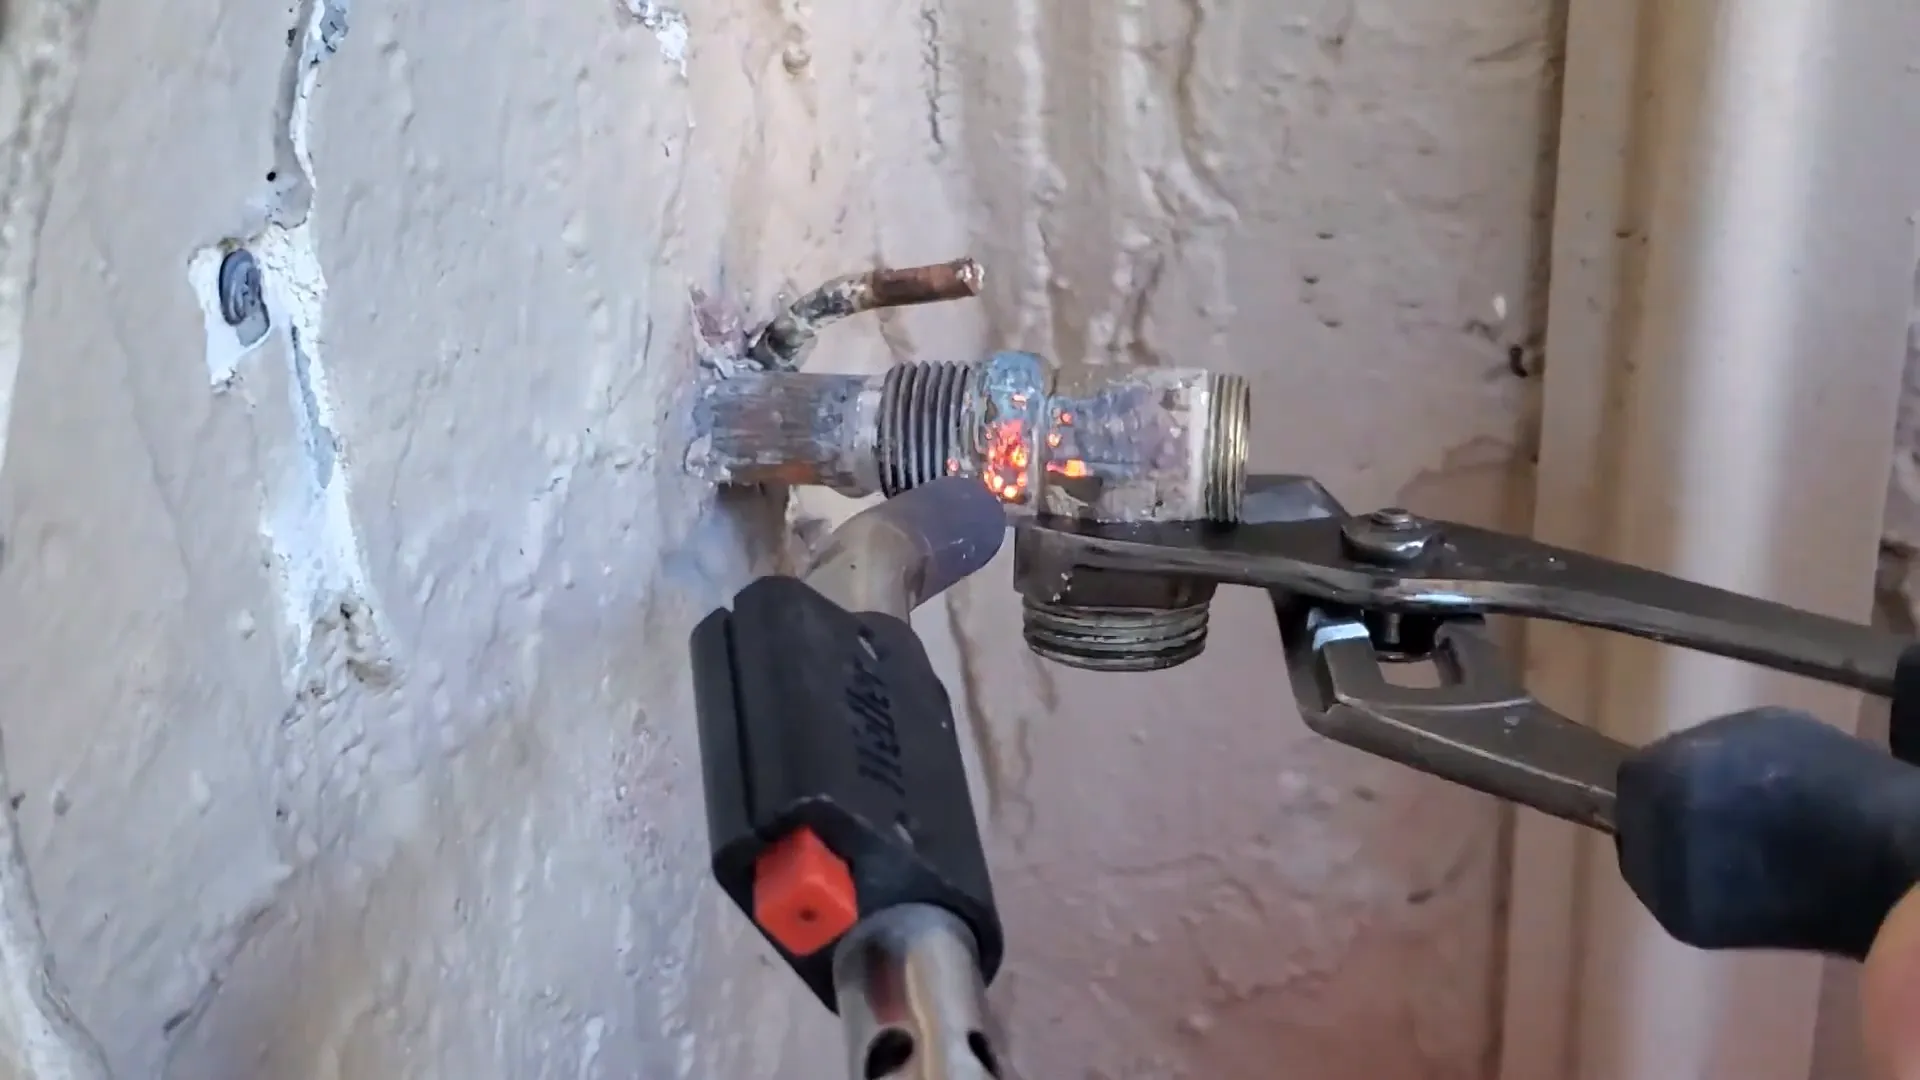
To remove the old valve, you can use a wet vacuum to suck out the remaining water from the pipe. This method is effective and keeps the area dry, allowing you to work without any issues.
Once the water is removed, you can heat the connection with a torch to loosen the solder that holds the valve in place. Be sure to clean off any remaining solder from the copper pipe after you’ve removed the old valve. A clean surface will ensure a better fit for the new valve.
Step 4: Soldering the New Valve 🔥
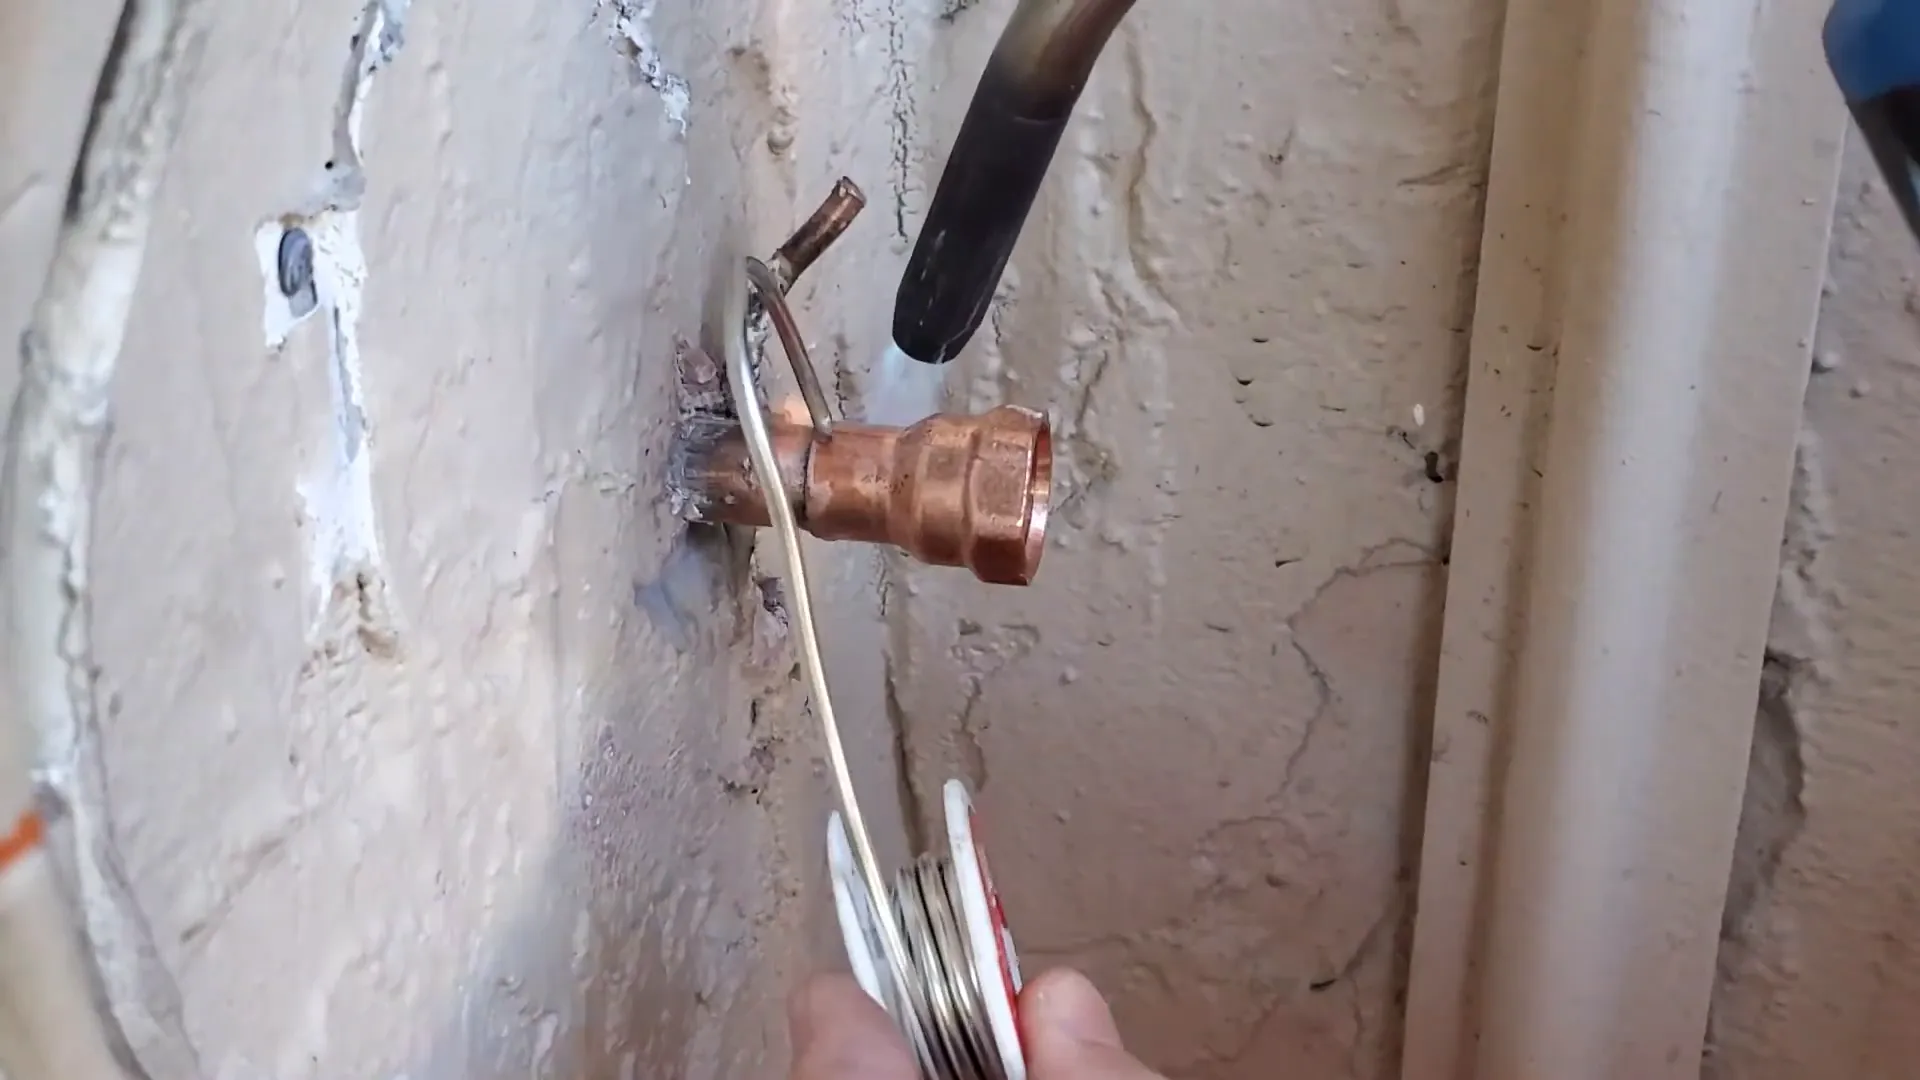
Now it’s time to solder the new valve onto the copper pipe. Before you begin, wrap some Teflon tape around the end of the pipe to ensure a tight seal. This step is essential for preventing future leaks.
Using a torch, heat the area around the new valve and carefully apply solder to the joint. The solder should flow into the joint, creating a strong bond. Be patient and ensure that the entire joint is properly soldered.
Step 5: Final Adjustments and Testing ✅
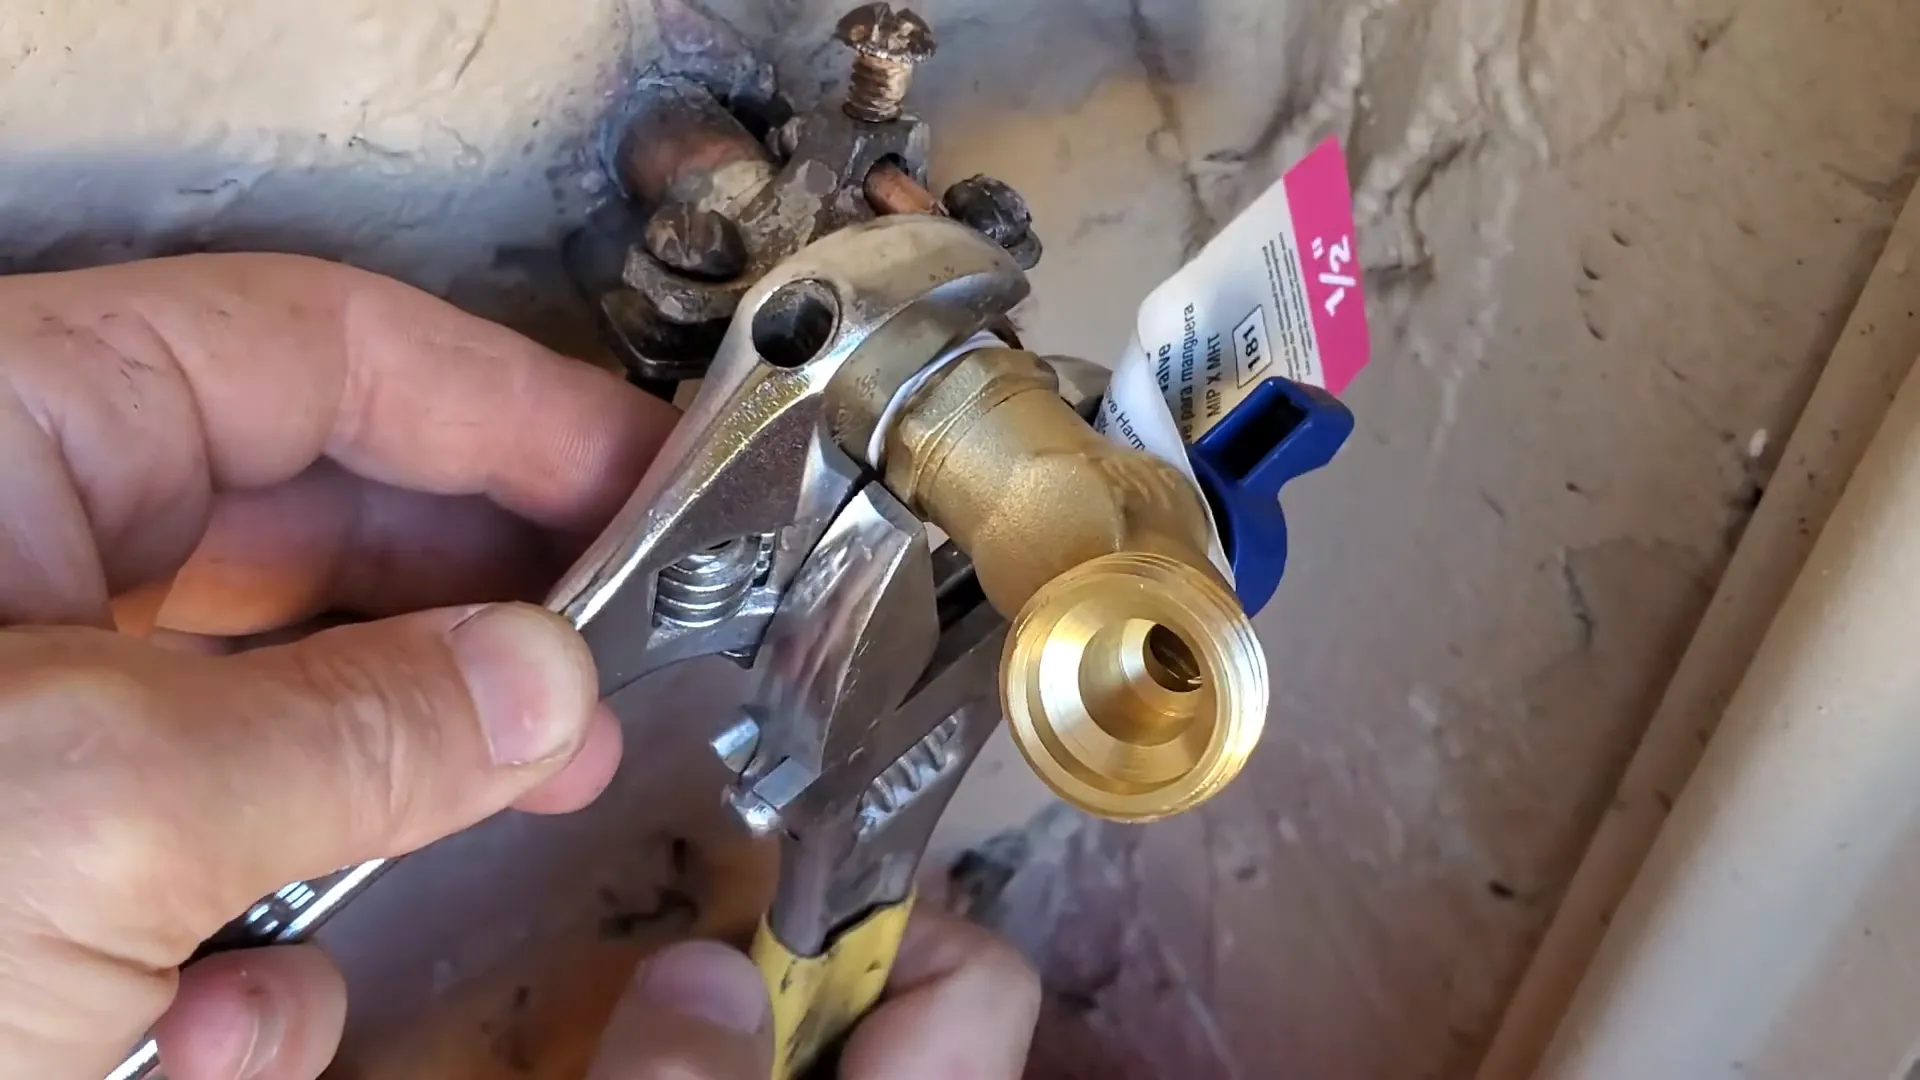
Once the new valve is securely in place, it’s time to make any final adjustments. Tighten all connections and ensure everything is properly aligned. Double-check for any leaks by turning the water supply back on and testing the faucet.
If you notice any leaks, you may need to tighten the connections further or add additional solder. Once everything is secure and leak-free, your new outdoor faucet is ready to use!
Step 6: Clean Up and Enjoy Your New Faucet 🌟
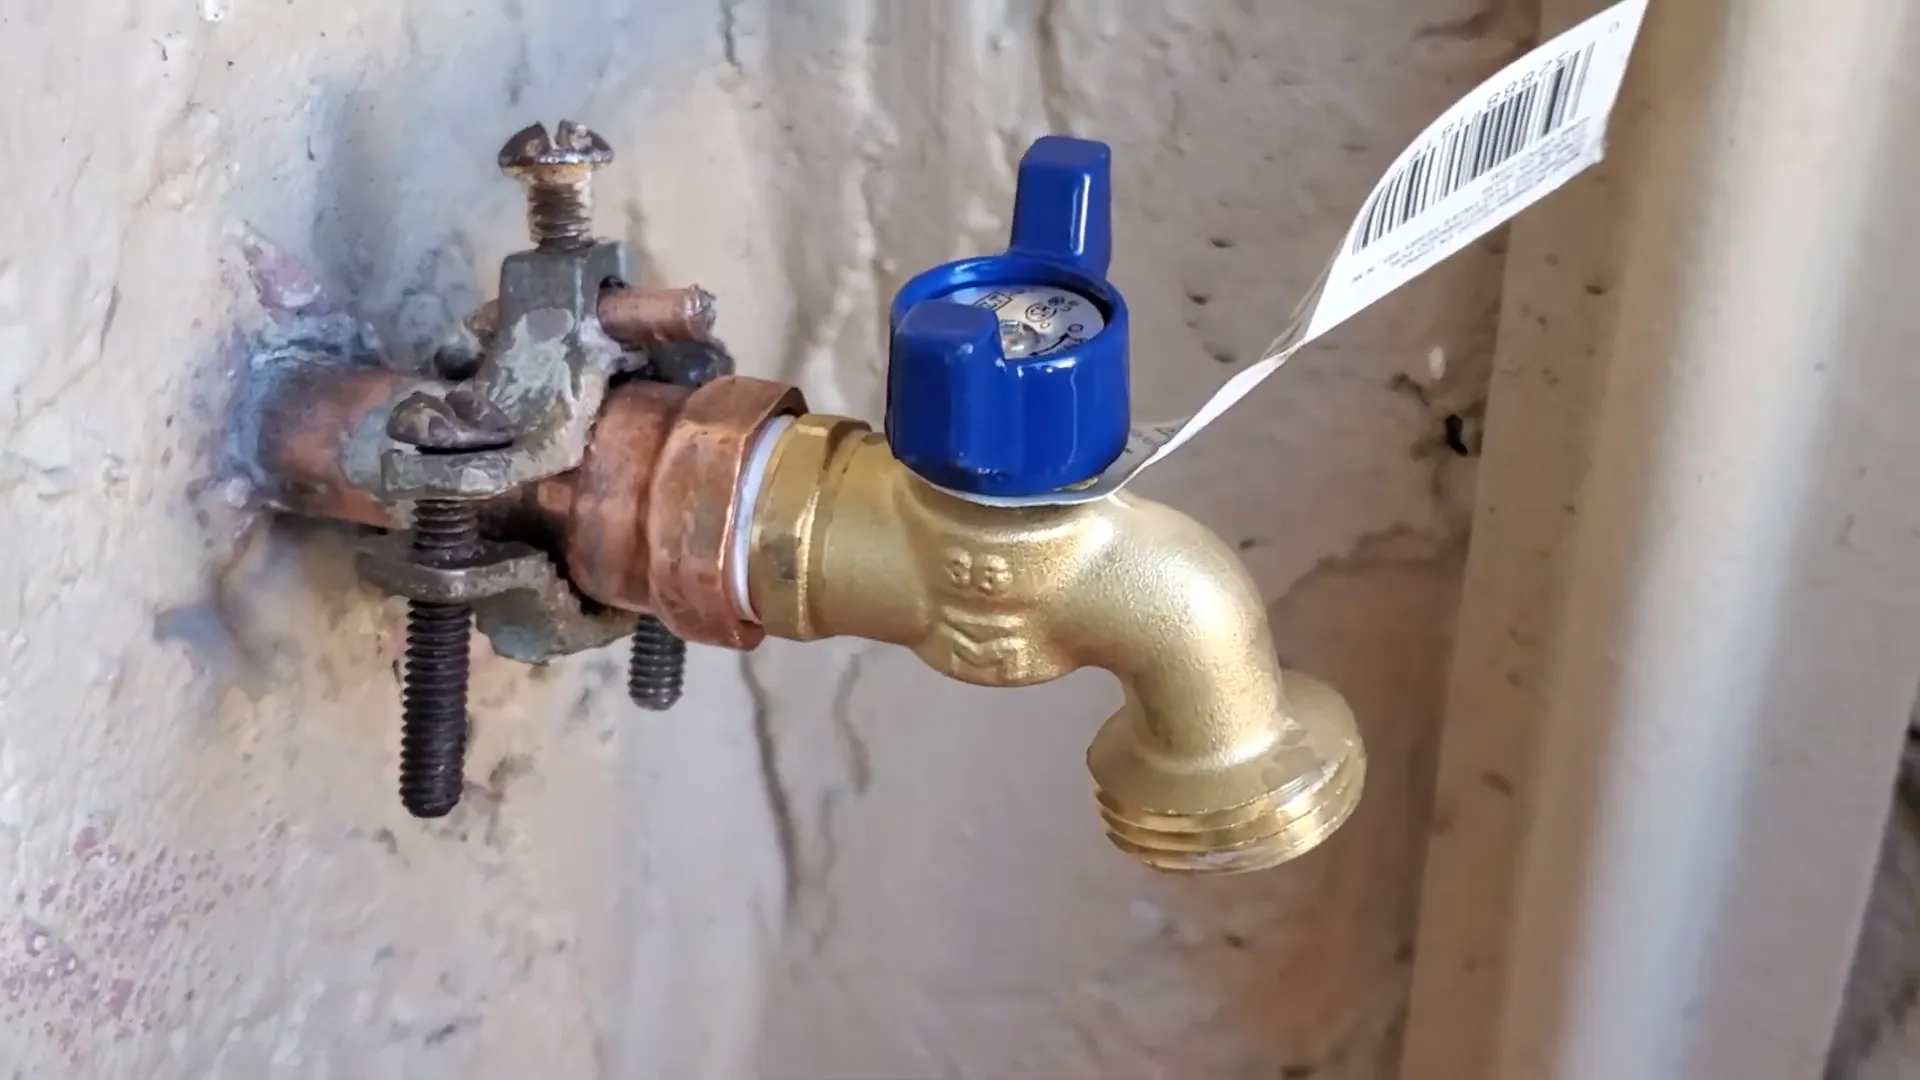
After successfully replacing the outdoor faucet, be sure to clean up your work area. Dispose of the old faucet properly, and store your tools for future projects. Enjoy the satisfaction of having a fully functional outdoor faucet!
Conclusion 🎉
Replacing an outdoor faucet is a manageable DIY project that can save you time, and money, and prevent further plumbing issues. By following these steps—assessing the situation, preparing properly, and ensuring solid connections—you’ll be well on your way to a leak-free, functional outdoor space. With patience and the right tools, this guide can help you tackle the task confidently. Enjoy the satisfaction of a successful repair and the convenience of a reliable outdoor faucet!
FAQ ❓
What tools do I need to replace an outdoor faucet?
You will need a wet vacuum, a torch for soldering, Teflon tape, and basic plumbing tools such as wrenches and screwdrivers.
How long does it take to replace an outdoor faucet?
The process typically takes about an hour, depending on your experience level and the condition of the existing plumbing.
Can I replace the faucet without soldering?
Yes, if your plumbing allows for it, you can use compression fittings instead of soldering. However, soldering provides a more permanent solution.
What if I encounter leaks after installation?
If you notice leaks, ensure all connections are tight. If the problem persists, you may need to reapply the solder or consult a professional plumber.
