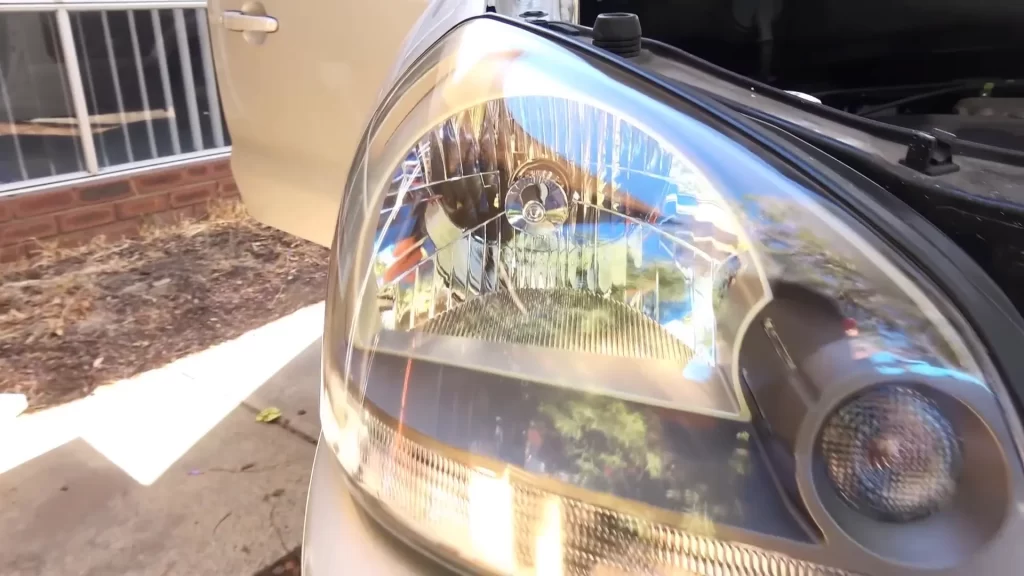
How to Restore Headlights: DIY Headlight Restoration Tips 🚗
Yellowing headlights are a common issue for many car owners. Not only do they look unattractive, but they also reduce visibility on the road, making it a safety concern. Fortunately, restoring headlights is a simple process that can be done at home with the right tools and techniques. In this guide, we will walk you through the steps on how to restore headlights permanently, ensuring they look as good as new. Let’s dive in!
Step 1: Preparation 🧼
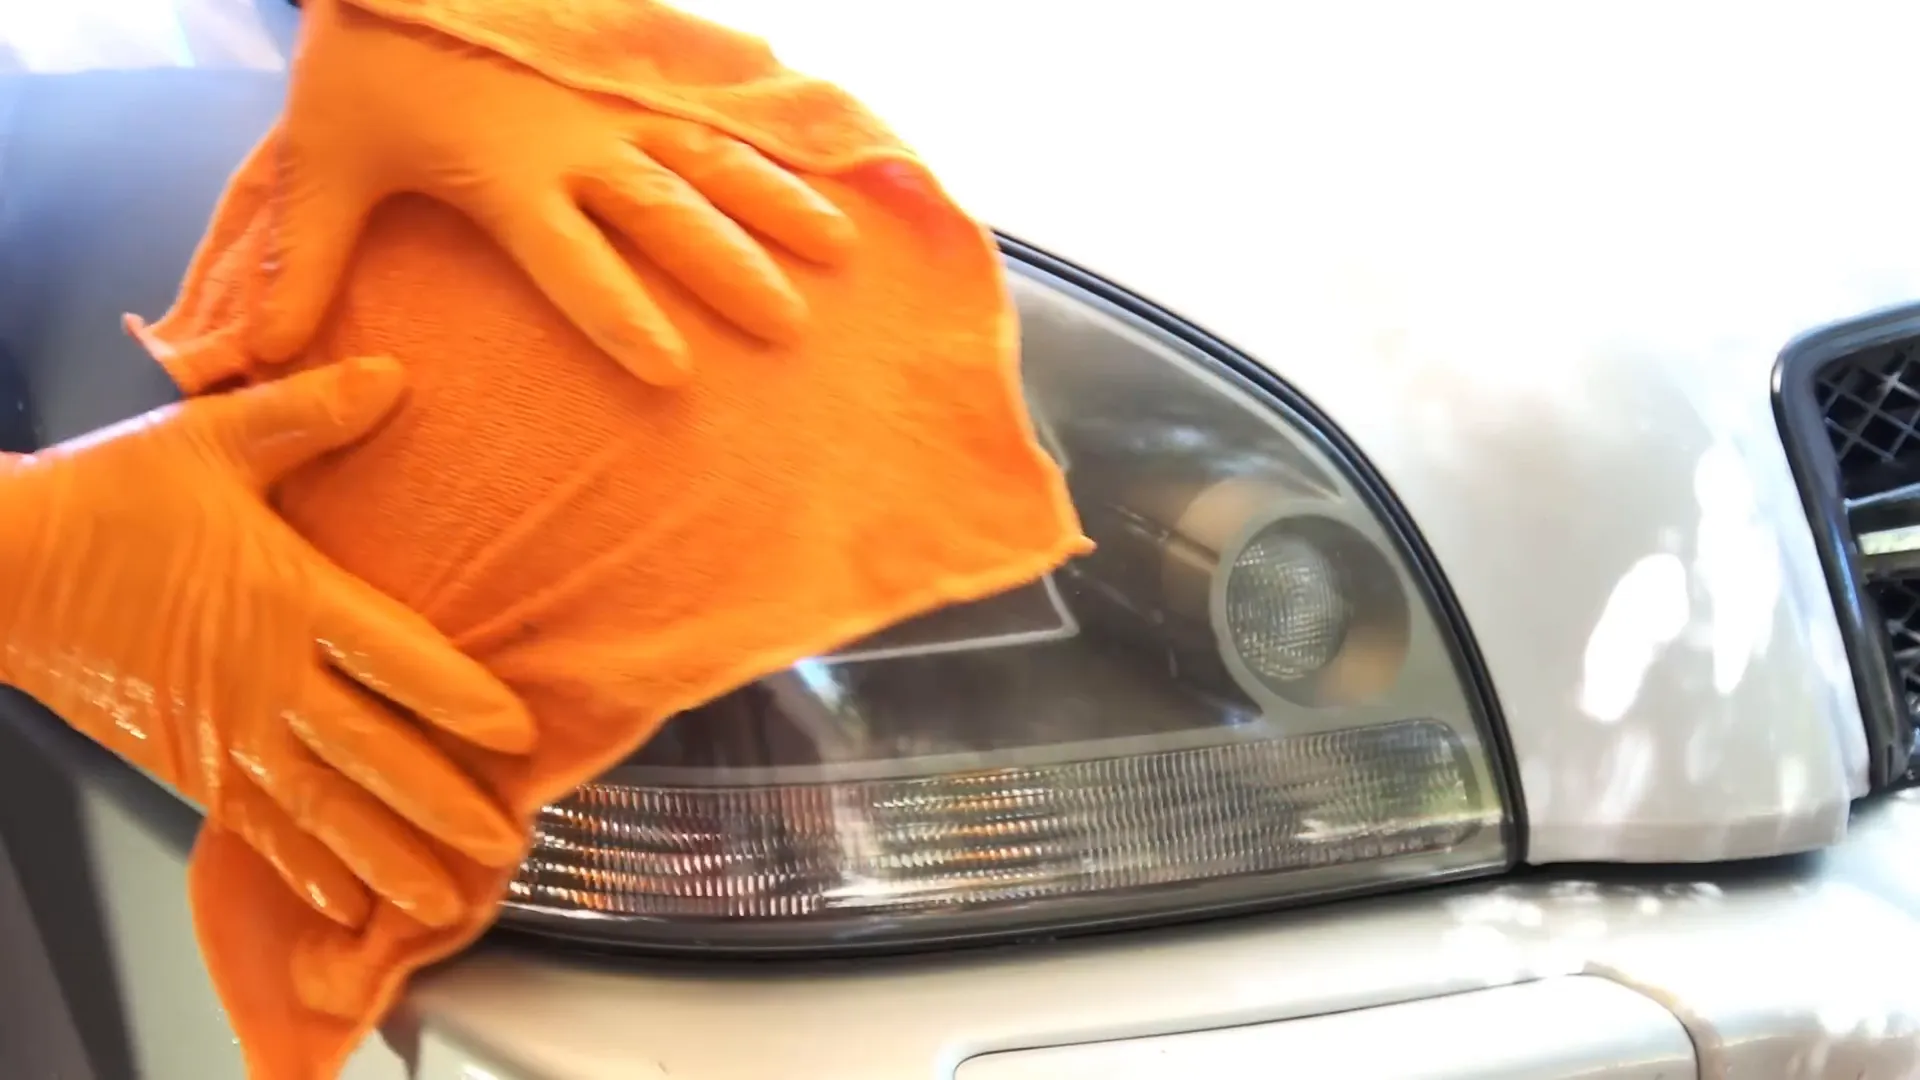
The first step in the headlight restoration process is preparing the headlights and the surrounding area. This involves cleaning the headlights to remove dirt and grime.
- Use a microfiber towel to wipe down the headlights and the surrounding area.
- Make sure to dry the headlights thoroughly before proceeding.
Step 2: Sanding the Headlights 🪣
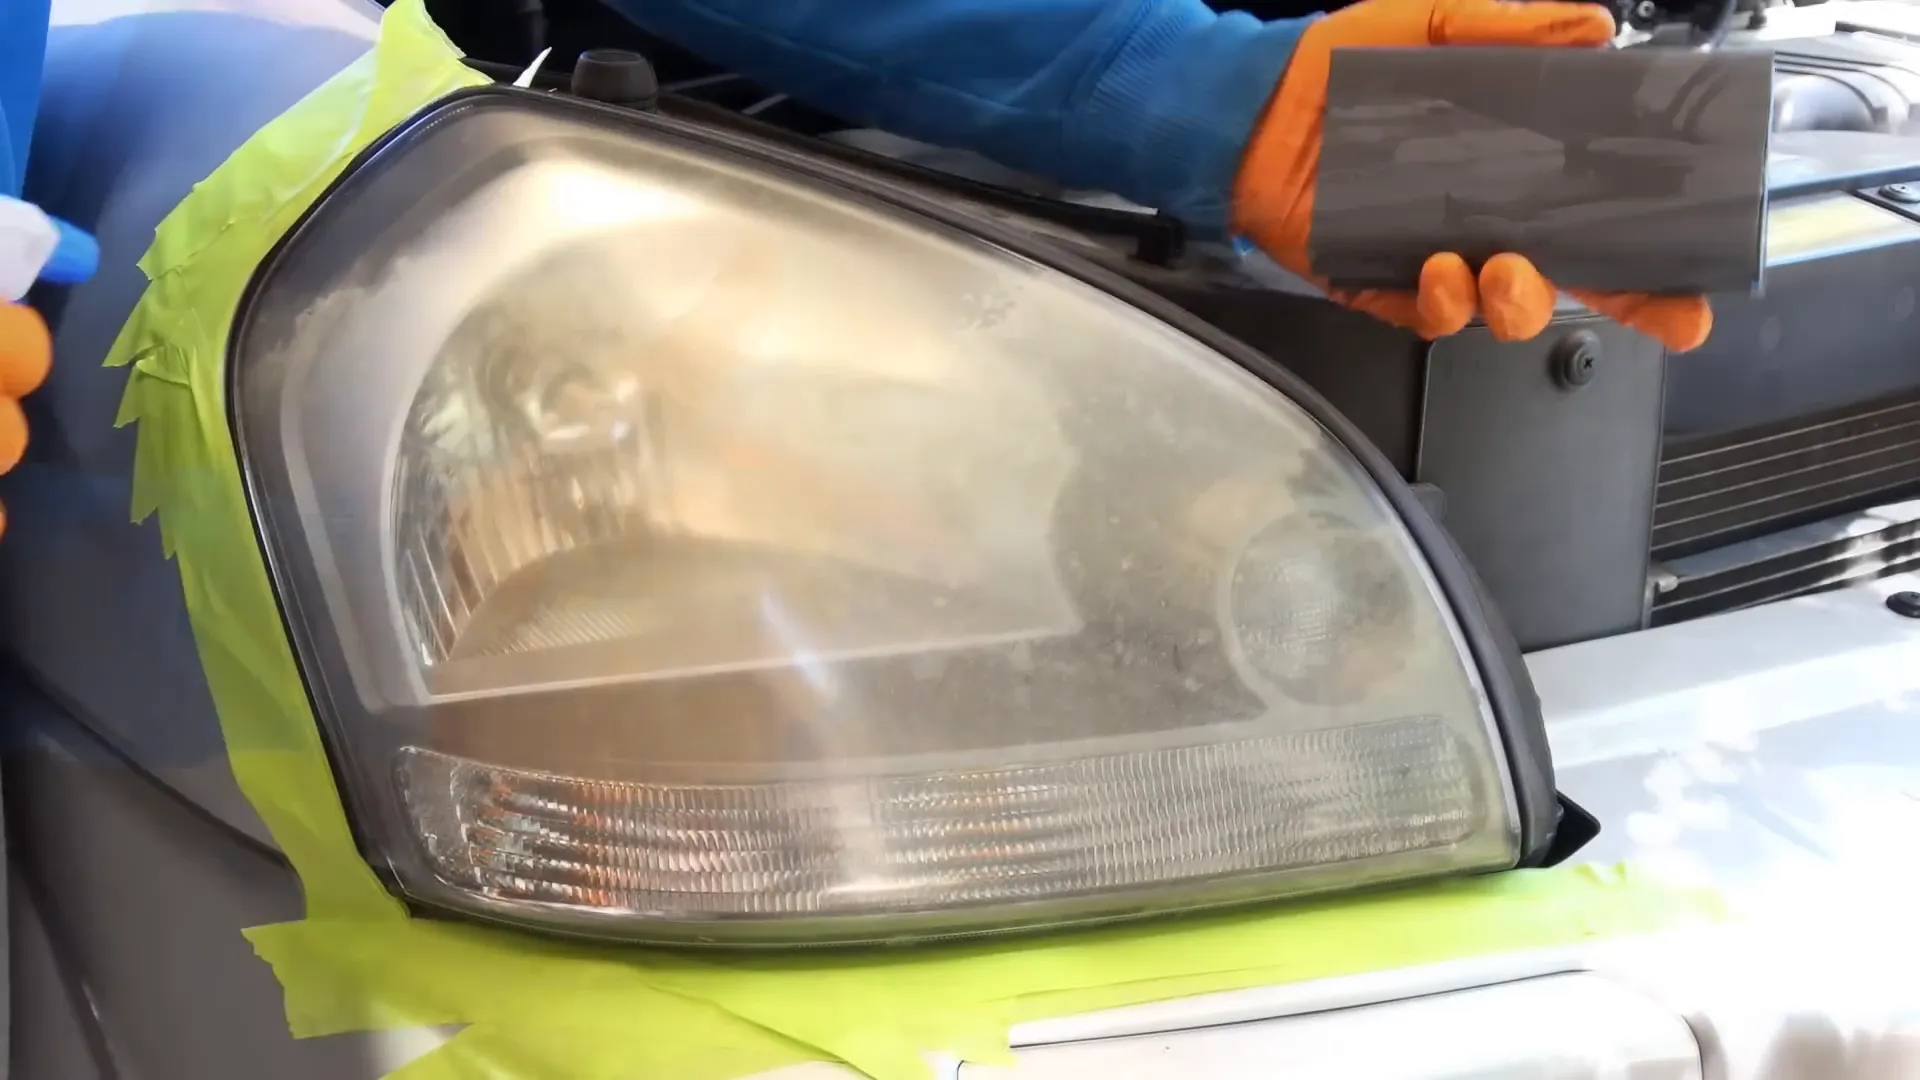
Once the headlights are clean, the next step is to remove the top layer of yellow plastic on the lens. This process involves sanding the headlights with various grits of sandpaper.
You’ll need:
- 600 grit sandpaper
- 1500 grit sandpaper
- 3000 grit sandpaper
- Water spray
- Masking tape
Start by masking off the surrounding body panels with tape to avoid damaging the car’s paint. Then, spray some water on the lens and on the sandpaper to begin sanding.
Sanding Process:
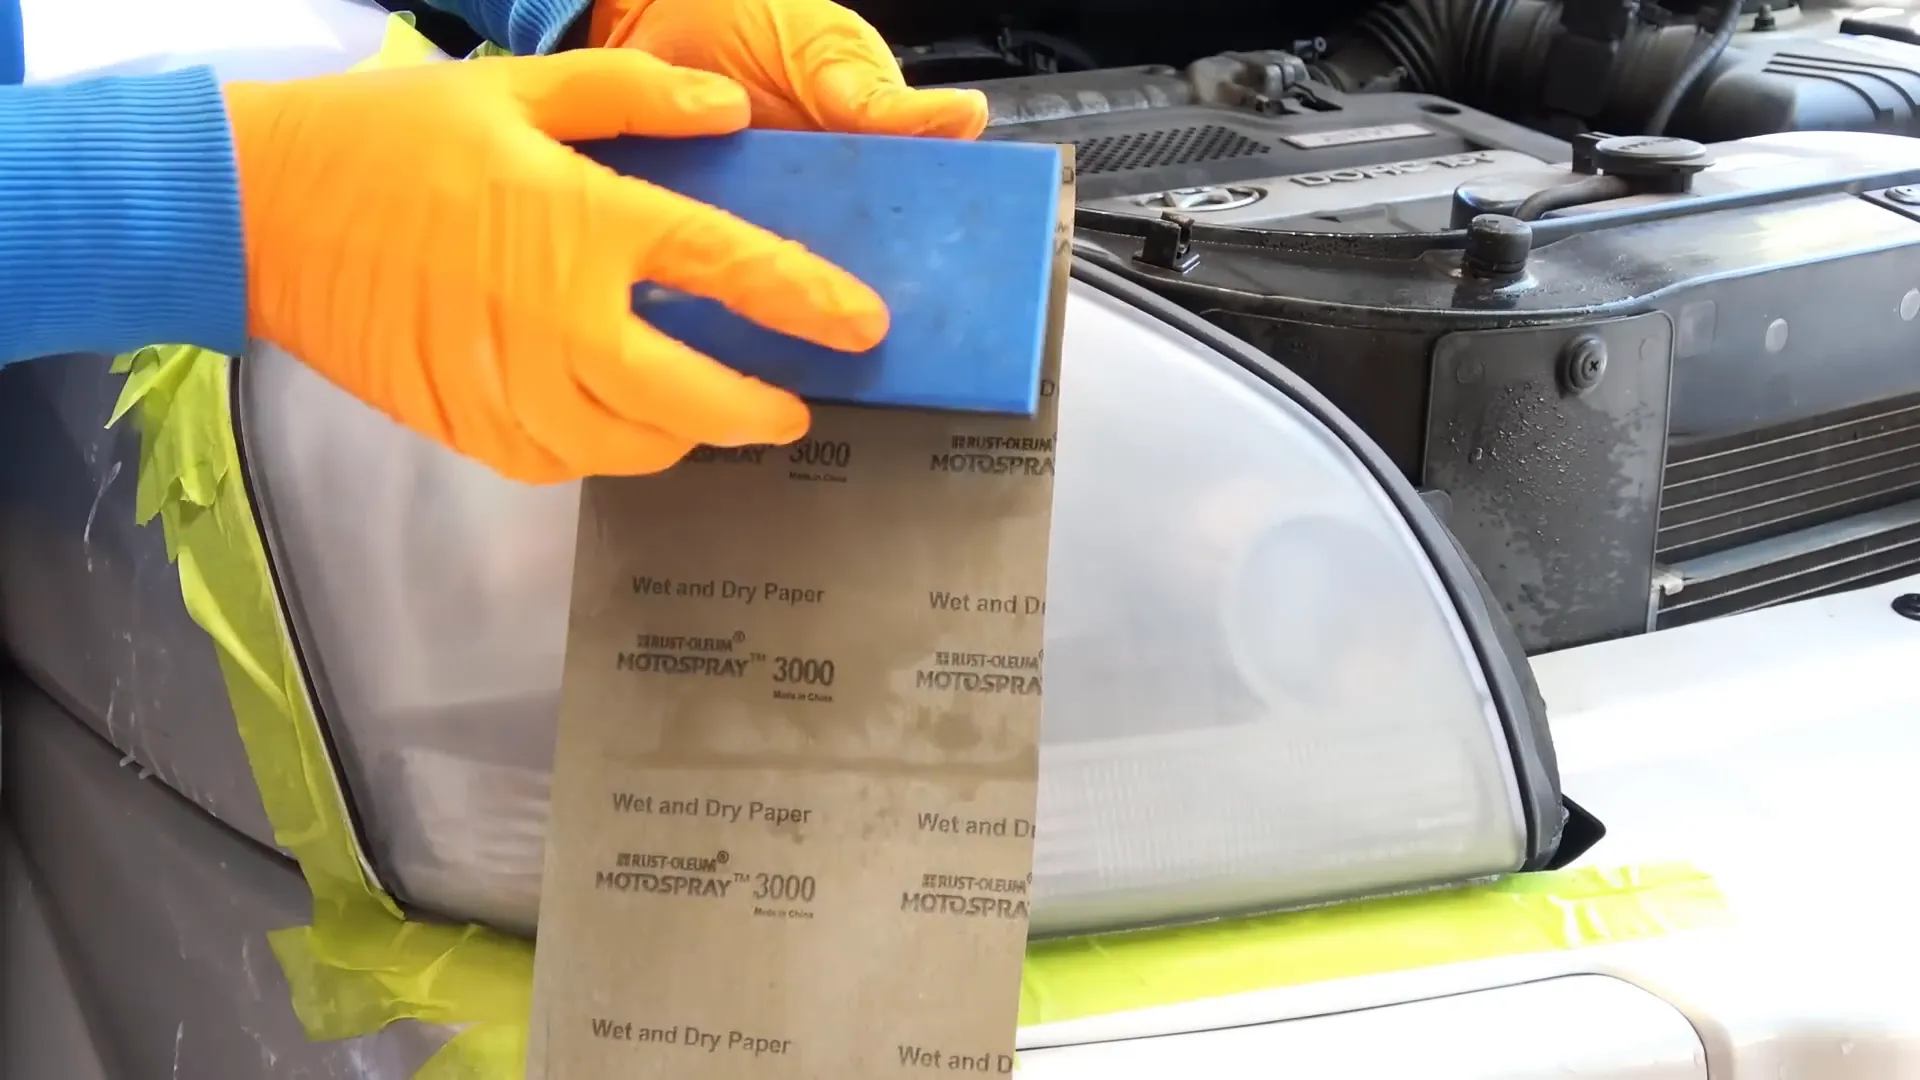
- Begin with the 600-grit sandpaper, sanding in one direction (horizontal) with light to medium pressure. Make overlapping passes until the lens turns from yellow to a milky white.
- Wipe the lens clean to check your progress. At this point, you should see a uniform white haze on the lens, which indicates that the yellow layer has been removed.
- Next, switch to the 1500-grit sandpaper and sand vertically to remove the horizontal scratches created by the previous grit.
- Finally, use the 3000-grit sandpaper in horizontal strokes to remove any remaining vertical scratches.
Step 3: Polishing the Headlights ✨
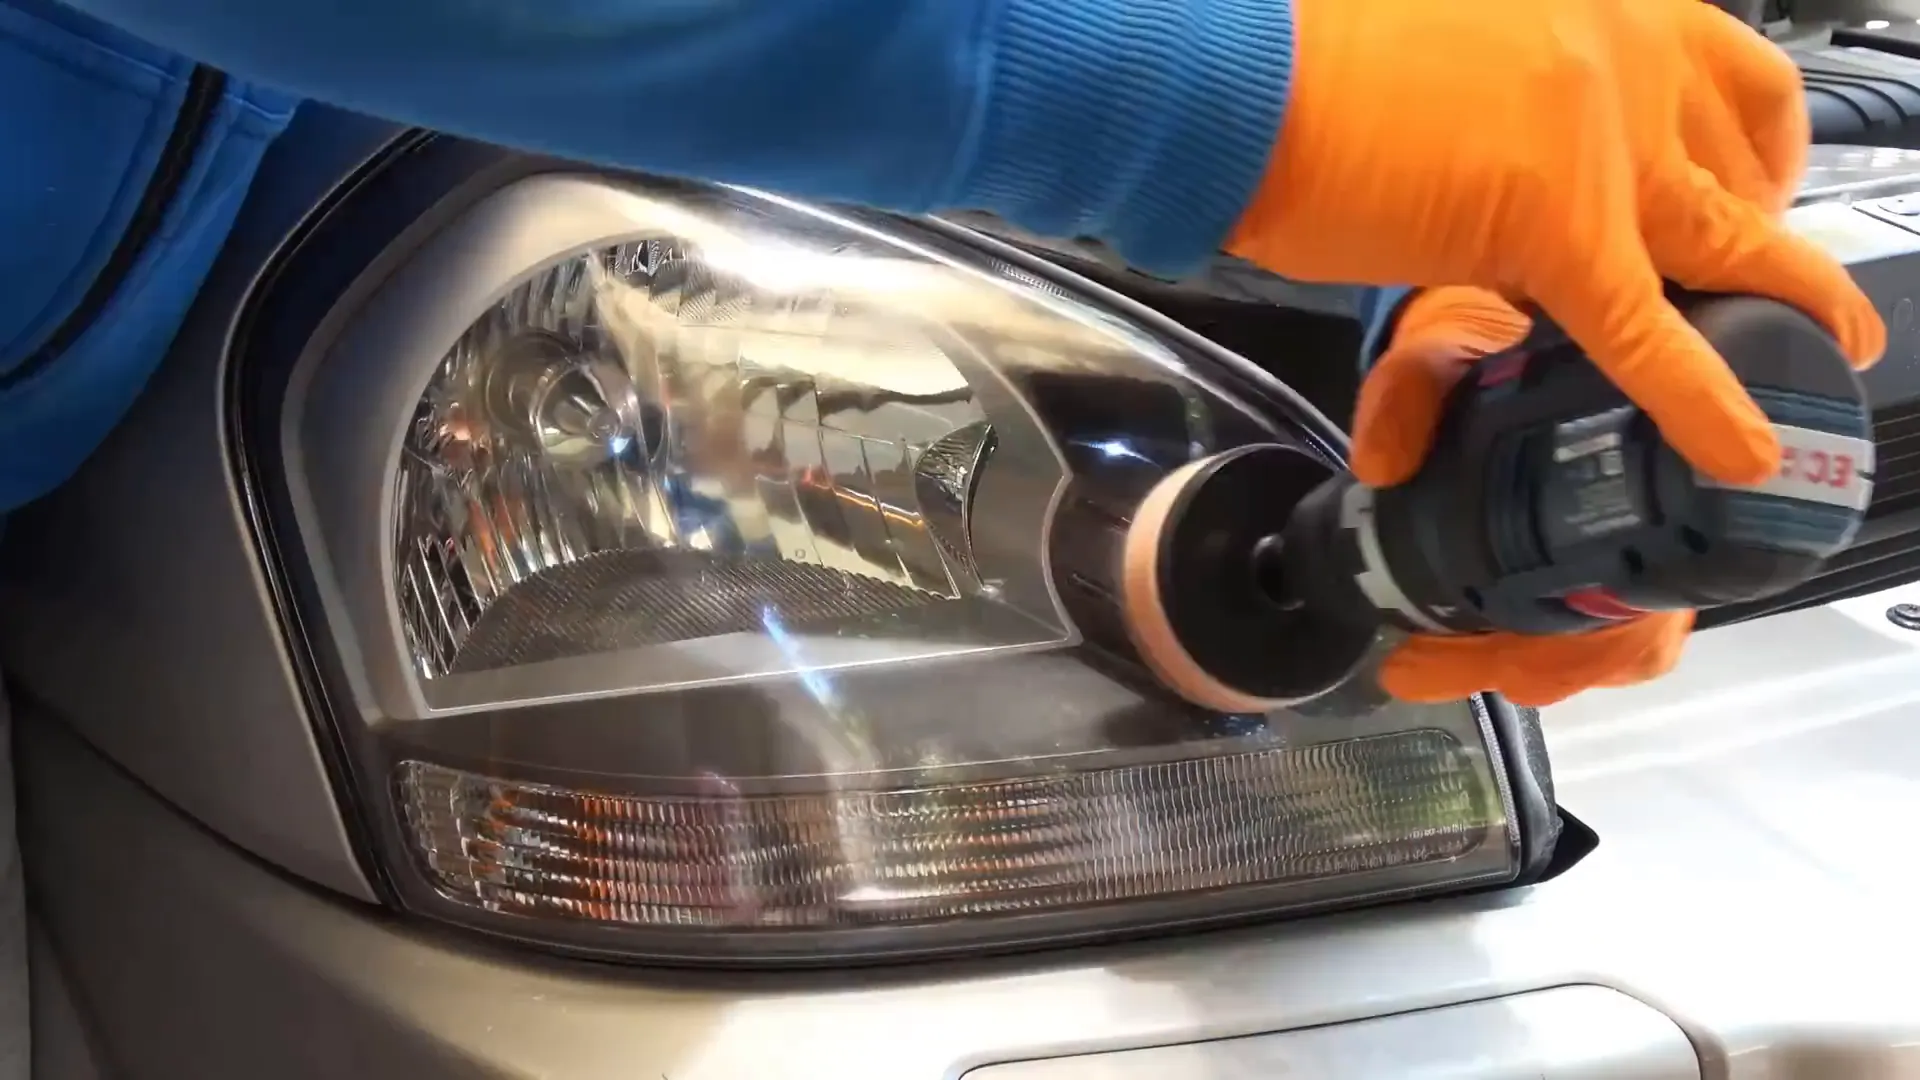
After sanding, the headlights will have a hazy appearance due to sanding scratches. The next step is to polish the headlights to restore clarity.
You will need:
- Cutting compound
- Polishing pad (foam or wool)
- Microfiber towel
Use a drill with a wool pad to apply the cutting compound. Here’s how to do it:
- Remove the masking tape from around the headlights.
- Apply some cutting compound to the wool pad and begin buffing the lens. Maintain a consistent speed and uniform pressure.
- Make horizontal overlapping passes, then switch to vertical passes to ensure even coverage.
Optional: Final Polish
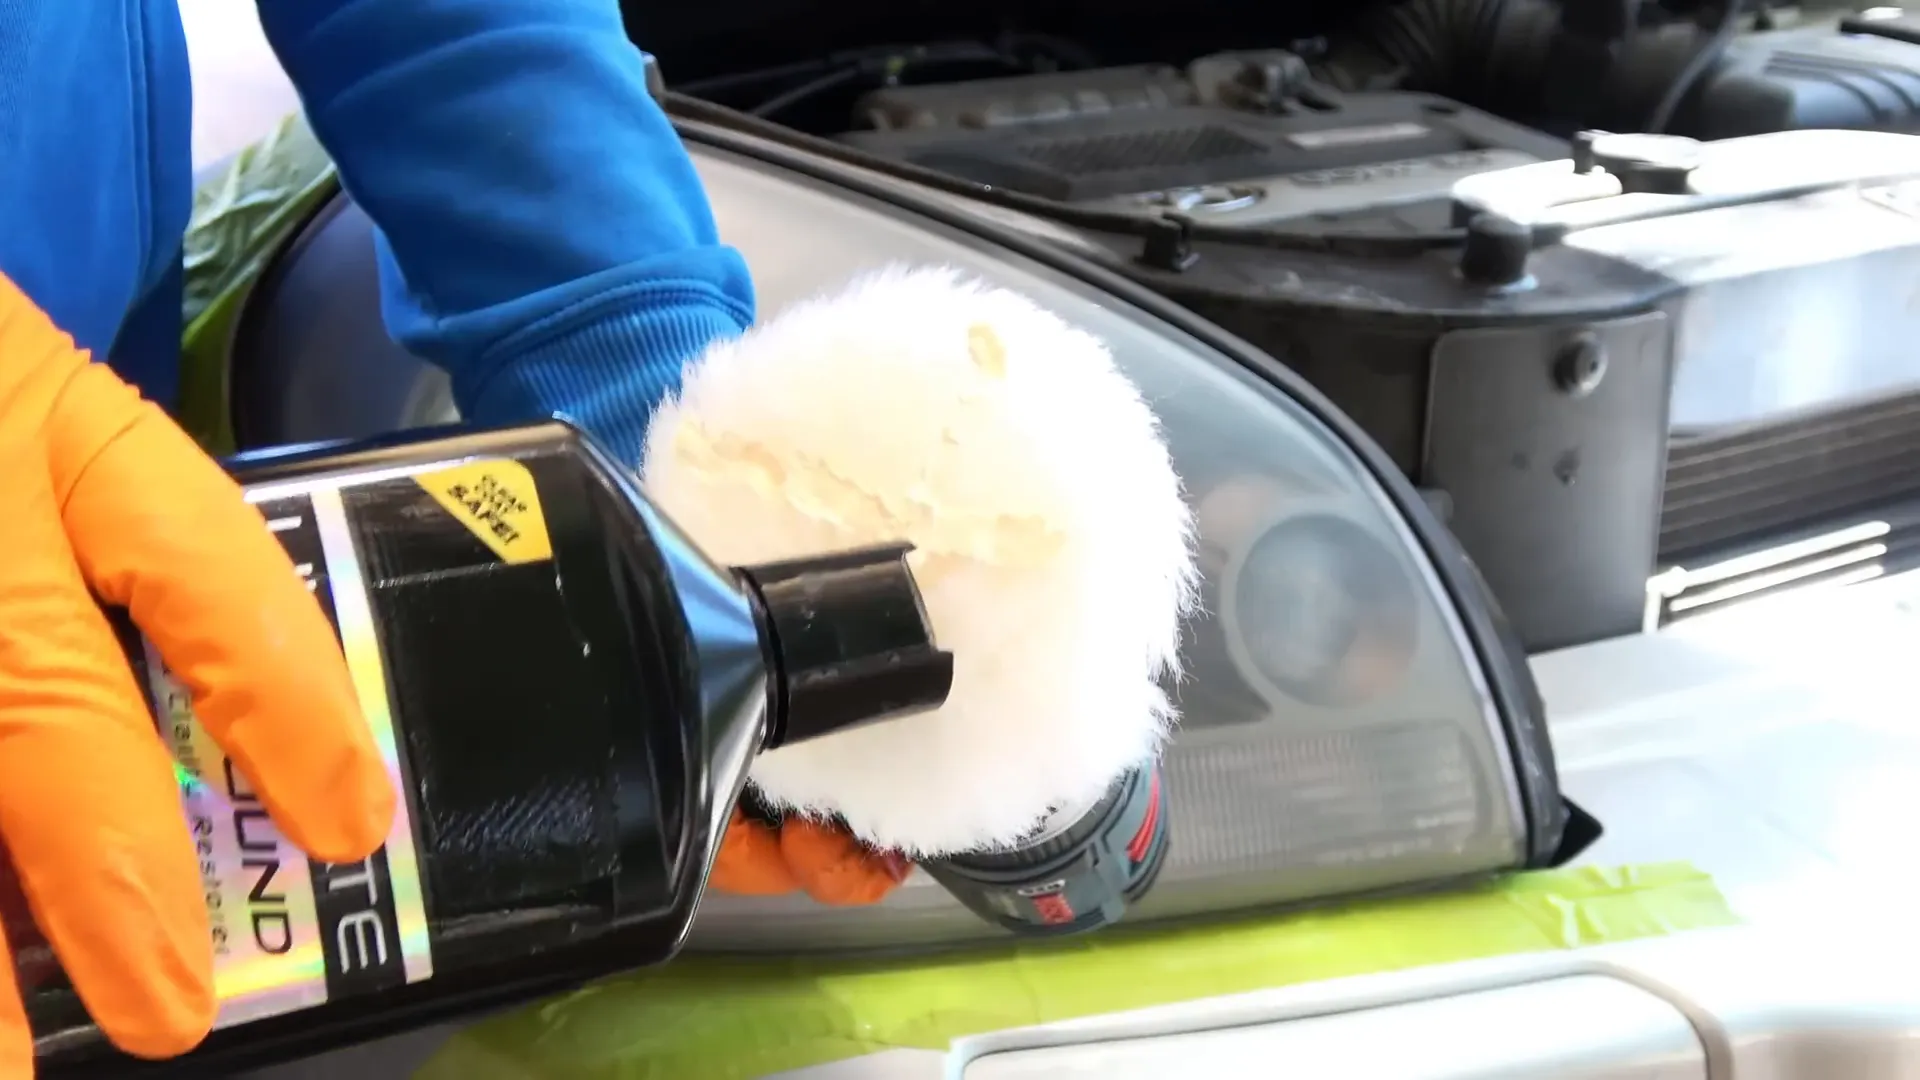
If you want to achieve a mirror-like finish, you can follow up with a foam pad and some polishing compound. This step is optional, but it enhances the final appearance.
Step 4: Applying a Protective Coating 🛡️
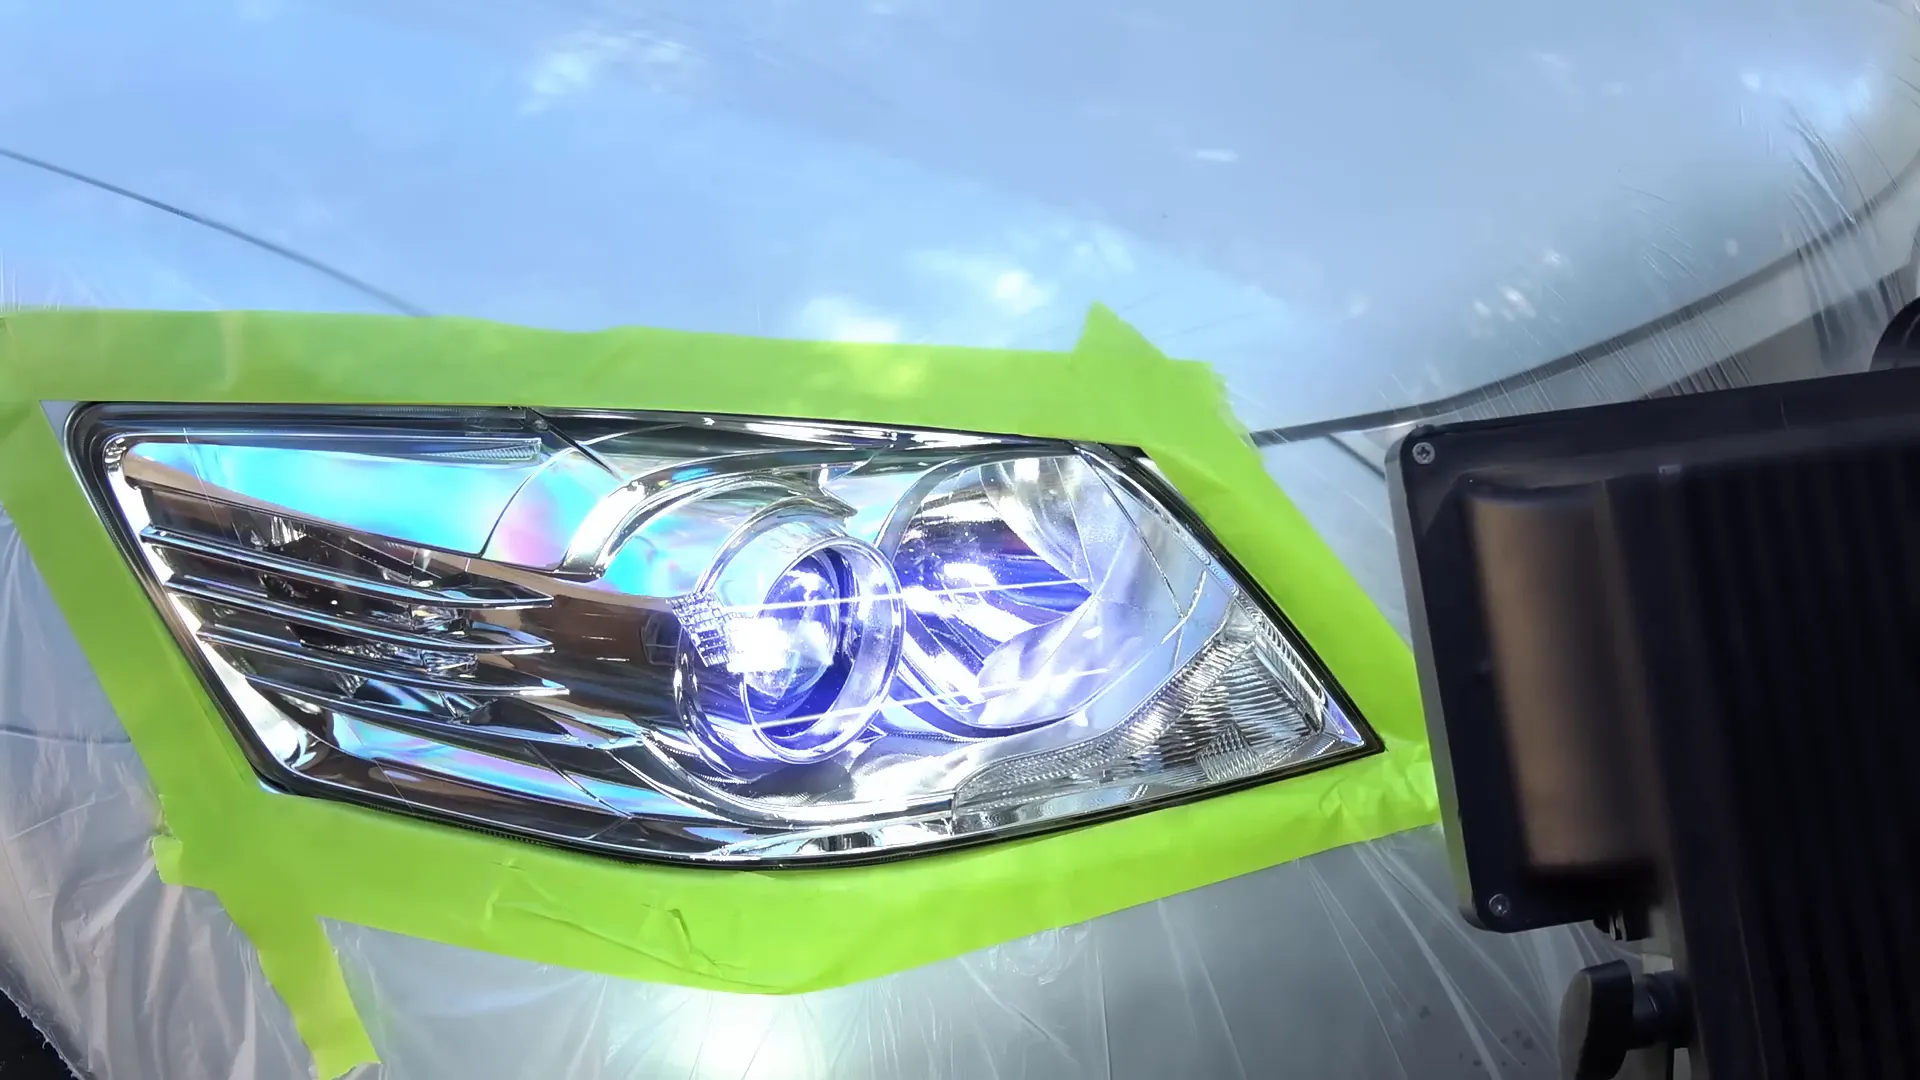
To keep your headlights looking new, it’s essential to apply a protective coating after restoration. This will prevent them from yellowing again.
Here are five options for protective coatings:
- UV Hardcoat: This is a professional-grade coating that provides excellent protection but requires special equipment.
- Aftermarket Headlight Coating: Available in spray cans, these coatings are easy to apply but may only last about a year.
- Clear Coat: A common option, but it can peel and is not recommended for headlights due to light distortion.
- Headlight Covers: These fit over your headlights and protect against UV rays but can yellow over time.
- Headlight Protection Film: This film is easy to apply and can be replaced when it wears out, making it a great long-term solution.
Step 5: Installing the Headlight Protection Film 🎥
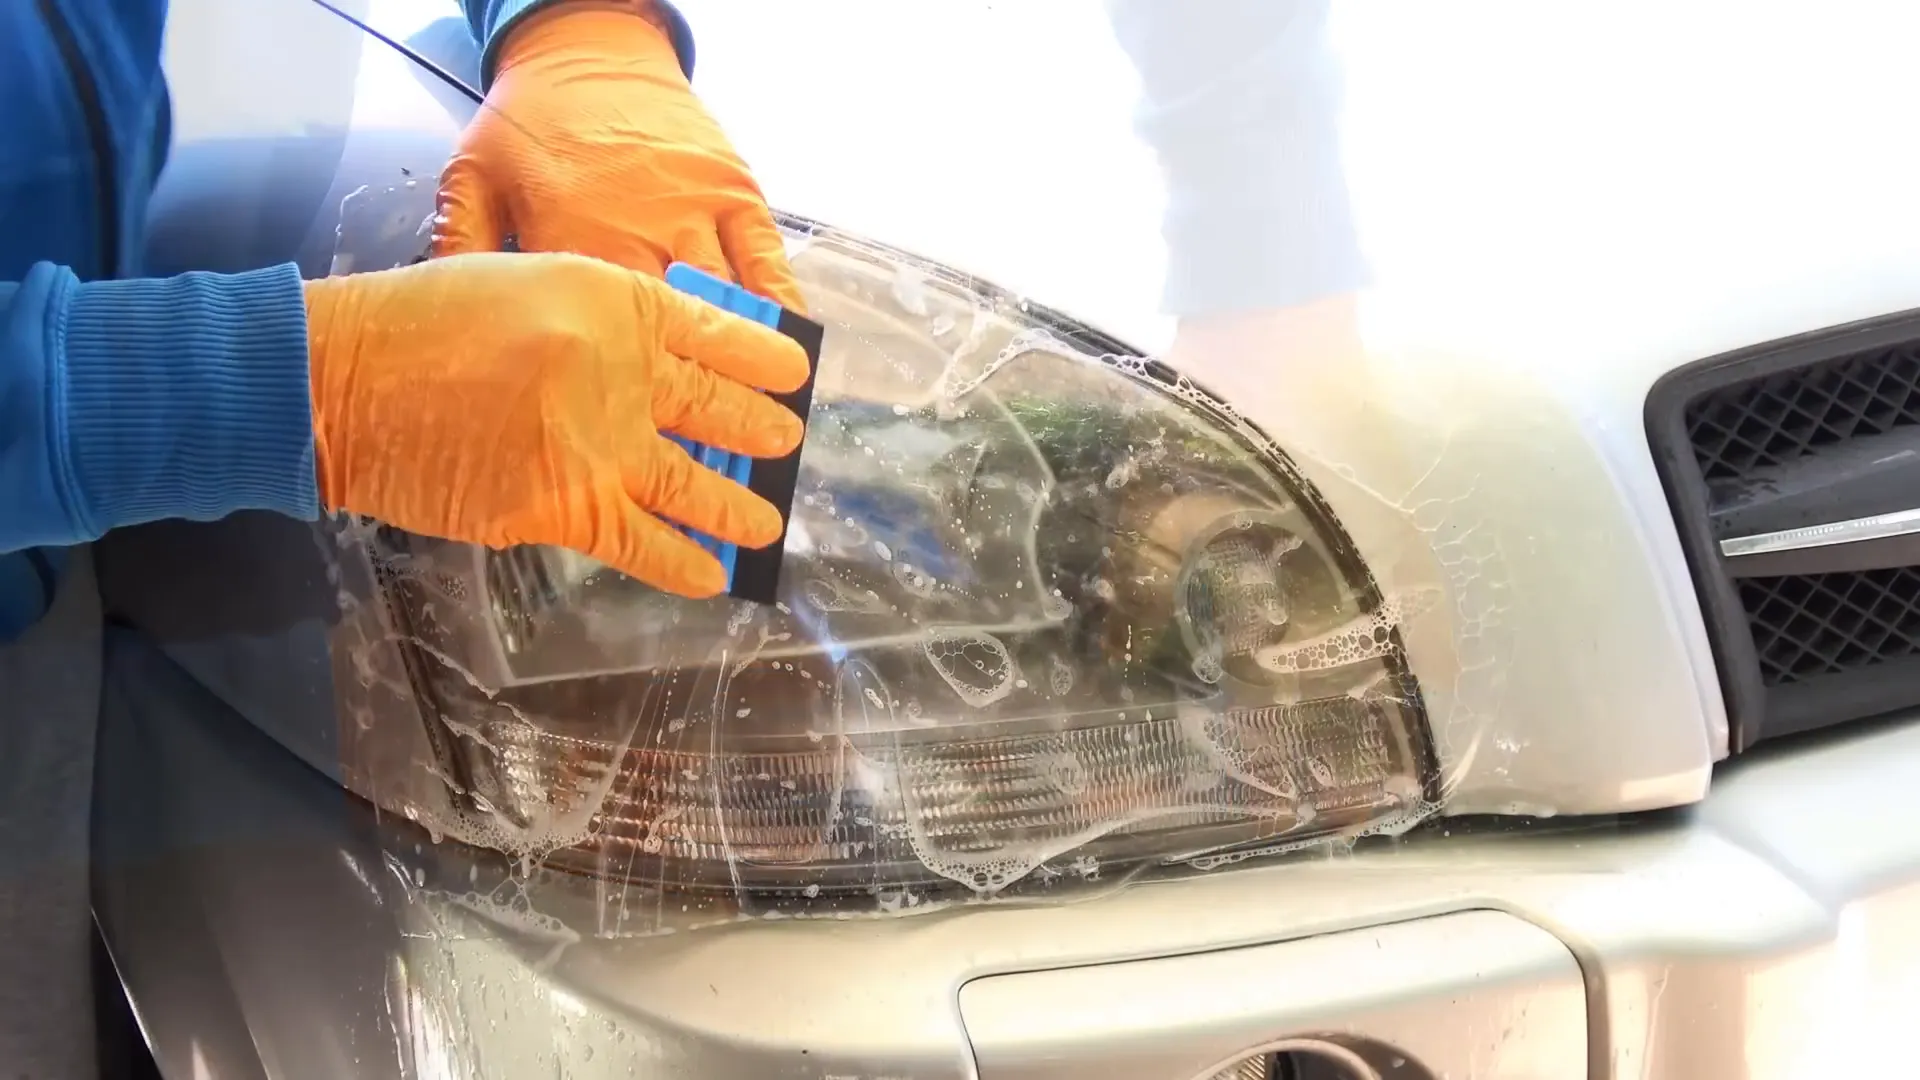
If you choose to go with the headlight protection film, follow these steps to install it:
- Clean the lens thoroughly to remove any leftover polish.
- Spray the lens and the film with a mixture of distilled water and a few drops of dishwashing liquid.
- Place the film over the lens and use a squeegee to push out any air bubbles, starting from the center and working towards the edges.
- Use a heat gun or hairdryer to gently warm the film and help it adhere to the curves of the headlight.
- Trim any excess film around the edges using a razor blade.
Conclusion
Restoring your headlights is more than just an aesthetic improvement—it’s a vital step in ensuring your safety and visibility on the road. With the simple, step-by-step guide we’ve outlined, you can transform your foggy, yellowed headlights into bright, clear lenses that look like new. By following these techniques and applying a protective coating, you can enjoy lasting results that will enhance your vehicle’s appearance and performance.
Take charge of your car’s maintenance today, and enjoy the confidence and clarity that come with properly restored headlights. Whether you’re tackling this project for the first time or refining your skills, these tips will set you up for success. Safe travels! 🚗✨
FAQs ❓
How long does the restoration process take?
The entire process can take a few hours, depending on the condition of the headlights and the level of restoration required.
Can I restore headlights that are severely damaged?
Yes, but if the damage includes deep cracks or significant wear, you may need to consider replacing the headlights entirely.
How often should I restore my headlights?
It’s recommended to check your headlights every 6 months to a year and restore them as needed to maintain clarity and safety.
Will using a protective coating really help?
Yes, applying a protective coating can significantly extend the life of your restored headlights and prevent future yellowing.
What products do I need for this process?
You will need sandpaper (600, 1500, or 3000 grit), cutting compound, polishing pads, and a protective coating of your choice.
